Post
by dfoyl » Fri Apr 24, 2015 12:24 pm
*EDIT 25/4 AS ORIGINAL INFO WAS INCORRECT*
The switch lights up when depressed, irregardless of parker lights status. The yellow has +12V applied when the circuit is closed. In my application I tried tapping the second yellow (light bar switch) off the first yellow (AC switch) - this doesn't work unless the first switch is on (my workaround was to steal +12V from the parking light circuit that goes to the cigarette tray, so I only get power when parker lights are on, which keeps it legal).
The other two (blue and black with yellow line) are simply the switch running back to the relay with +12V - in my application I run +12V back to the relay input (back right terminal when looking at the relay sitting on the shock tower), and back out the relay output (front right terminal). I then have my (16A inline fused) +12V supply coming from the battery going into the back left side of the relay, and +12V supply to the light bar coming out the front left side.
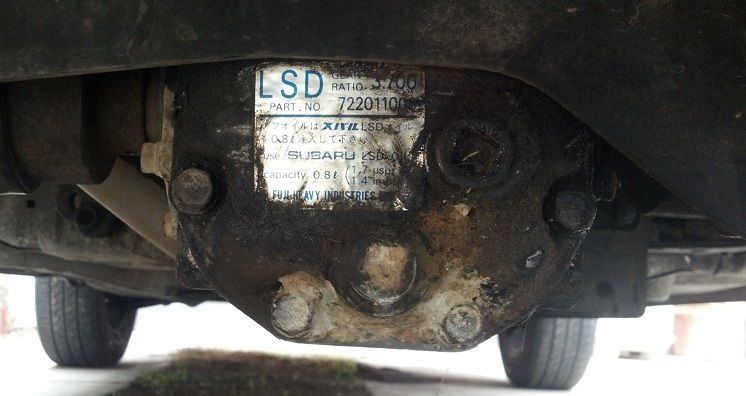
1989 Brumby - Shiny new red paint, stroked EJ20 phase 2 SOHC with Darton sleeves bored to EJ22, Wiseco high-compression pistons, Delta 2000 grind cams , EJ/XT6 5 stud with WRX 4/2 pots, 5-speed, 86 GTS seats and so much more.
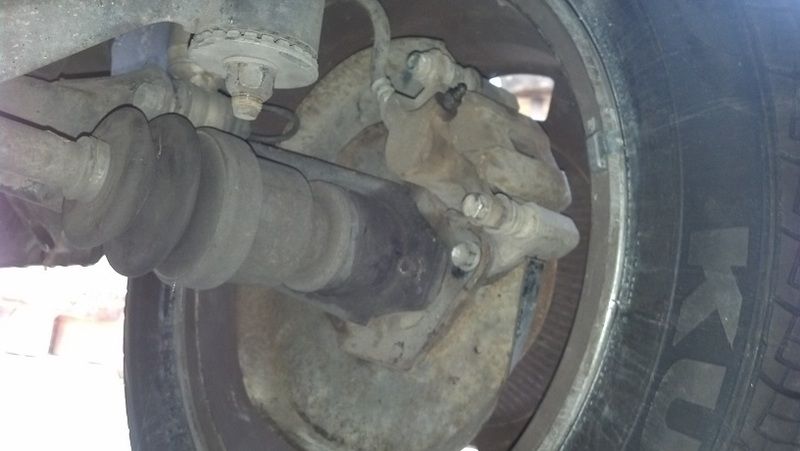
Contact me for reproduction XT6 hubs...and EA82 rear discs.