Page 1 of 1
Brumby Enginebay Wiring
Posted: Fri Aug 31, 2012 9:09 pm
by Brumby Kid
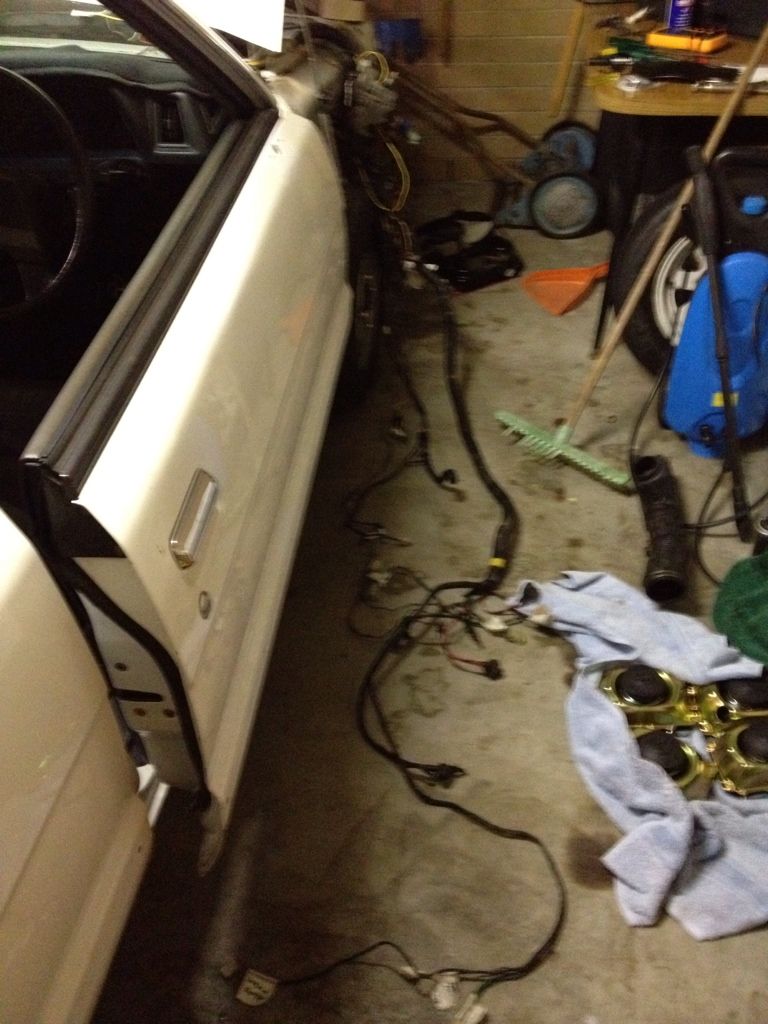
Tonight I hit bit of a snag. After tearing my wiring out, while still keeping it in the loom, to paint the engine bay.
Tonight I tried putting it back in.
Much to my surprise, NOT, I've forgotten where exactly it goes.
While I labelled all my plugs, this still hasn't really helped.
So if anyone has some pictures of where the Wiring snakes its way around the engine bay that would be awesome!!!
Starting from the relays along the bottom of the radiator and lights, all the way to the air compressor and emissions gear.
Thanks in advance.
Cheers Cam
Posted: Fri Aug 31, 2012 11:22 pm
by El_Freddo
Brumby Kid wrote:Tonight I hit bit of a snag. After tearing my wiring out, while still keeping it in the loom, to paint the engine bay.
Tonight I tried putting it back in.
Much to my surprise, NOT, I've forgotten where exactly it goes.
While I labelled all my plugs, this still hasn't really helped.
So if anyone has some pictures of where the Wiring snakes its way around the engine bay that would be awesome!!!
Starting from the relays along the bottom of the radiator and lights, all the way to the air compressor and emissions gear.
Cam it should really fall all back into place as it was. The main section of the loom should follow roughly where it needs to be. Once you lay it out so that the LHS head light's wiring is on the LHS of the engine bay it should be good to go from there to secure it all back in place.
Unfortunately I don't think I've got a pic of the wiring in the engine bay, this is the best I can do from here. How far back did you strip the wiring anyway - into the cab?
Sometimes you've just got to go against your fear of getting it wrong, if you never do this you'll never learn. That's how I got Ruby Scoo back in one piece! The worst that can happen is that you lay it out wrong and have to reverse what you've done and work it out from there - it's nothing major as you're not modifying it to the point you can't undo what you've done!
All the best with it!
Cheers
Bennie
Posted: Sat Sep 01, 2012 10:03 am
by Brumby Kid
Thanks Bennie.
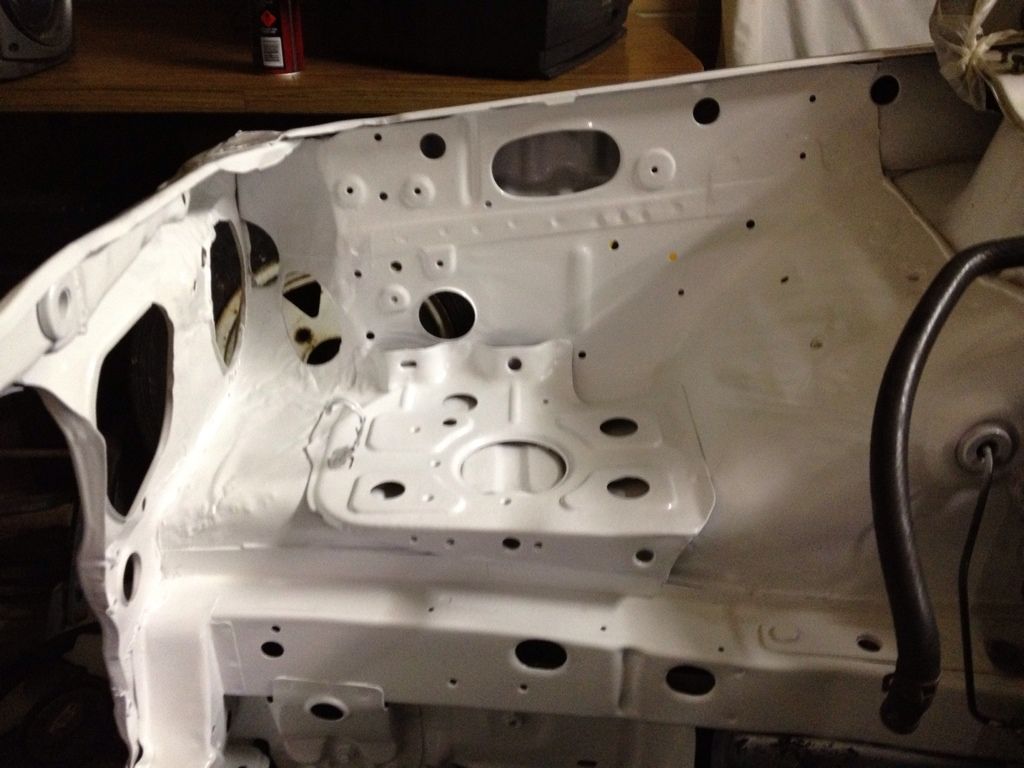
I stripped it back to the drivers side strut tower. I didn't want to take it past there as that would involve cutting it up.
This is how it was.

Cheers Cam
Posted: Sat Sep 01, 2012 4:05 pm
by Bantum
Did you modify it in anyway ? If so, it may have 'twisted' or 'stretched' in the process, you just need to reshape it. As long as you didn't cut anything, it should be fine.
Note: You should be able to 'unplug' the loom from inside ( just under the dash ) where it goes through the fire wall ...

Posted: Sat Sep 01, 2012 5:33 pm
by Brumby Kid
No, I did not modify it. But yes I'm sure it has stretched and or twisted, as it is not wanting to sit back in place.
Which is why I am asking were it is supposed to sit.
Thanks for the advice on unplugging it under the dash. Next time I think I will definitely do that, and leave it somewhere in shape.
Cheers Cam
Posted: Sun Sep 02, 2012 8:26 am
by steptoe
someones hair dryer may help too just to warm up the loom make it more willing to fit in the corners again. You've disconnected everything from th furthest point LHS and peeled it all back from the looks. Looks tragic Cam, start again with an EJ loom

Posted: Sun Sep 02, 2012 11:34 am
by Brumby Kid
That's an idea. A hair dryer.
Haha very funny Jonno.
An EJ is good. A 6 cylinder diesel is better.
This engine still has a bit of modding left. After another 300,000 km first.
Cheers Cam
Posted: Sun Sep 02, 2012 9:31 pm
by Tweety
Good luck Cam. Take your time- looms fall into their home easily eventually and you'll wonder how you couldnt figure it out then.
This reminds me of the 4 days or so Tweety wouldnt start after the ea81 conversion. But the members here couldnt help me even after I triple checked the 5 engine wires and where they went, coil, replaced coil, etc etc.
But they were all fogiven for not mentioning the kill switch on the handlebars.

!!!!! not many cars with an ea81 had a kill switch me thinks
Posted: Mon Sep 03, 2012 4:31 pm
by El_Freddo
Have you tried to lay it out yet?
Trying will show you what needs to be done hopefully! Otherwise look at your labelling and workout what needs to go where and go from there.
Cheers
Bennie
Posted: Mon Sep 03, 2012 6:36 pm
by Brumby Kid
Yes I have tried to fold it out.
Really all I need now is a photo of the fusable links/ battery/ coil/ relays area.
Like this
Cheers Cam
Posted: Mon Sep 03, 2012 7:17 pm
by Silverbullet
Well I could take a pic of my engine bay but dunno how much help it would be; single headlight very early model. Surely one of the many Brum drivers could go out and take a quick snap?
Posted: Mon Sep 03, 2012 8:39 pm
by Brumby Kid
C'mon guys
Please?
On another note. What have you guys used as clips to hold your loom to the body?
As mine were 21 years old. They understandably died, when I was taking it out.
Now I've been looking around for something to use to hold my loom up to the body.
Ideas please.
Thanks
Cheers Cam
Posted: Mon Sep 03, 2012 8:46 pm
by thunder039
sorry cam cant give you any pictures as my brumby is 4.5 hours away. next week i can if that helps at all
Posted: Mon Sep 03, 2012 9:14 pm
by El_Freddo
Here are a couple of pics from Sunnie the Brumby (that's now in our garage to be finished off)
I hope these help out!


And the Passenger's side headlight area:

Cheers
Bennie
Posted: Mon Sep 03, 2012 9:28 pm
by Brumby Kid
Thanks Bennie. Yes that helps.
Hopefully I will have her running Sunday.
Now it's just those little clips to hold it against the body.
Cheers Cam
Posted: Mon Sep 03, 2012 9:31 pm
by El_Freddo
You should be able to still get new clips from Subaru, at what cost I don't know. But if you're after the factory look it's the way to go.
Otherwise I'm sure you could work out how to use some cable ties or go with the after market clamps that you screw down. This would mean more holes though.
Cheers
Bennie
Clip Removal ...
Posted: Tue Sep 04, 2012 7:47 pm
by Bantum
I'd have look around your local wrecker's yard first for some clips - I'm sure you can find something similar that will work just a well from later models ... Just be patient in trying to remove them without breaking ...

P.S. - I find a jewler's screwdriver comes in handy to push the 'lock' tab back in & a pair of pointy tweezer's to hold it in place while pulling out, the clip usually come's out much easier then ...