H6 valve check and adjustment guide found here:
http://subenews.deej.net/wiki/index.php ... ntable=yes
I'll copy and paste here for future reference.
From Subenews
Valve Adjustment Check Procedure
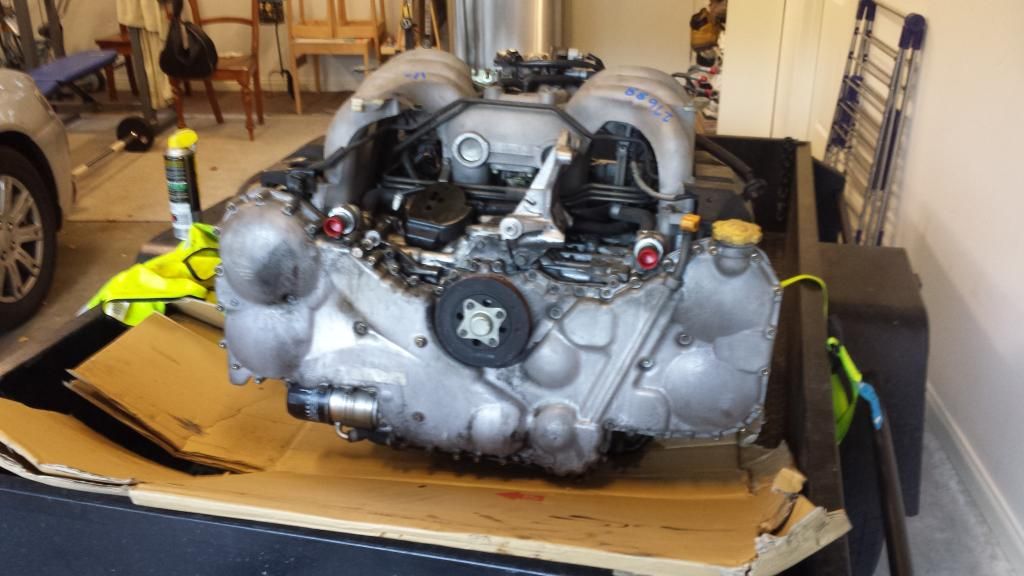
Measuring valve clearance is pretty easy. Not quite as easy is removing the necessary stuff and then the valve covers, still not too bad though.
I'll try to do this as a step-by-step procedure. It will be for an early H6 because that's what I have and have experience with.
THE ENGINE MUST BE COOL, Wait at least a couple of hours before taking any measurements.
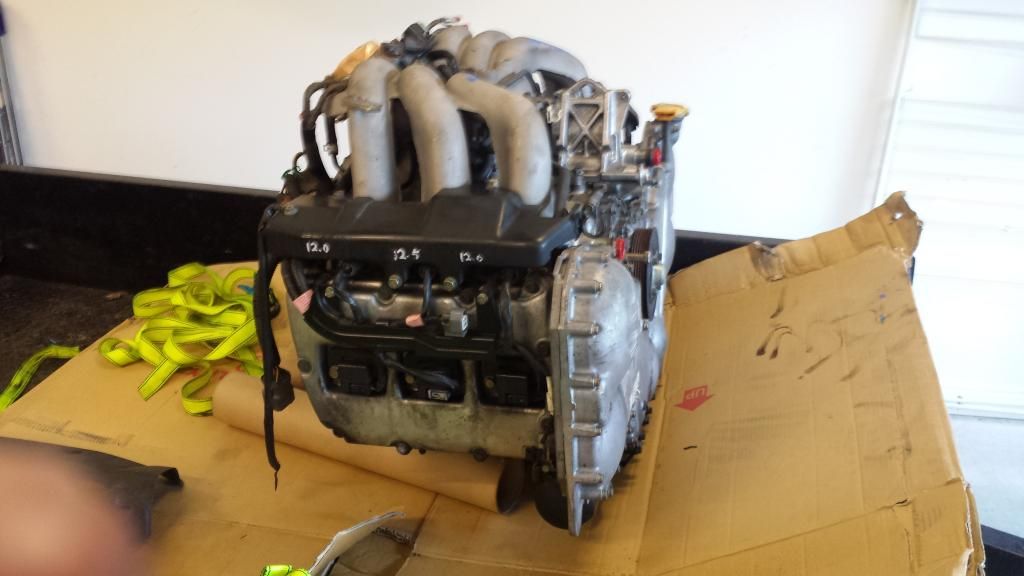
1. Remove all of the fittings, brackets etc. that are attached to the valve covers.
2. If needed, remove the fuel rails. I made custom ones and I had to remove them. You can probably just remove the 2 mounting bolts on each rail to provide wiggle room to remove the valve covers.
3. Remove the m6 valve cover retaining bolts. I needed a 10mm wrench.
4. GENTLY pry the valve covers off of the head. The factory uses RTV in the hard to seal areas like corners and this makes removal a little challenging. It will probably take some creative maneuvering to get the covers off what with all of the motor mount and other stuff in your way. It's best to simply remove or loosen items rather than fight with them.
5. Store the covers in a safe place.
The following may not be the most time efficient way to do this, but I do it this way to avoid confusion. By the way, ALWAYS turn the engine in its normal direction of rotation.
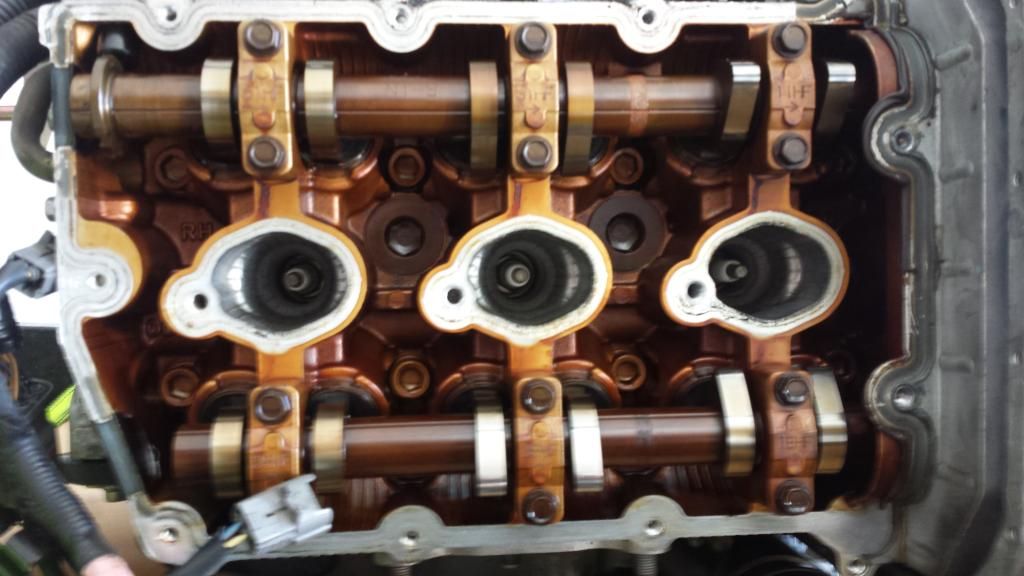
6. Locate the front left INTAKE valve pair. They will be immediately under the intake manifold runner.
7. Rotate the engine until the cam lobes that actuate the valves are directly opposite the valve, that is, the heel of the cam, not the lobe tip, is facing the valves.
8. Using a set of feeler (thickness) gages, determine which one will slide between the camshaft and the valve adjusting shim. The thickness of the gage that will fit between them with a couple of ounces (60 grams for you metric types) of force is the valve clearance. If one gage is too tight and the next smaller one is a little too loose, close enough, pick the one that you think is the best fit. For the early H6, Subaru says the clearance for intake valves is .008" plus or minus .0016", so anything between .0066" and .0096" will be in spec. I tend to set valves on the loose side in engines that run hard (ours do). I would prefer .009 to .010".
9. Write down the measured clearance for the intake valves at that cylinder.
10. Rotate the engine until the center INTAKE cam lobes are pointing directly away from the valves. Go to step 7 and 8 and do them again. Remember to write down what you measure.
11. Rotate the engine so that the cam lobes are pointing away from the INTAKE valves and do steps 7 and 8 once more. Write it down.
12. Go to the other side of the engine, front, INTAKE, an do the same thing you did for the left side. Seems to be a theme of some sort here, doesn't there?
13. Now for the exhaust valves. Start at the front left again, locate the exhaust valve pair, and measure the clearance. Subaru says .0098" plus or minus .002", or .0078 to .0118". I would shoot for .011 to .012".
14. Now that you have all of the clearances recorded, locate any numbers that fall out of the desired specs. Now the fun begins, so pay attention.
15. Lets say you have an INTAKE valve with .004" clearance (You are shooting for .010").
You want to increase the clearance, so subtract .004 (measured clearance) from .010 (desired clearance) and you find that you need to increase clearance by .006".
If the measured clearance was .012", you would want to decrease clearance by .002"
Here's the hard part. You will need an official Subaru Shim Replacer Assembly, available at your local Subaru store, or some kind of home-made tool that will allow you to remove the shim that resides just under the cam lobe.
Once you have the tools you need to remove the shim, remove the shim ion question and measure it's thickness.
Lets use our .004" clearance valve as an example.
Let's say the shim you removed is .103" thick. You need .006" more clearance, so you need a shim .006" THINNER than the one you removed, or .097". Pretty easy, huh? Go through all of your out of range valves in this manner and write down a list of the shims you have and a list of the shims you need. With any luck, you'll find that some of the removed shims will work in places where you removed other shims. A trip back to your friendly Subaru store will complete your shim list. By now you probably know the Subaru parts guy pretty well.
An alternative to purchasing shims might be to have the old ones ground down by a friend with a surface grinder. It is absolutely necessary that the shim faces are parallel and have a fine finish, so don't try to rework them on a belt sander or bench grinder. Of course, grinding them only works if you need thinner shims.
16. Install the new shims into thier appropriate valve assemblies and REMEASURE THE VALVE CLEARANCE. Don't assume for a minute that you did the math right, got the shims in the right place, or did anything else right. If all is right, you're a hero and can go on to the next not so adventuresome step.
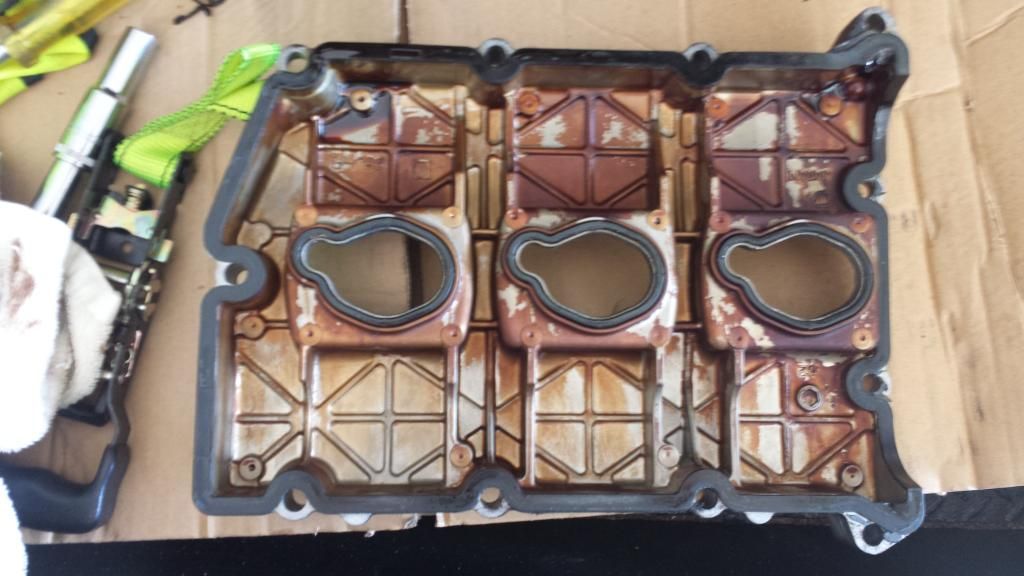
17. Clean the valve covers. Remove the gaskets carefully (they're reuseable) and clean them too. Don't use a strong solvent on the gaskets but get all of the old sealant off of them.
18. Clean the cylinder head gasket surfaces. Don't scratch them.
19. Install the gaskets into the grooves in the valve covers. Make sure they are seated fully and properly.
20. Apply a high quality RTV sealant ( Subaru recommends Threebond 1280B, don't use generic stuff near oil, it will leak) to the corners of the mating surface on the head and install the valve cover. Try not to smear the RTV while doing this; you could cause a leak.
21. The screws that hold the valve covers on are shoulder-type and meant to be to torqued to 4.6 lb-ft (6.4 N*M). They are designed to be fully tightened against the shoulder and will not allow the gasket to be over compressed.
22. Once you are happy with the cover installation, reattach all of the stuff you removed, start the engine and check for leaks, strange noises tools left inside the engine, etc.
23. If all is well, enter what you did in the log book and go fly.
24. Considering the valve clearance news of late, I plan to make either 50 hour or annual valve clearance measurement a part of standard maintenence procedures.
Mike T.
Retrieved from "
http://subenews.deej.net/wiki/index.php ... tmentCheck"
This page was last modified on 29 January 2010, at 16:21.
Content is available under Public Domain.