Disaster has struck.
Well not really disaster just a lot of wasted time. Those pesky brackets that took me 2 months hard work are no good.
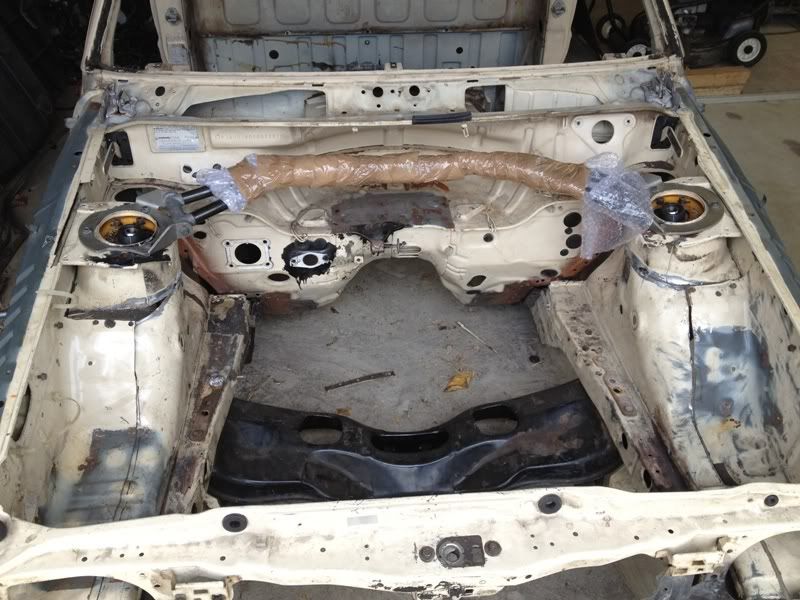
To try and keep everything where it should and to make it easier to line everything up and put everything in place while I build it I had bolted the engine and gerabox crossmembers in place. I had also made the bracket as big as possible to give it as much strength as possible and to span between the original chassis rail raised bits on the firewall.
Turns out this was the wrong thing to do

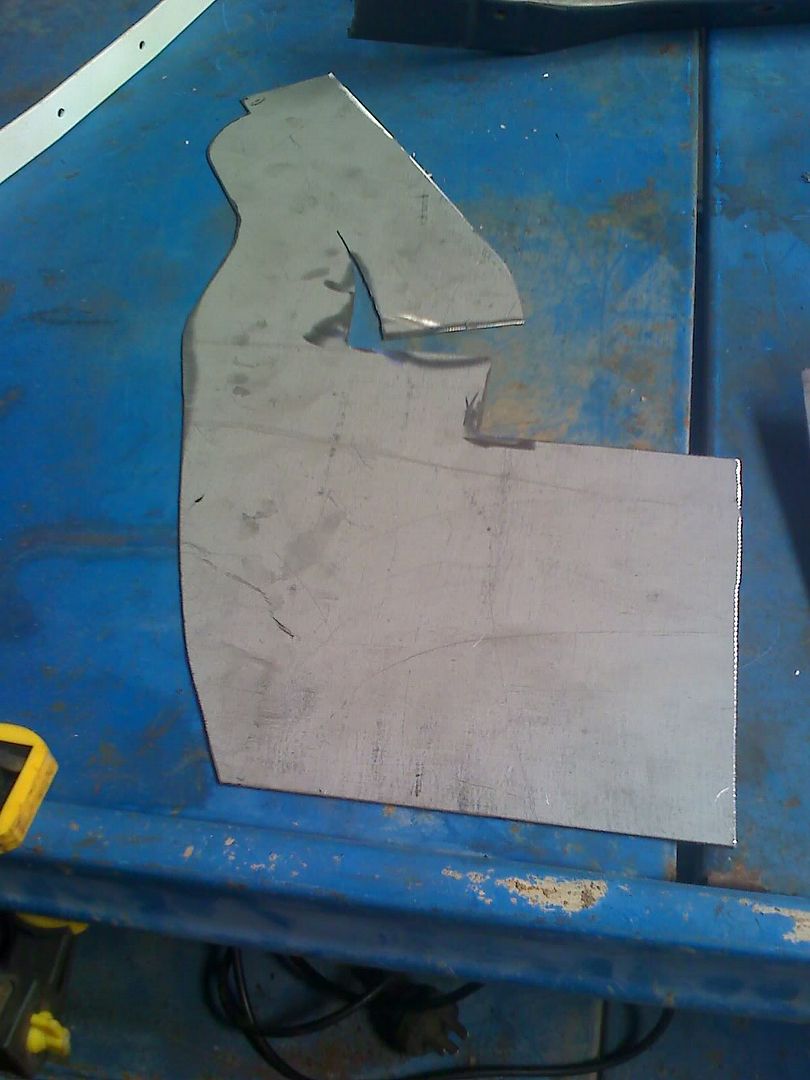
When I put just a single rail up to the car the bracket didn't fit. So I changed tack with the bracket and made it much smaller :
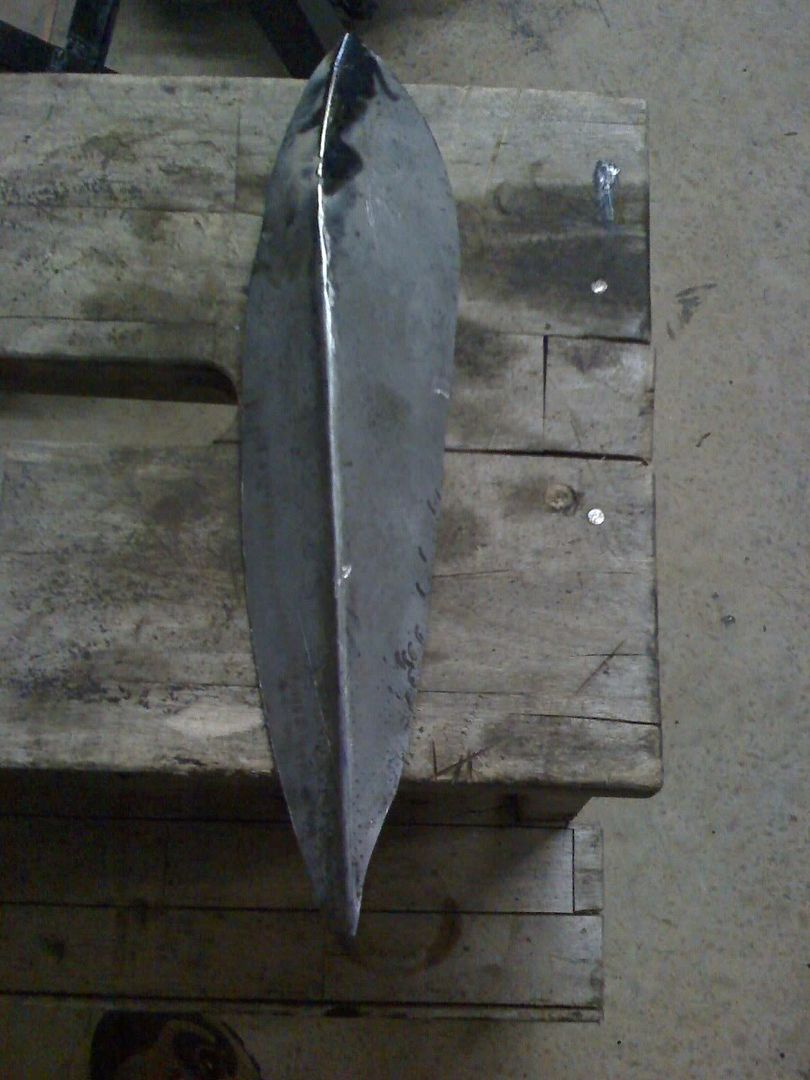
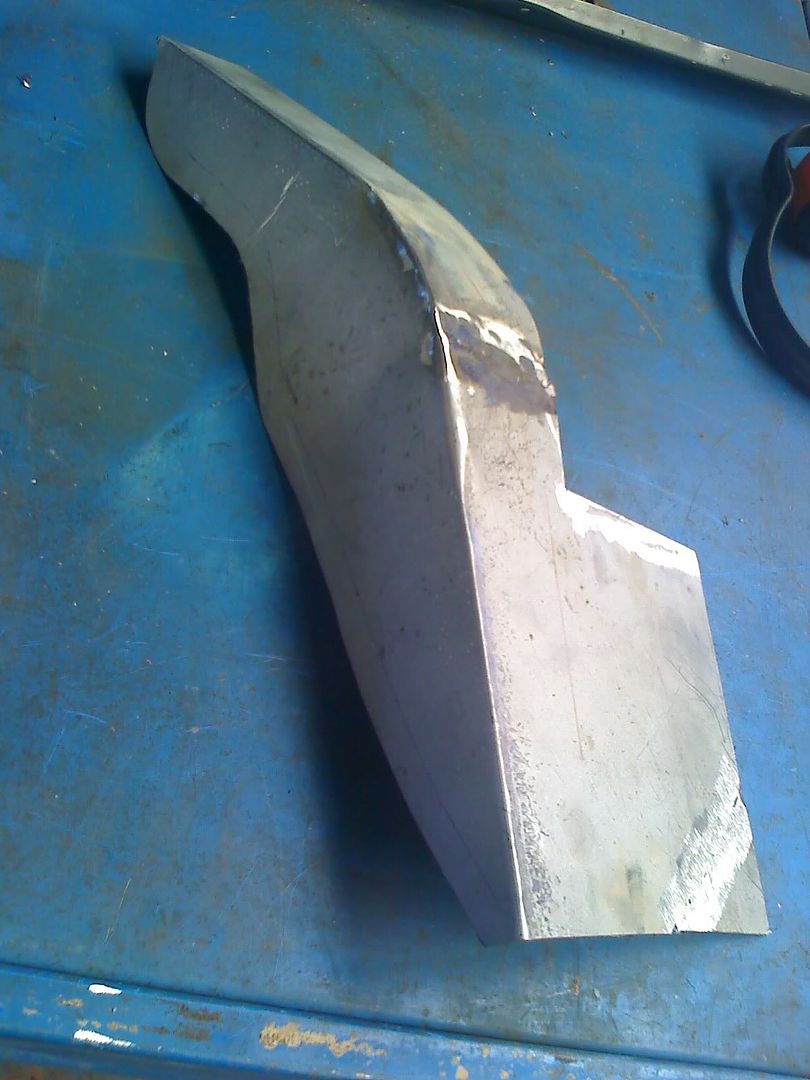
You can see how much smaller it is next to the other one :

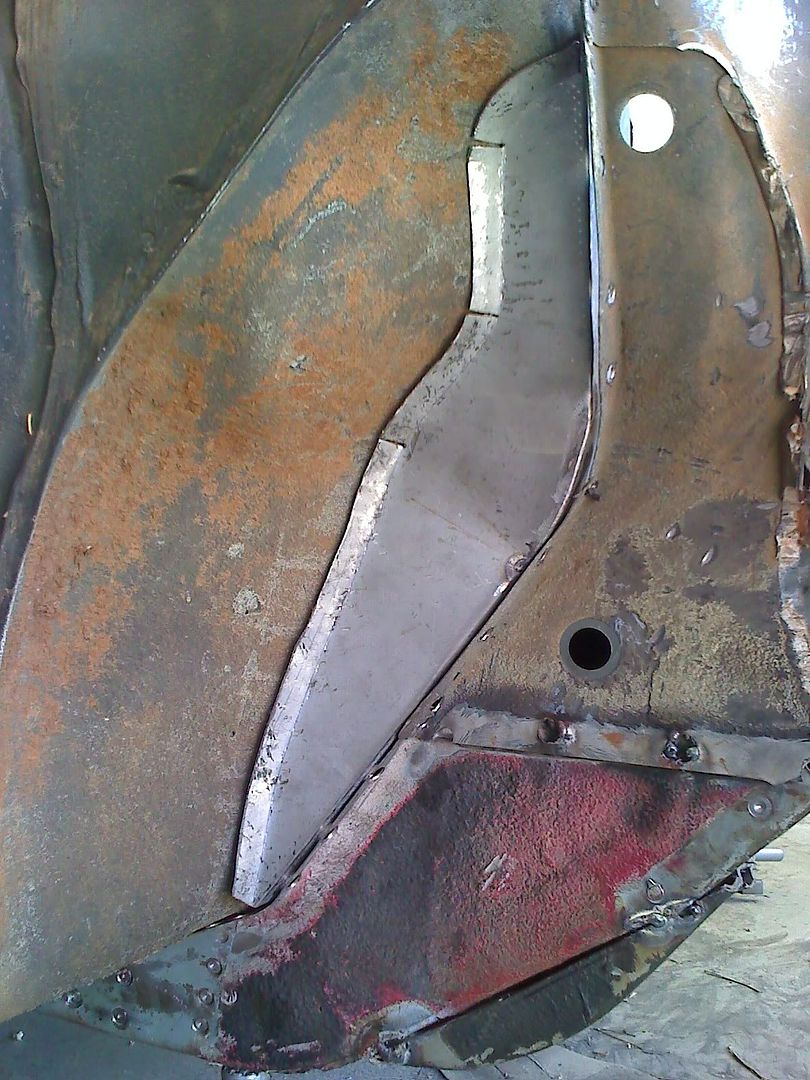
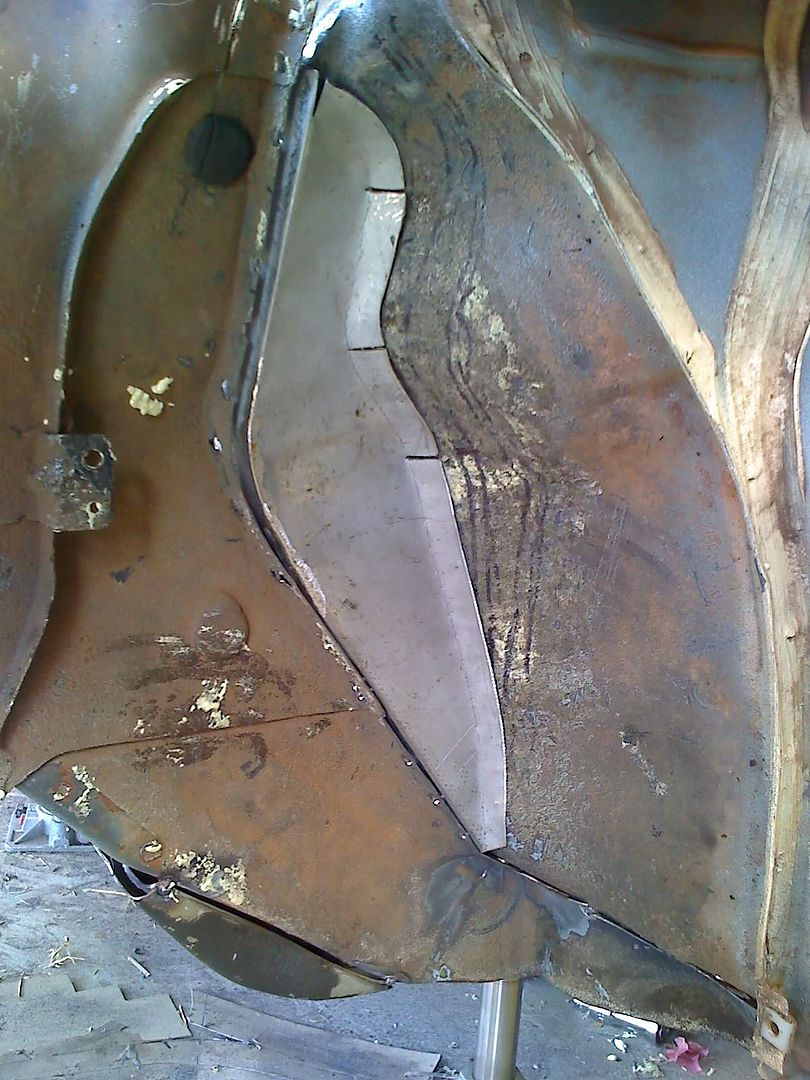
And here it is on the car - you can see the large flat areas where the other one was going to be welded on.
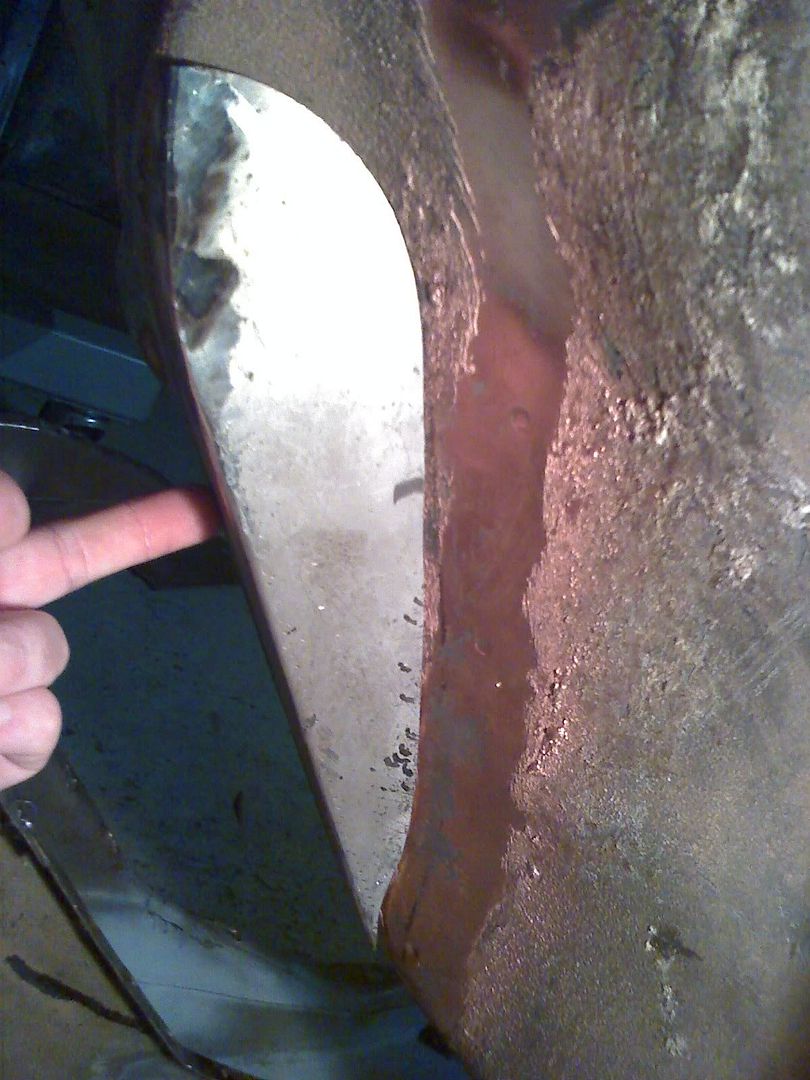
This will be fully seam welded rather than spot/plug welded :

This new bracket is SOOOOOO much easier to make as there are no compound curves in it.
WHY DIDN"T I DO IT THIS WAY IN THE FIRST PLACE