Lupins MY99 wrx

Detailed reference pages on Members special projects ...
User avatar
lupin
Junior Member
Posts: 20
Joined: Mon Oct 26, 2009 7:57 am
Location: victoria

Lupins MY99 wrx

Post by lupin » Mon May 13, 2013 7:16 pm

Thought I may as well add this here, as its on a few other forums. Will take me a little while to bring you all up to speed so please be patient.

May as well pimp my awesome work :lol::lol::lol:

So thought I might post a little car history why I was going.
I've had it 7 years now, got it stock as a rock.

Image

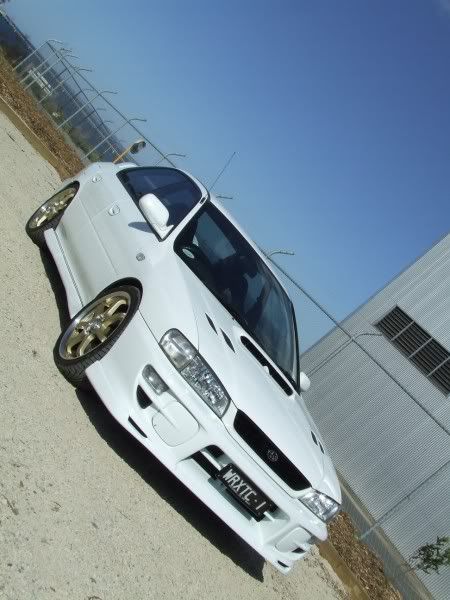
Then went on to paint the side skirts and get the windows tinted, and fitted clear front and side indicators, also painted the front vents black. Sometimes I think this was the best look the car ever had.

Image

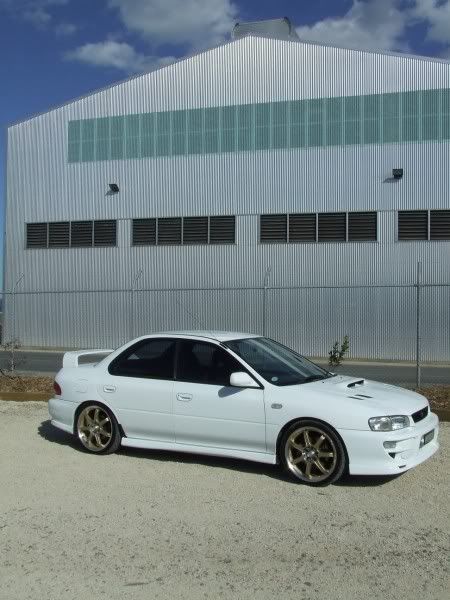
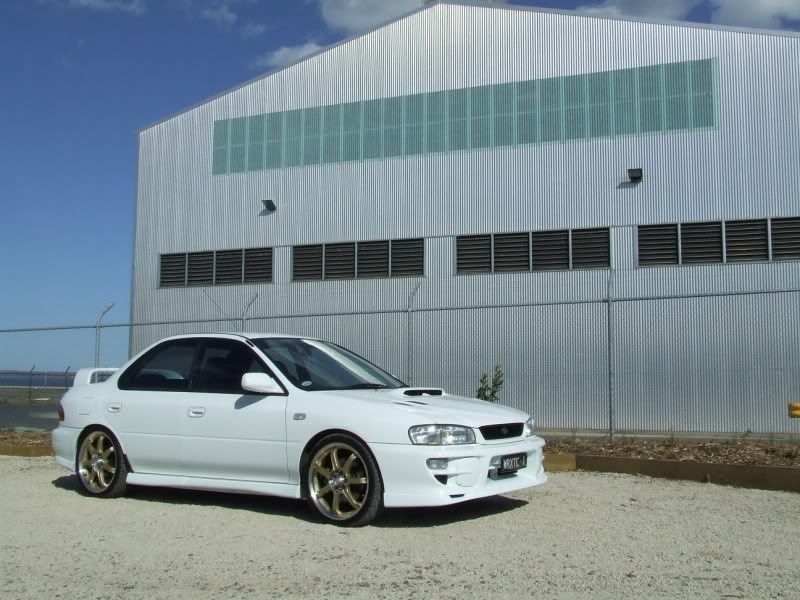
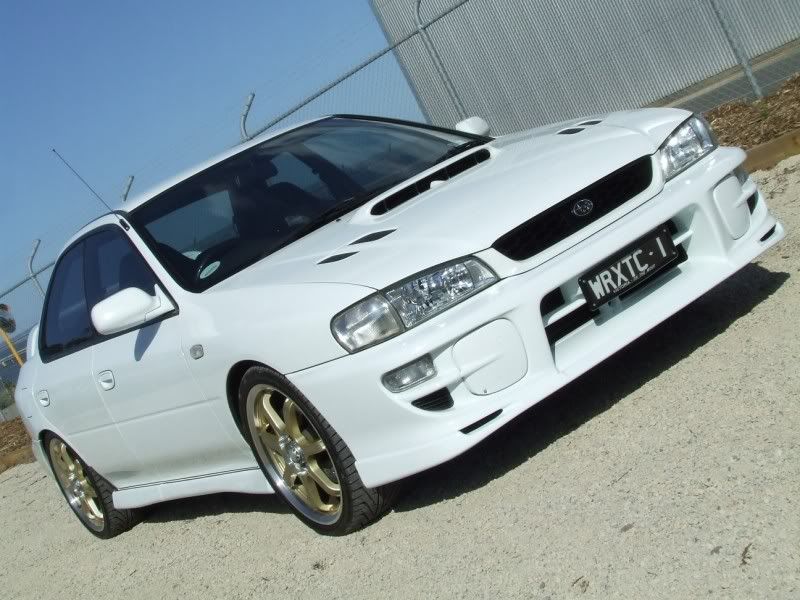
From there I added an STI front lip and changed the rims.

Image

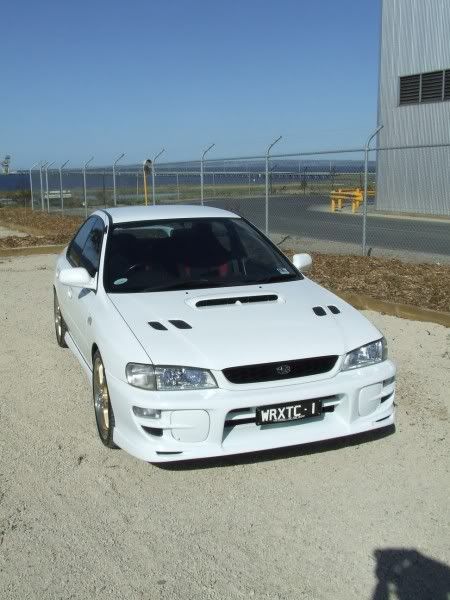
Then the wheels were changed again to the ones that are currently on the car.

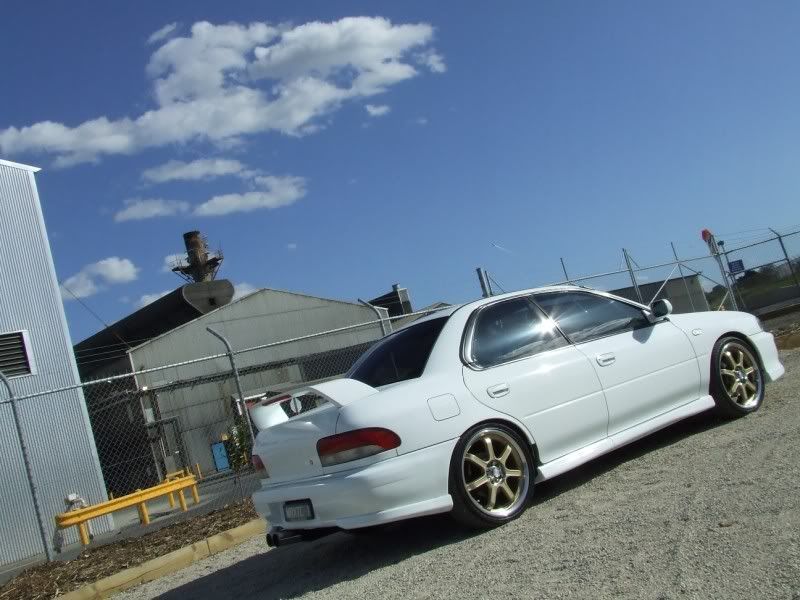
Its also been fitted with Sti tail lights, JDM folding mirrors, Sti cluster, and other stuff that I have forgotten about.

Mechanically the car has had 7 different exhaust systems, and finally I settled on the Remus that is on the car now, and will stay forever.
I run a power FC and am currently using the standard TD04 (this week)
Its also on its 3rd set of springs and now uses a set of lovells that are really too hard but sit at a decent height.

User avatar
lupin
Junior Member
Posts: 20
Joined: Mon Oct 26, 2009 7:57 am
Location: victoria

Post by lupin » Mon May 13, 2013 7:17 pm

A couple of years ago ok about 5 now I stripped parts of the car for a touch up.

These are the results.

And one too skip a few and its back together.
Image
Image
Image
Image
Image
Image
Image

Still got a few more changes planned popcorn

User avatar
lupin
Junior Member
Posts: 20
Joined: Mon Oct 26, 2009 7:57 am
Location: victoria

Post by lupin » Mon May 13, 2013 7:33 pm

One place I have spent a lot of time and effort lately is under bonnet appearance.
As you know the ej isn't the best looking engine but you just have to work with what you have.

Went to work on the belt cover this morning.

Here you can see where it had to be trimmed on the left.

Image

And needed to trim this boss of the back, where it bolts down.

Image

Just need to make a small bracket to pick up the mounting point now, but it fits quite nicely.

Image

Also made a bracket to mount the fuel reg, will get a pic of that once its all in.

Back together

Couple of extra photos.

Back sleeping where it belongs.

Image
Image

Took of the intake duct and blocked off the hole. Wasn't connected anyway.

Image

User avatar
lupin
Junior Member
Posts: 20
Joined: Mon Oct 26, 2009 7:57 am
Location: victoria

Post by lupin » Mon May 13, 2013 7:34 pm

Few extra photos because I like taking photos.

Momo knob that was fitted ages ago. Boot is from a BA GT.

Image

Got some random ebay cap because it matched the colour theme

Image

Bit better photo showing the hex bolts and the hose ends. Waiting on a few more hose ends.

Image

Head unit change

Got it fitted and powered up. Still have to sort out the ipod cable.

Image

As you can see it just clears the heater controls.

Image

I'll run it like this till I find somewhere that has the top pod for a reasonable price. Best I have found so far is $110 including shipping.

Completed my battery tidy up.

Image

Also it seems one part of my diffuser kit has cleared customs and the other has not. GRRRRR
Diffuser kit has arrived. Have also put my back out so no getting under the car just yet. So heres a box shot.

Image

User avatar
lupin
Junior Member
Posts: 20
Joined: Mon Oct 26, 2009 7:57 am
Location: victoria

Post by lupin » Mon May 13, 2013 7:39 pm

Got the rear sub frame brace and diffuser fitted today.

Pro tip for anyone attempting it, buy a set of ratchet spanners. I don't have a set and could have done it in half the time if I did. The bolt on the drivers side is blocked by the fuel filler. Was about 1/8 of a turn each go with the spanner.

Also used stainless allen key bots instead of the stock ones.

Image

Thinking of changing the vents to the 22b ones. Might paint them and see how they look

Image

Image

Now thats better.
Look at all the scratches on the centre console though :cry:

Aaaannnnndddd Back to sleep you go.

Image

User avatar
lupin
Junior Member
Posts: 20
Joined: Mon Oct 26, 2009 7:57 am
Location: victoria

Post by lupin » Mon May 13, 2013 7:40 pm

Got a few small things done today.

Mounted my catch can. Still have to run the hoses, will get around to that. Its taken 6 months to get this much done

Image

Also finally found the correct size hose end for my header tank.

Image

The other small job I did was to stick in some LED lighting in the boot. One day I'll finish it.

Image
Image
Image

Also removed the rear speakers why I was there as they haven't been connected for years.

User avatar
lupin
Junior Member
Posts: 20
Joined: Mon Oct 26, 2009 7:57 am
Location: victoria

Post by lupin » Mon May 13, 2013 7:41 pm

And that's about where it's up to now. Still lost of things to do on the list in my head.

If anyone wants more detail on something just ask as I've left a fair bit out.

User avatar
T.Farm.Brumby
Junior Member
Posts: 379
Joined: Wed Jan 04, 2012 8:37 pm
Location: North Brisbane

Post by T.Farm.Brumby » Mon May 13, 2013 8:53 pm

Hey Lupin, seems I'm saying this a lot today but welcome to the forum :)

I'm loving the look of this, I think the pure white look is pretty sexy myself, did you paint the rims silver? Or are they still gold and it's just the camera playing tricks? Personally I think the silver rims with white paint looks really good.

Also, did you spray the intake red yourself? I'm looking at doing it to my converted RX Turbo and I wondering how involved it was. I'm probably going to do a light, matte WRX blue. Also the callipers and the rocker covers. Like you I have a huge mental list haha.

Cheers,
Tom.
All The Rigs:

'86 RX Turbo "Thor"
'89 Brumby "Emma"
'89 Brumby "Brumbylicious"
'03 Outback "Uma"
'05 Forester
'14 Forester Luxury (My goodness is it schmick!)

User avatar
lupin
Junior Member
Posts: 20
Joined: Mon Oct 26, 2009 7:57 am
Location: victoria

Post by lupin » Mon May 13, 2013 9:02 pm

Wheels are still gold, they have just faded a fair bit now. Planning on a respray of them soon.

Manifold was a fair bit of work as I did other stuff at the same time. Had it off to put in spacers so painted it off the car with red wrinkle paint.

User avatar
T.Farm.Brumby
Junior Member
Posts: 379
Joined: Wed Jan 04, 2012 8:37 pm
Location: North Brisbane

Post by T.Farm.Brumby » Mon May 13, 2013 9:58 pm

lupin wrote: Had it off to put in spacers so painted it off the car with red wrinkle paint.
Much work involved or was is basically just unplug everything and paint her up?

PS. You posted a ton of good pics, you'll fit right in here
All The Rigs:

'86 RX Turbo "Thor"
'89 Brumby "Emma"
'89 Brumby "Brumbylicious"
'03 Outback "Uma"
'05 Forester
'14 Forester Luxury (My goodness is it schmick!)

User avatar
lupin
Junior Member
Posts: 20
Joined: Mon Oct 26, 2009 7:57 am
Location: victoria

Post by lupin » Tue May 14, 2013 6:34 am

It takes a while to get the manifold off.

If you have never done it before allow a couple of hours at least.

User avatar
T.Farm.Brumby
Junior Member
Posts: 379
Joined: Wed Jan 04, 2012 8:37 pm
Location: North Brisbane

Post by T.Farm.Brumby » Tue May 14, 2013 9:17 am

lupin wrote:It takes a while to get the manifold off.

If you have never done it before allow a couple of hours at least.
Righto cheers, did you grind off any of the unnecessary brackets and knobs at all? I wanted to make it as clean as possible but I don't know whether or not it'd going to make the rest of the bay look sloppy/harder to arrange
All The Rigs:

'86 RX Turbo "Thor"
'89 Brumby "Emma"
'89 Brumby "Brumbylicious"
'03 Outback "Uma"
'05 Forester
'14 Forester Luxury (My goodness is it schmick!)

User avatar
lupin
Junior Member
Posts: 20
Joined: Mon Oct 26, 2009 7:57 am
Location: victoria

Post by lupin » Tue May 14, 2013 9:39 am

There wasn't anything I didn't use or have something bolted to.

I did think of doing a coil conversion to neaten it up but the cost and effort out weighed the benefits.

User avatar
T.Farm.Brumby
Junior Member
Posts: 379
Joined: Wed Jan 04, 2012 8:37 pm
Location: North Brisbane

Post by T.Farm.Brumby » Tue May 14, 2013 10:21 am

lupin wrote:There wasn't anything I didn't use or have something bolted to.

I did think of doing a coil conversion to neaten it up but the cost and effort out weighed the benefits.
Fair enough, I suppose I'll play it by ear and see when I get it off

Cheers,
Tom.
All The Rigs:

'86 RX Turbo "Thor"
'89 Brumby "Emma"
'89 Brumby "Brumbylicious"
'03 Outback "Uma"
'05 Forester
'14 Forester Luxury (My goodness is it schmick!)

User avatar
Davidov
Junior Member
Posts: 219
Joined: Sat Aug 13, 2011 8:24 pm
Location: Perth/Geraldton, WA

Post by Davidov » Tue May 14, 2013 12:06 pm

That's a reeally nice rex you have there. :)

Its awesome to see people take pride in their vehicles with such attention to detail and effort. Good stuff.
MY03 Outback JDM Turbo Conversion
Taza: "Is this phone quad cam?"

User avatar
lupin
Junior Member
Posts: 20
Joined: Mon Oct 26, 2009 7:57 am
Location: victoria

Post by lupin » Tue May 14, 2013 12:50 pm

One other thing I did recently was put in some LED's. Did the numberplate lights and the interior lights (fitted the foot well lights some years ago)

Image
Image

User avatar
El_Freddo
Master Member
Posts: 12503
Joined: Tue Oct 04, 2005 10:00 am
Location: Bridgewater Vic
Contact:

Post by El_Freddo » Tue May 14, 2013 9:51 pm

Sweet Ride mate!

I'll have to keep an eye out for you - I find your personalised plates familiar for some reason, but it could be my mind playing tricks...

I wouldn't mind a 99WRX myself, but it'd have to be a hatch for me. Looking forward to what's next ;)

Cheers

Bennie
"The lounge room is not a workshop..."
Image
El Freddo's Pics - El_Freddo's youtube

User avatar
lupin
Junior Member
Posts: 20
Joined: Mon Oct 26, 2009 7:57 am
Location: victoria

Post by lupin » Wed May 15, 2013 2:04 am

Picked those plates up off eBay about 4 years ago.

Go no idea about the history of them before I got them. They were nice and cheap though.
Image

User avatar
lupin
Junior Member
Posts: 20
Joined: Mon Oct 26, 2009 7:57 am
Location: victoria

Post by lupin » Sat Jun 01, 2013 3:32 pm

My tow hook arrived $18 shipped off ebay.

Image

Just went out and bolted it on, because I was worried its too big. Need to drill another hole so no big deal.

Image
Image

And a shot with the gopro. Next time its out of the shed I'll get a bit better photo.
Image

To 22B or not to 22B that is the question.

Image

I'm a bit 50/50 at the moment.
Image

User avatar
60766244
Junior Member
Posts: 586
Joined: Fri Nov 09, 2012 3:32 pm
Location: Kalamunda, Western Australia

Post by 60766244 » Sun Jun 02, 2013 5:23 pm

Saw you on Garage Journal - Again, very nice ride. Love the details.
Otter the 2004 Outback with all the fruit.
Image
Possible Improvements: Rigid 12db Phone Aerial Fitted, Air-compressor w/ Hose & Air-Tank, Jerry Holders, Lift, Nudgebar and Spots?

|| Ausubaru Wiki: New AUSubaru Wiki, About the Wiki || My Ex, Maple the Brumby, Rack, Lift Kit, Raptor-Liner Tray || Shed: Benches ||


Post Reply

Return to “Restorations and Project Build Ups.”