Sunnie the Brumby has been going well since finding an ignition issue, turned out to be this little module in the dizzy:

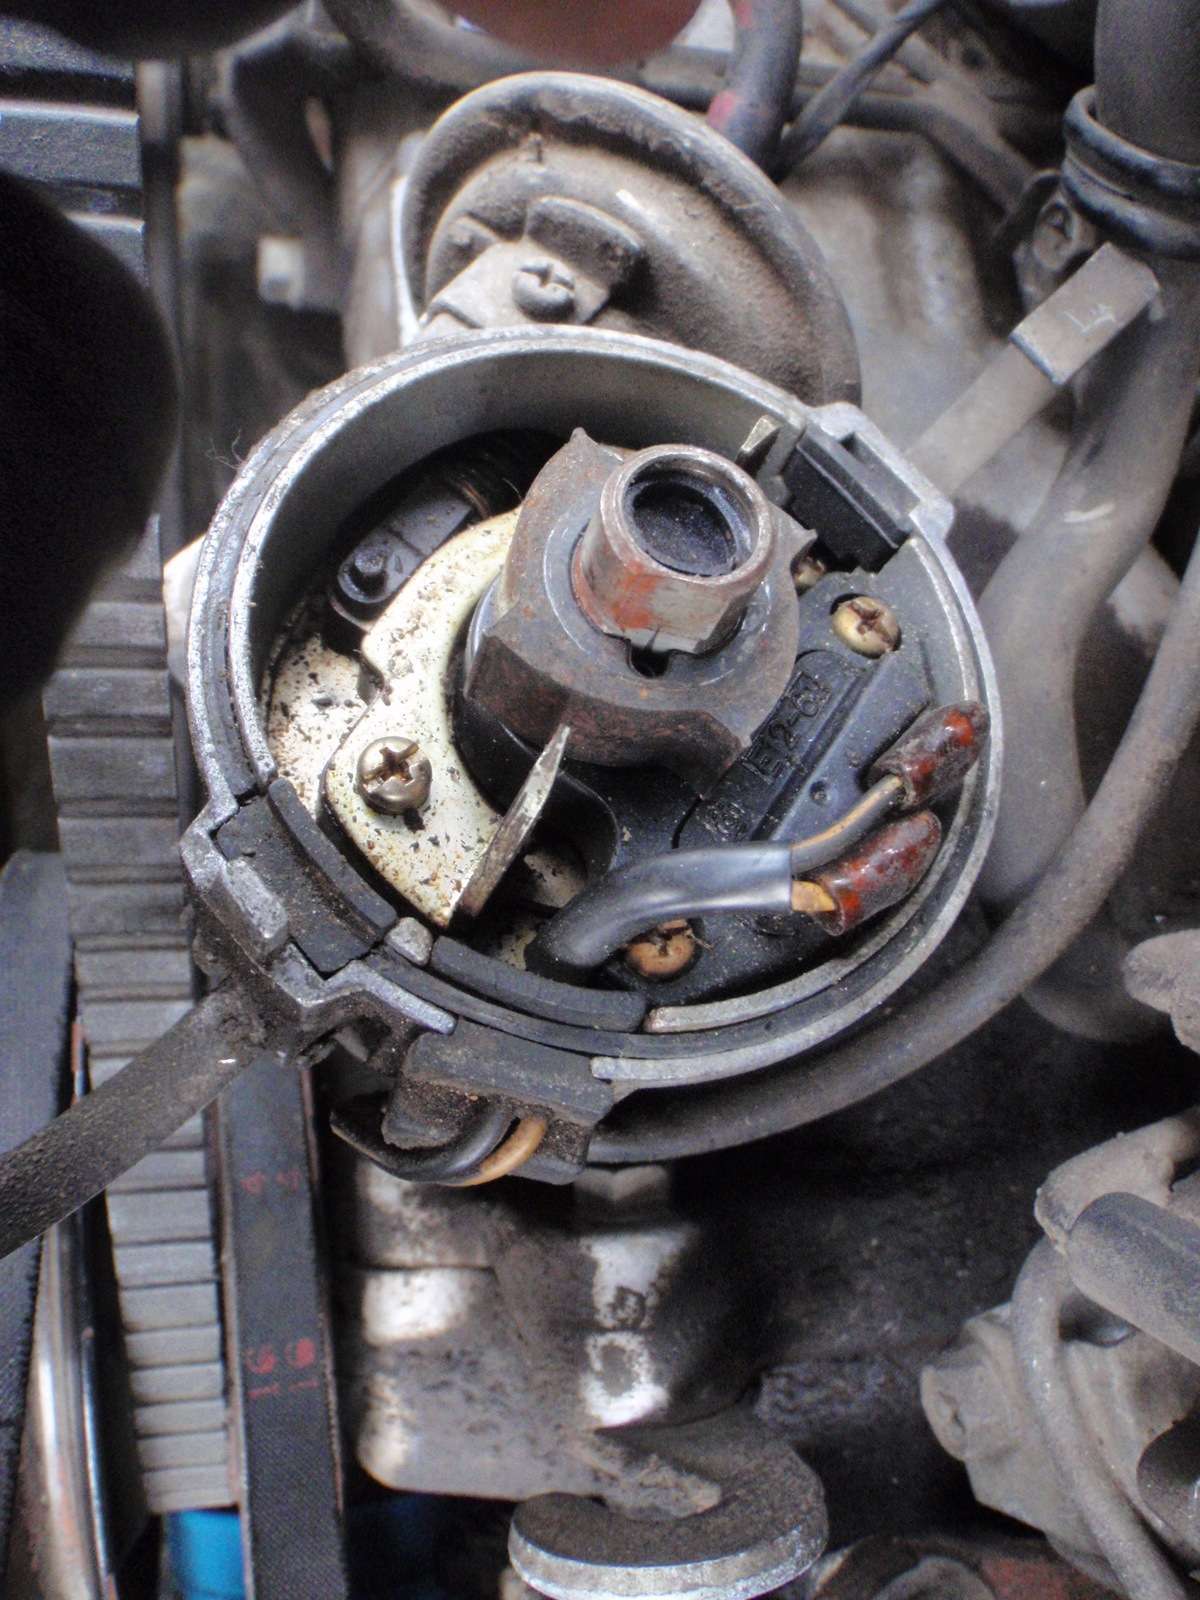
5 minutes to replace it from a unit I had stashed away and boom - he fired up without issue or effort! Stoked. He'd sat since Easter when I couldn't get him to go even with a spark plug check, new coil, battery charge - I knew something was up when I did the coil swap for a new item and he fired up first go only then to idle very smoothly for 3 minutes then die without being able to resurrect him.
That sorted he was then displaying a noise from the front left - new brake pads needed. So he'd got new pads up front and a new set of shoes to go in the rear when I find the time.
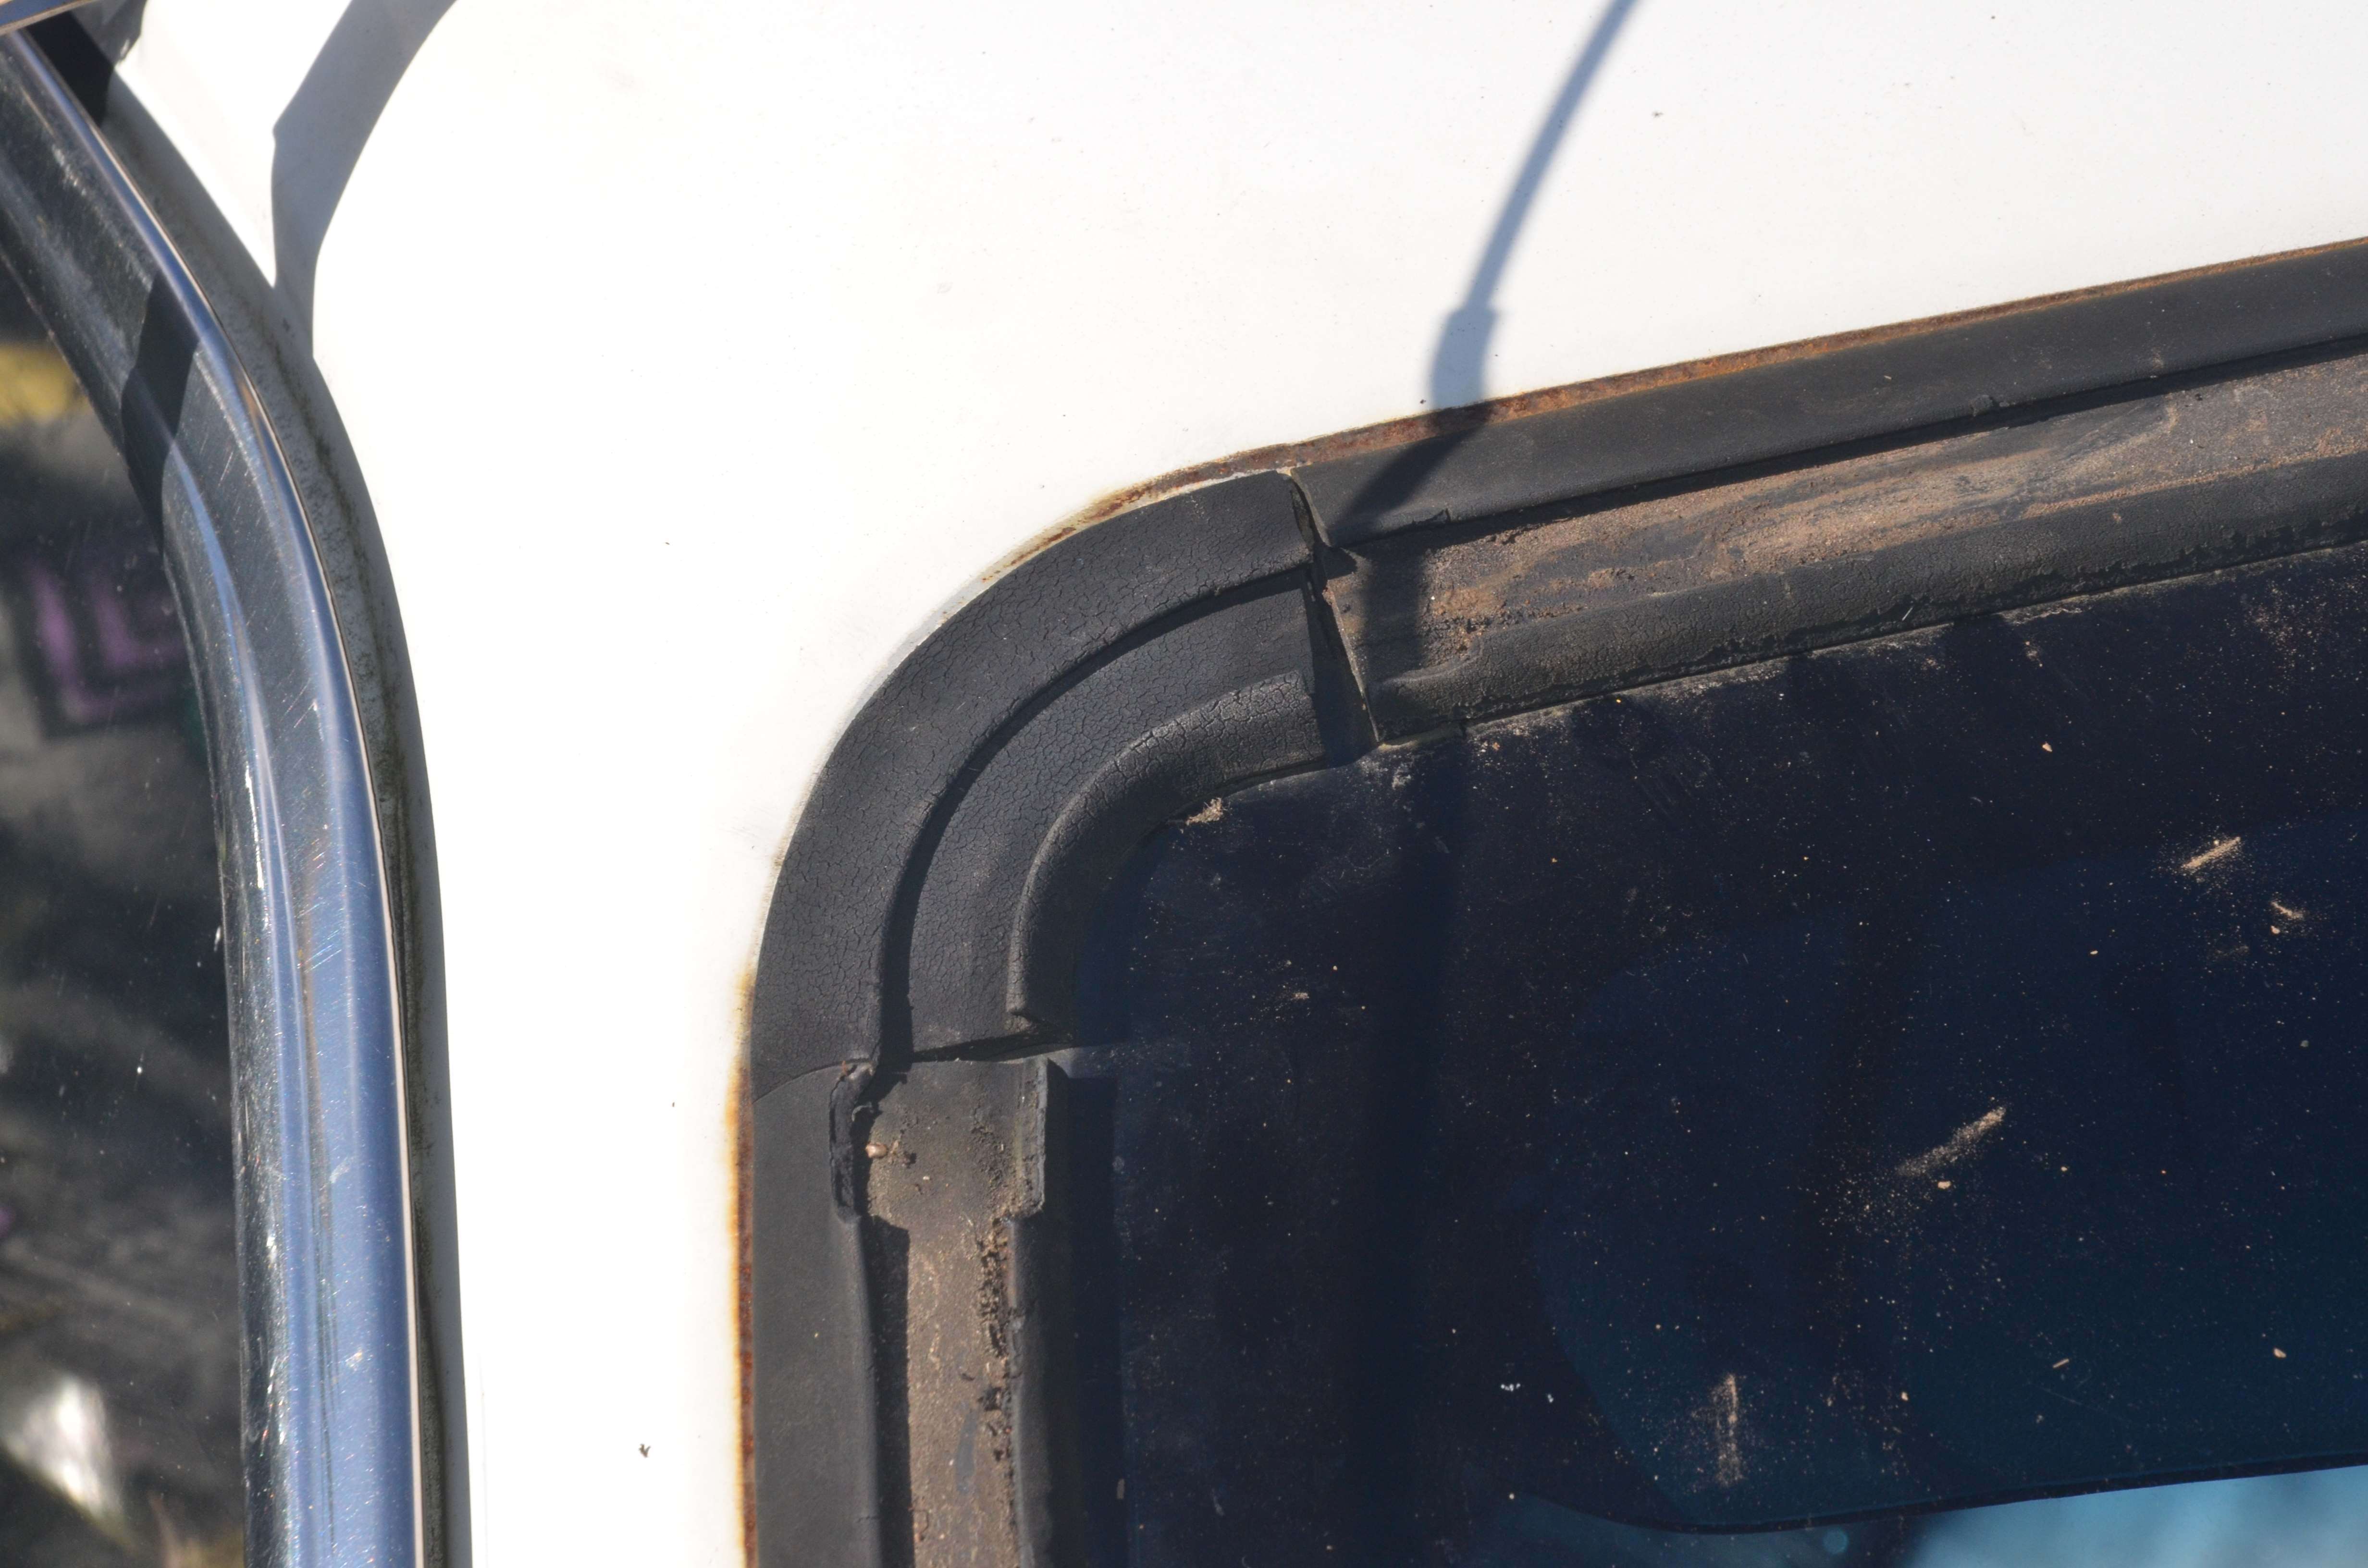
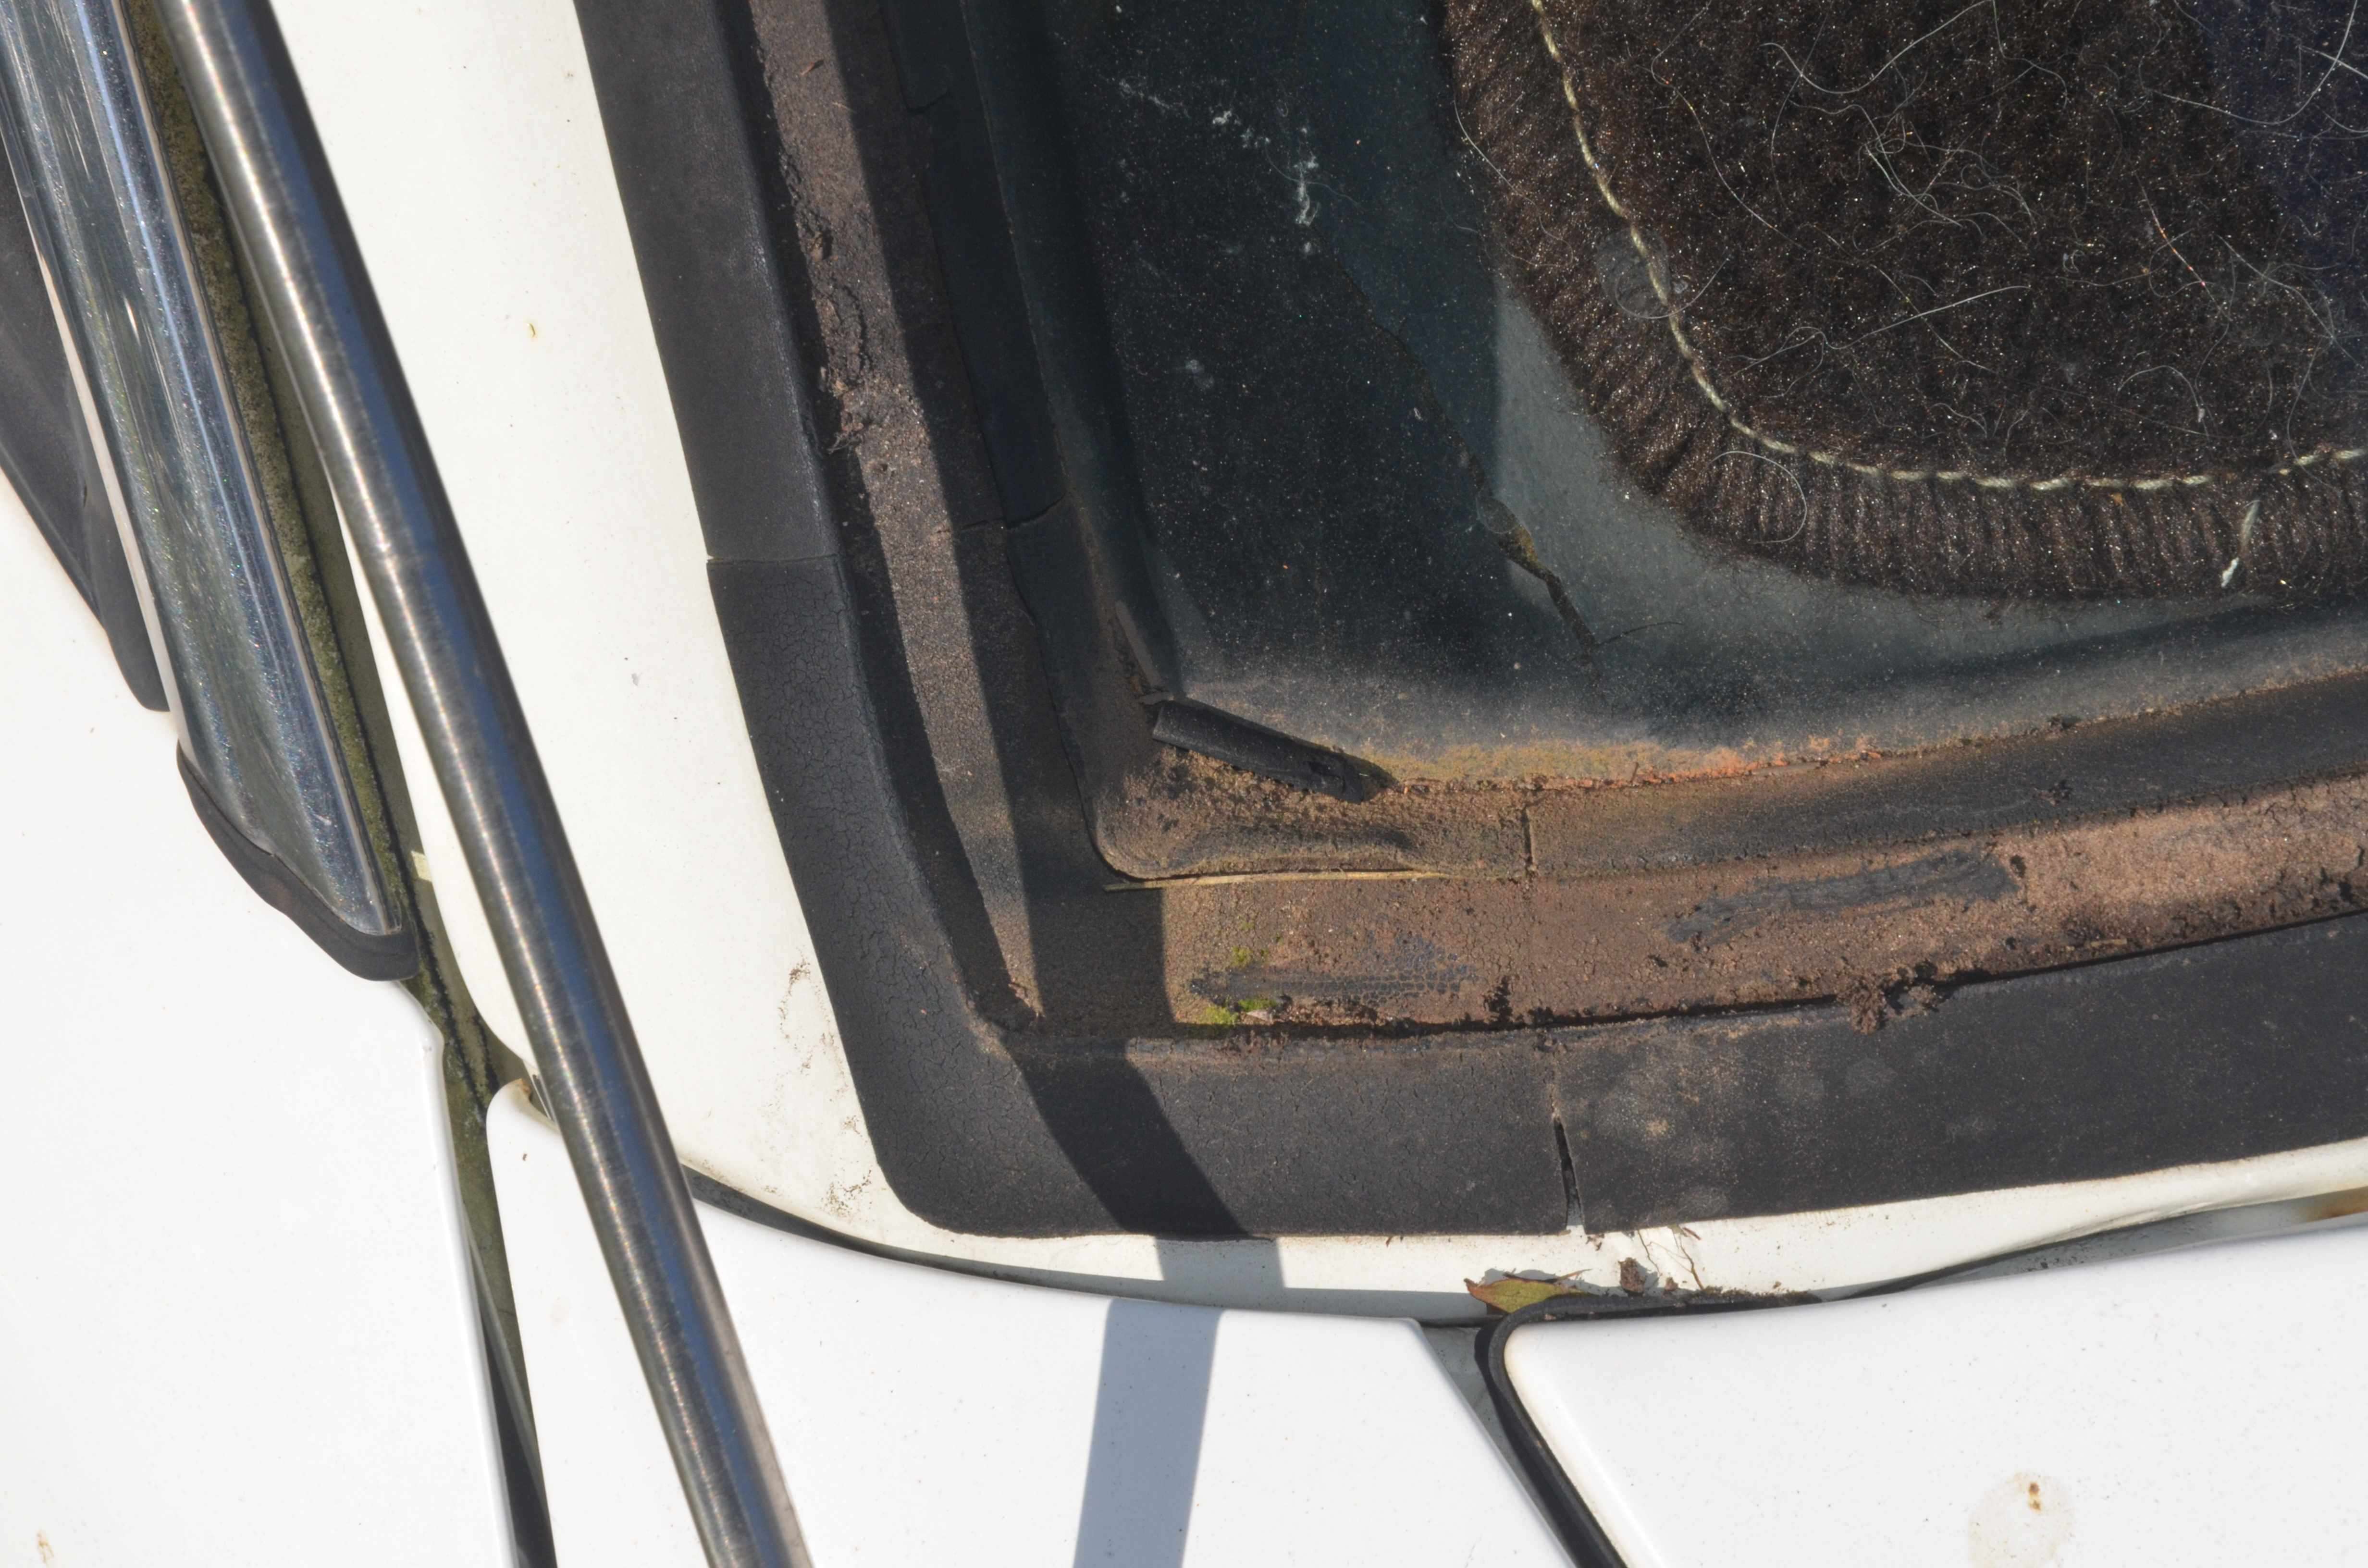
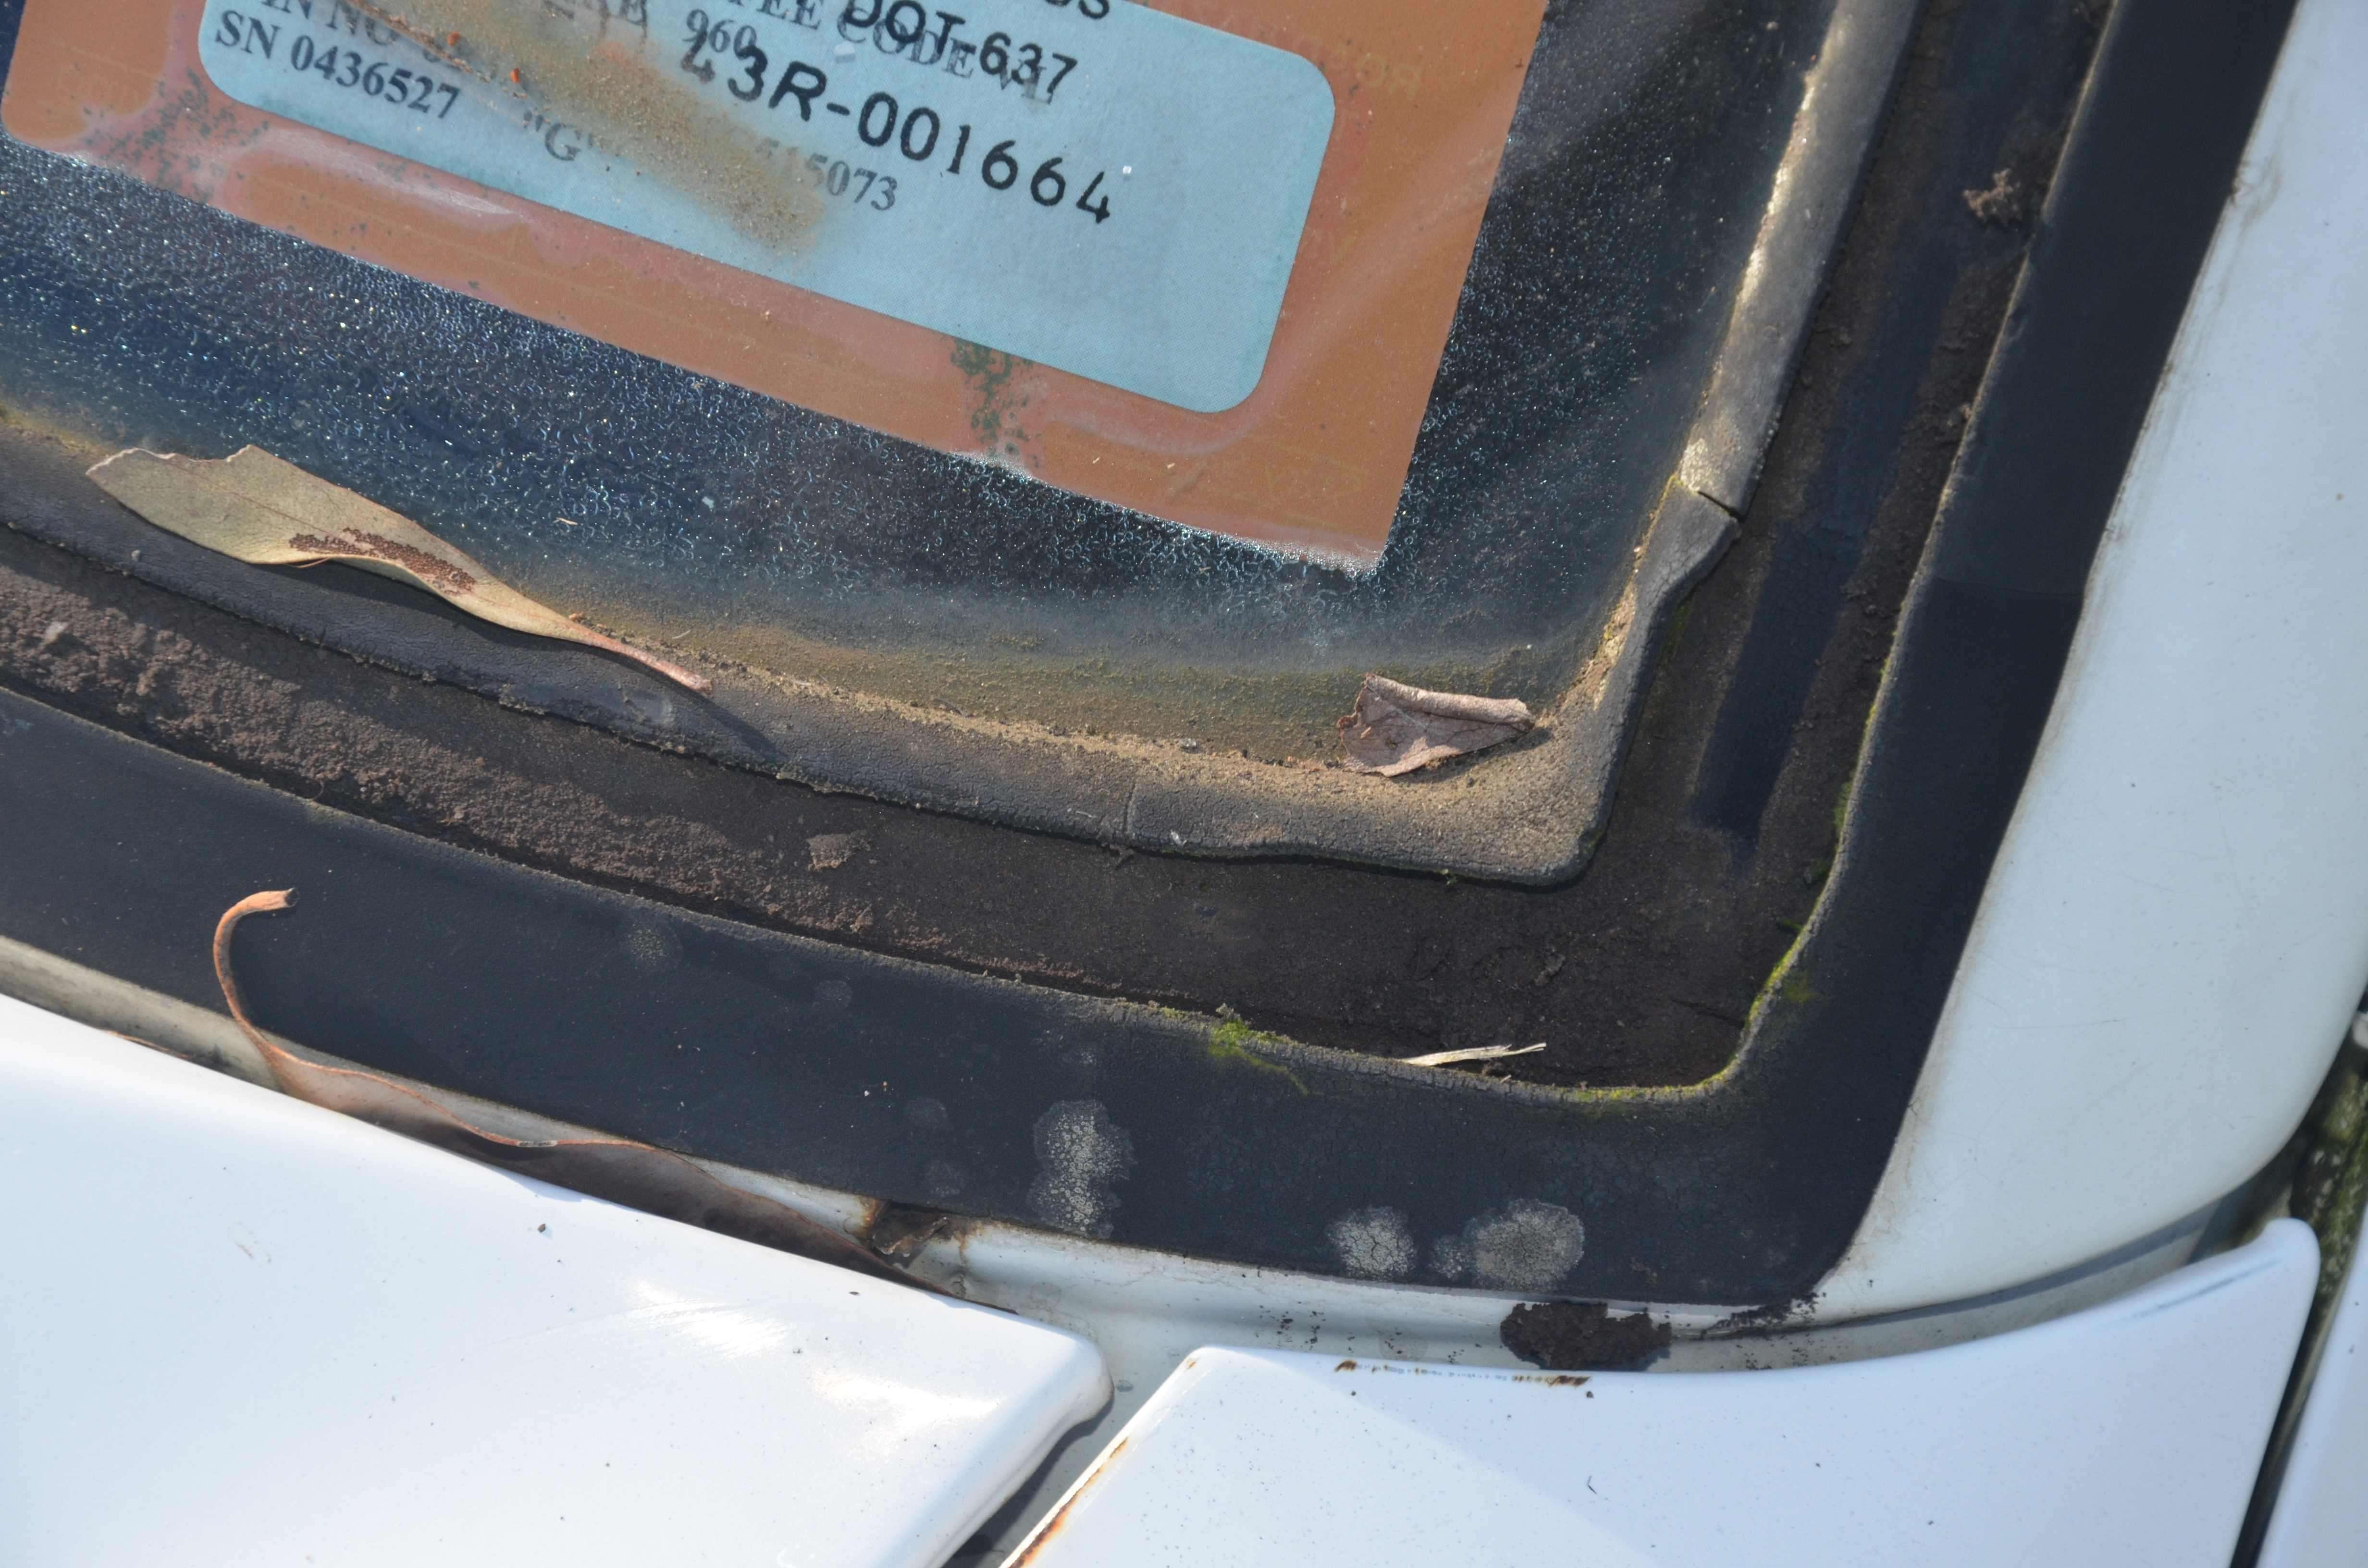
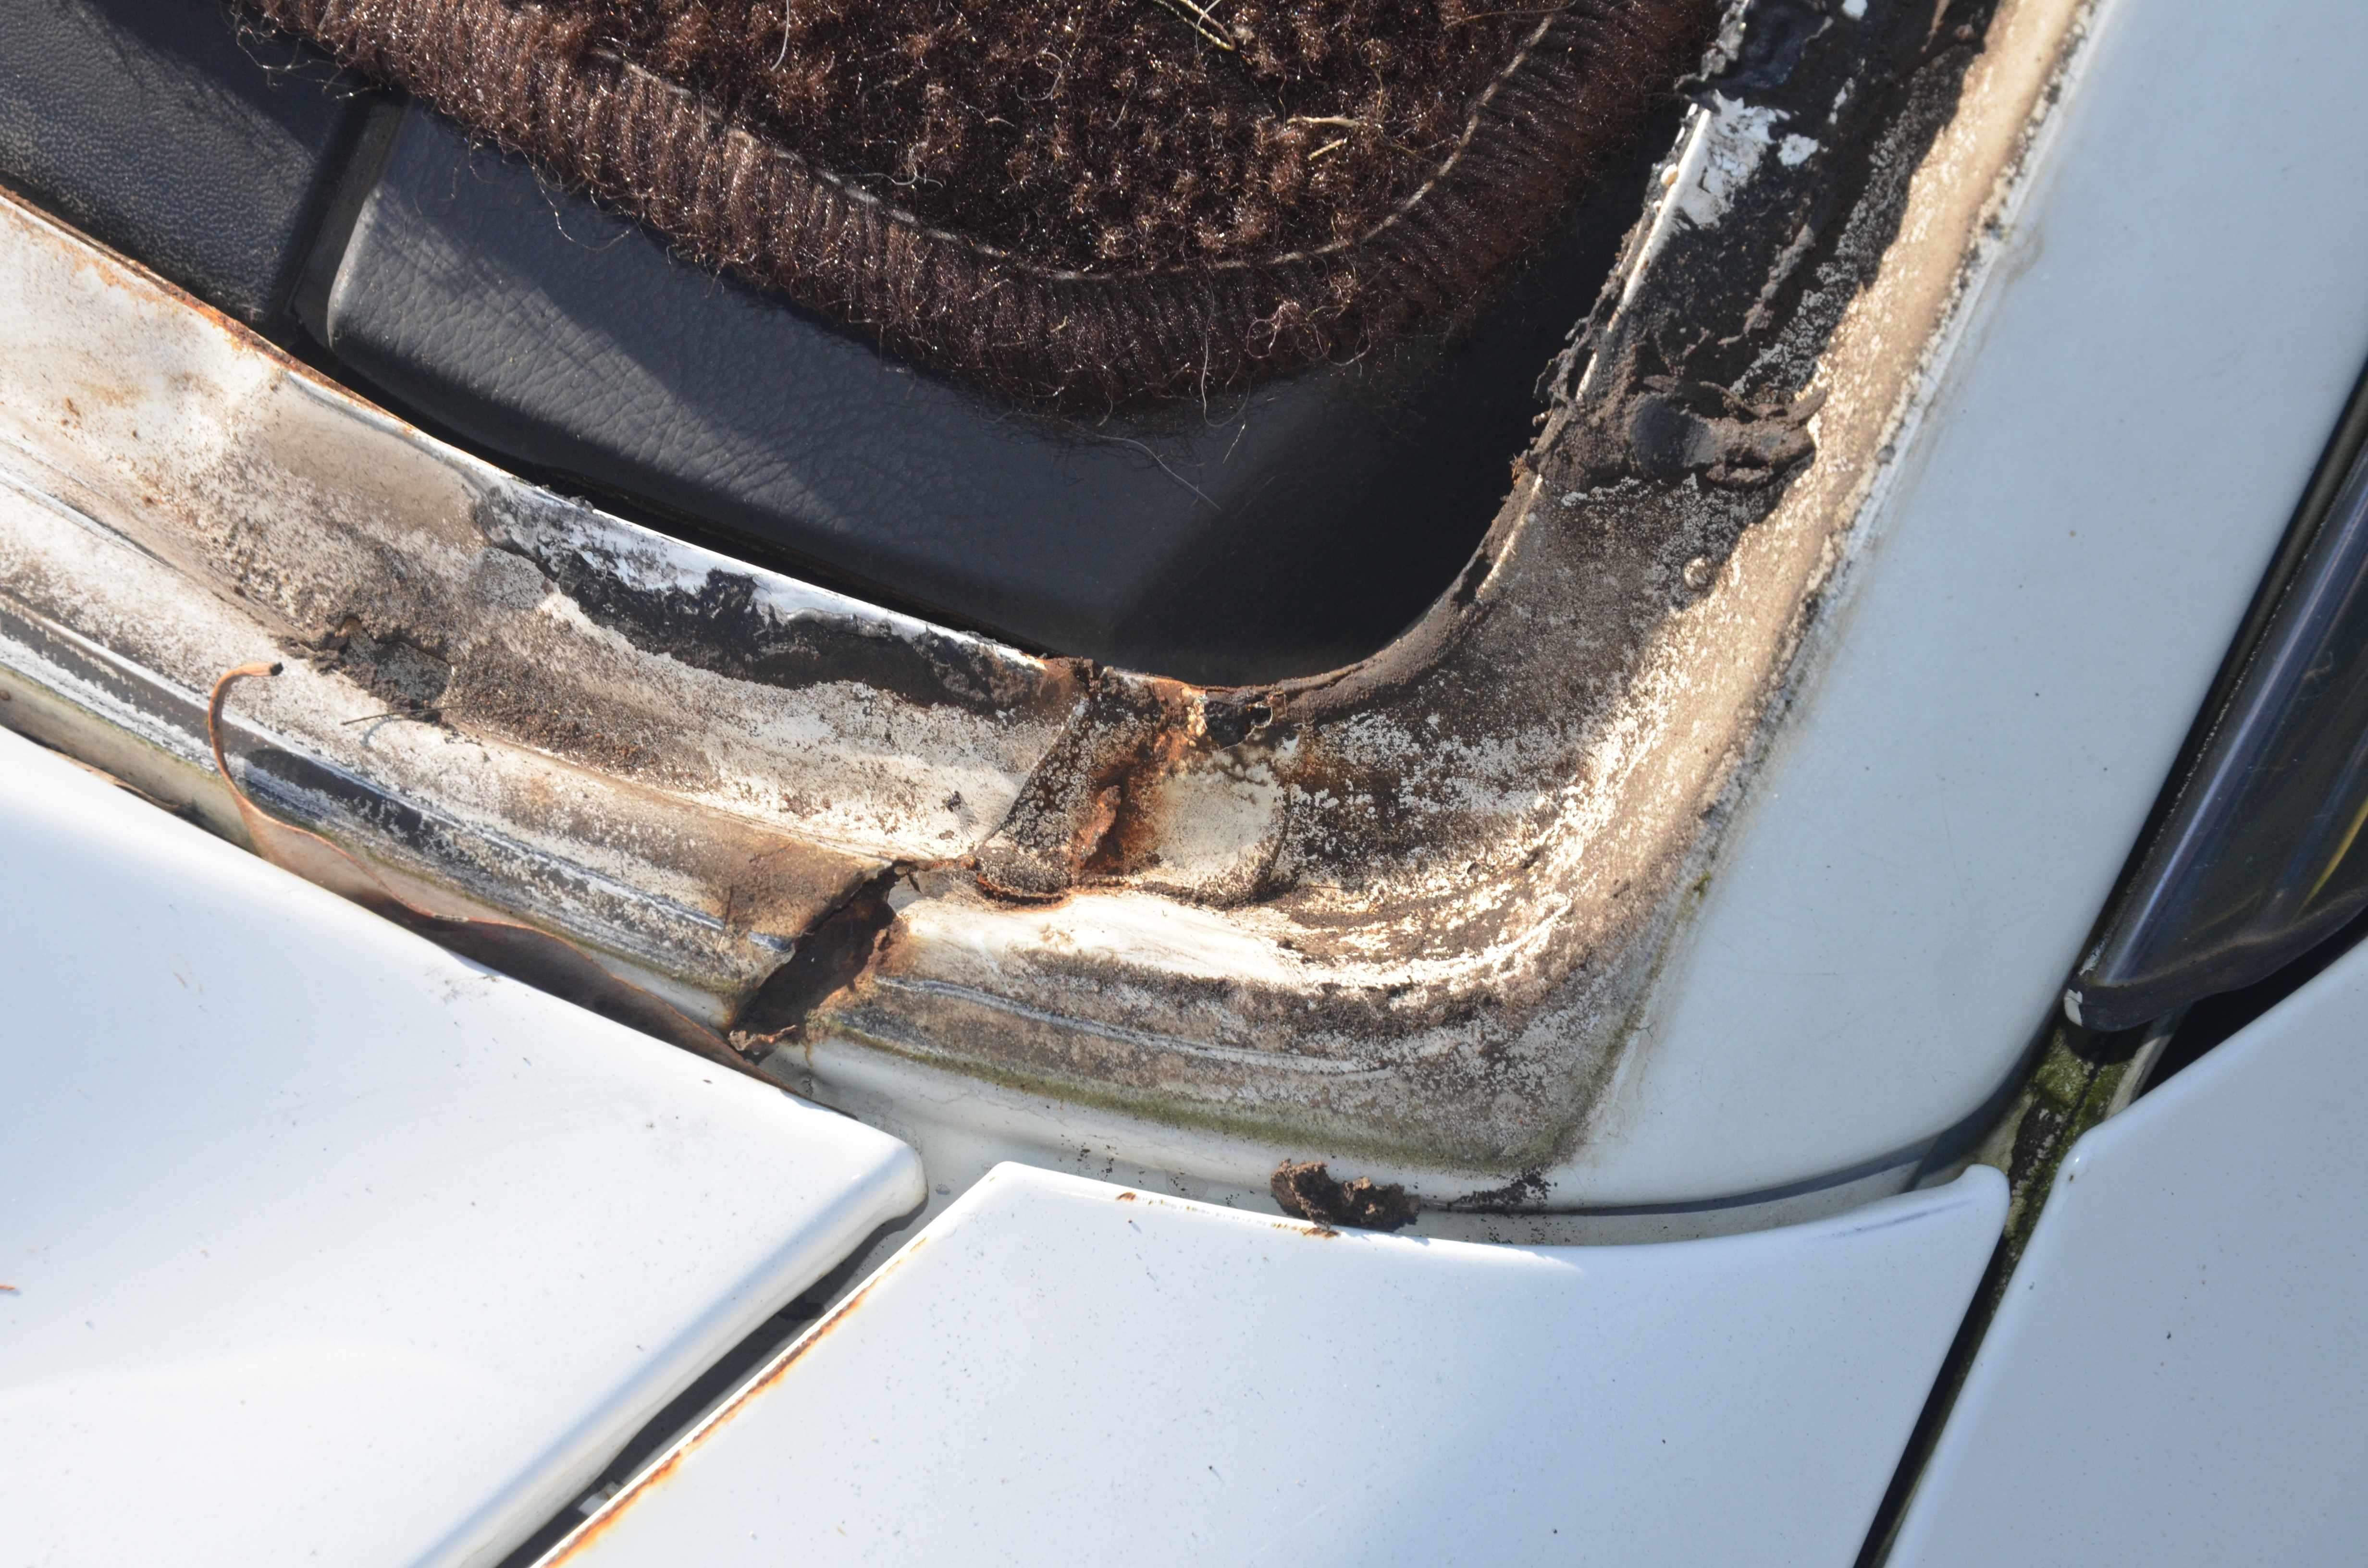
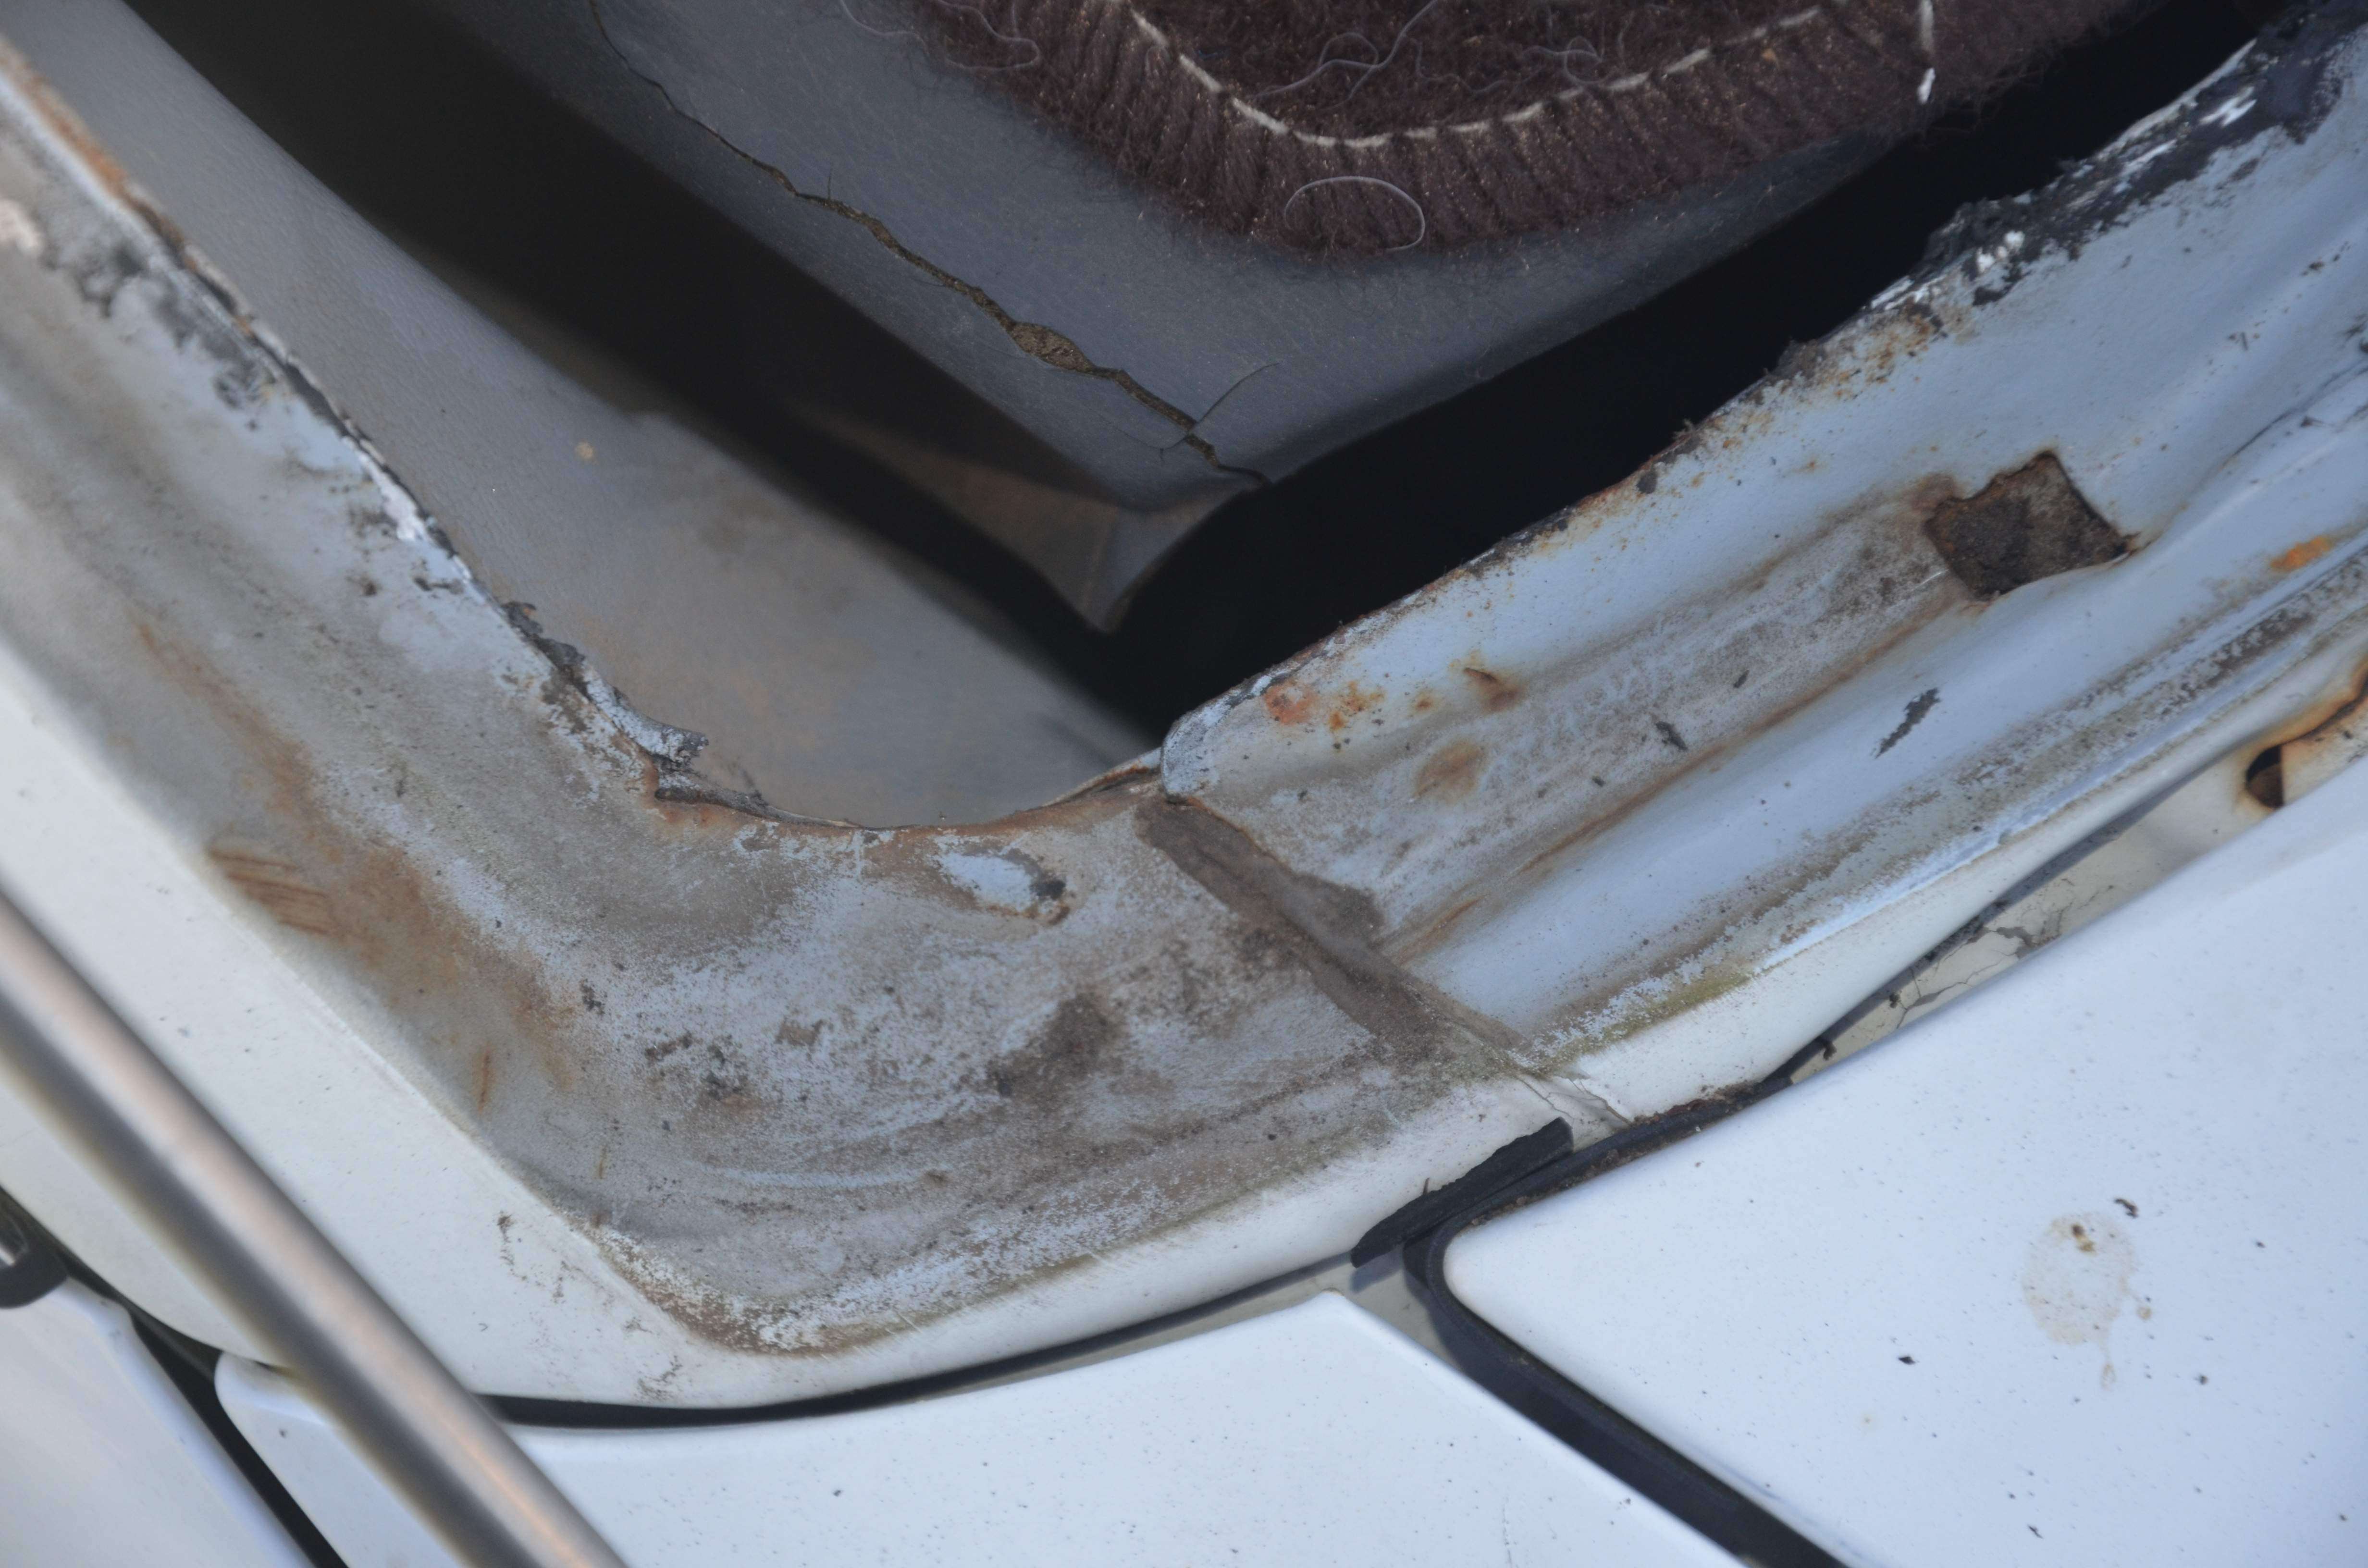
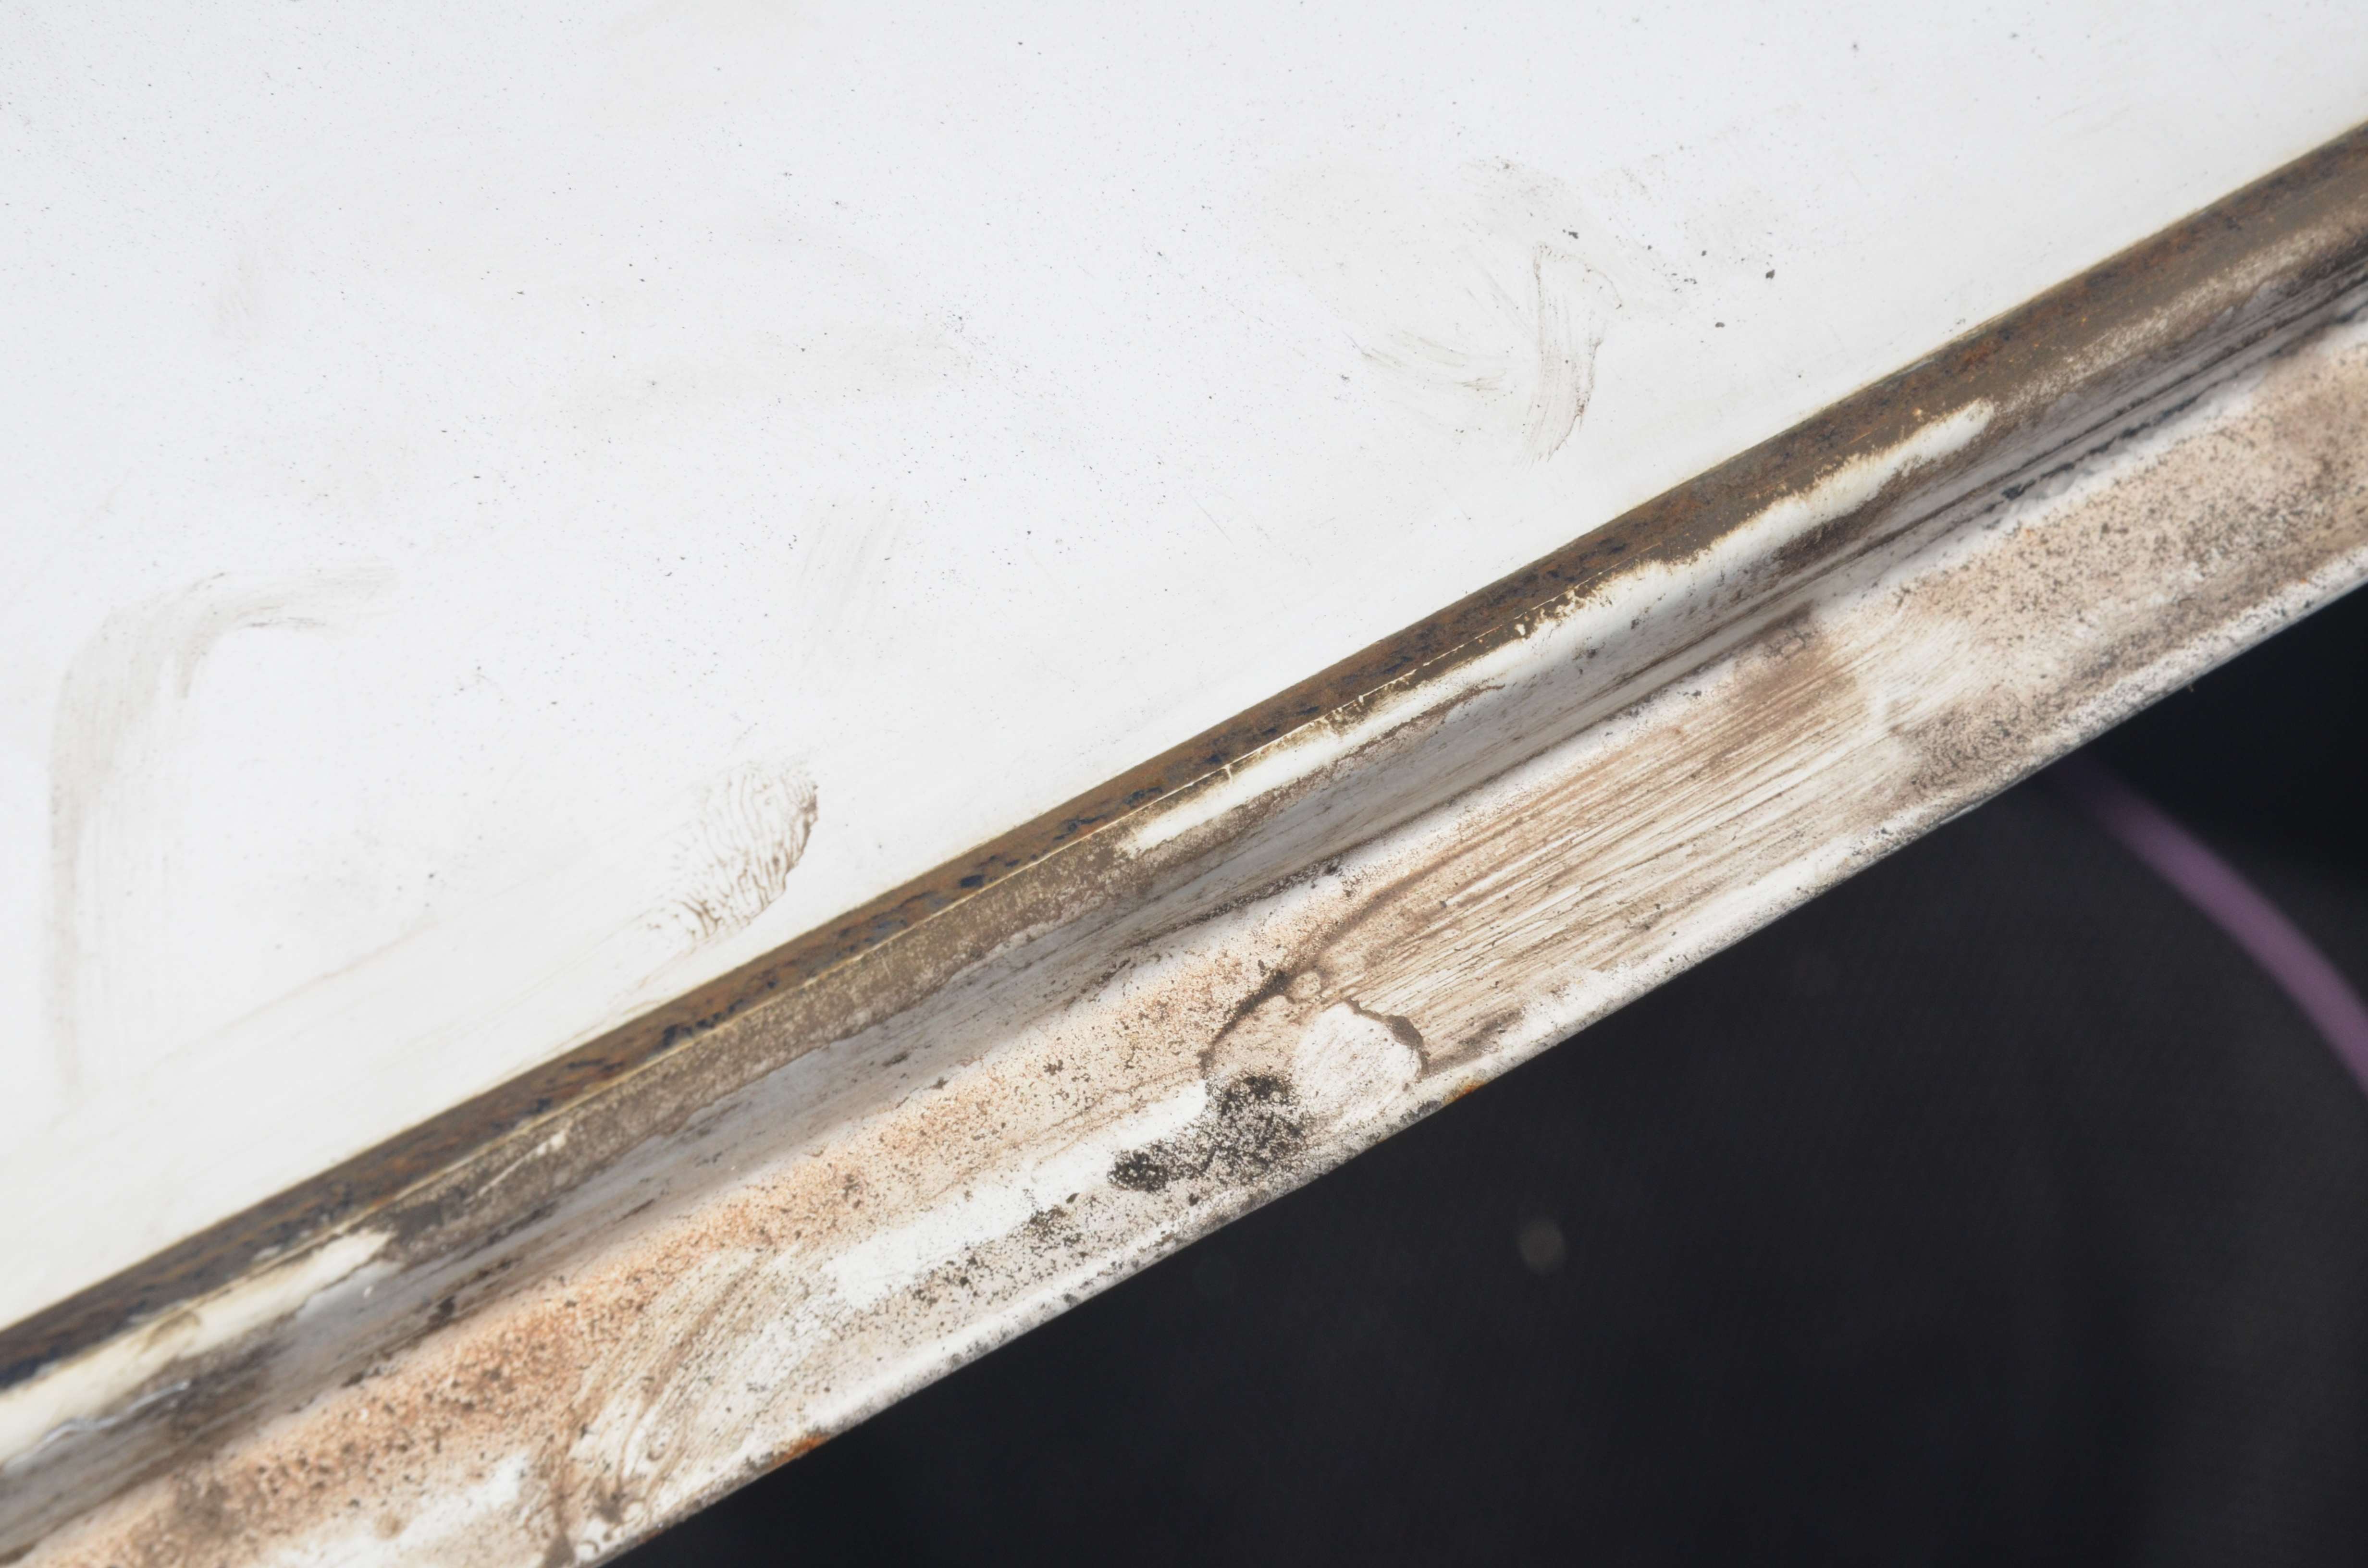
I've also found out that his windscreen rubber needs replacing as there's evidence of water on the floor after rain, this issue presented after we got him back from his body works but then it stopped, it's only just started again. I'm looking into changing the rubber to seal it up - dunno whether I should do this myself or if I should take it to a shop and have them do it for us...
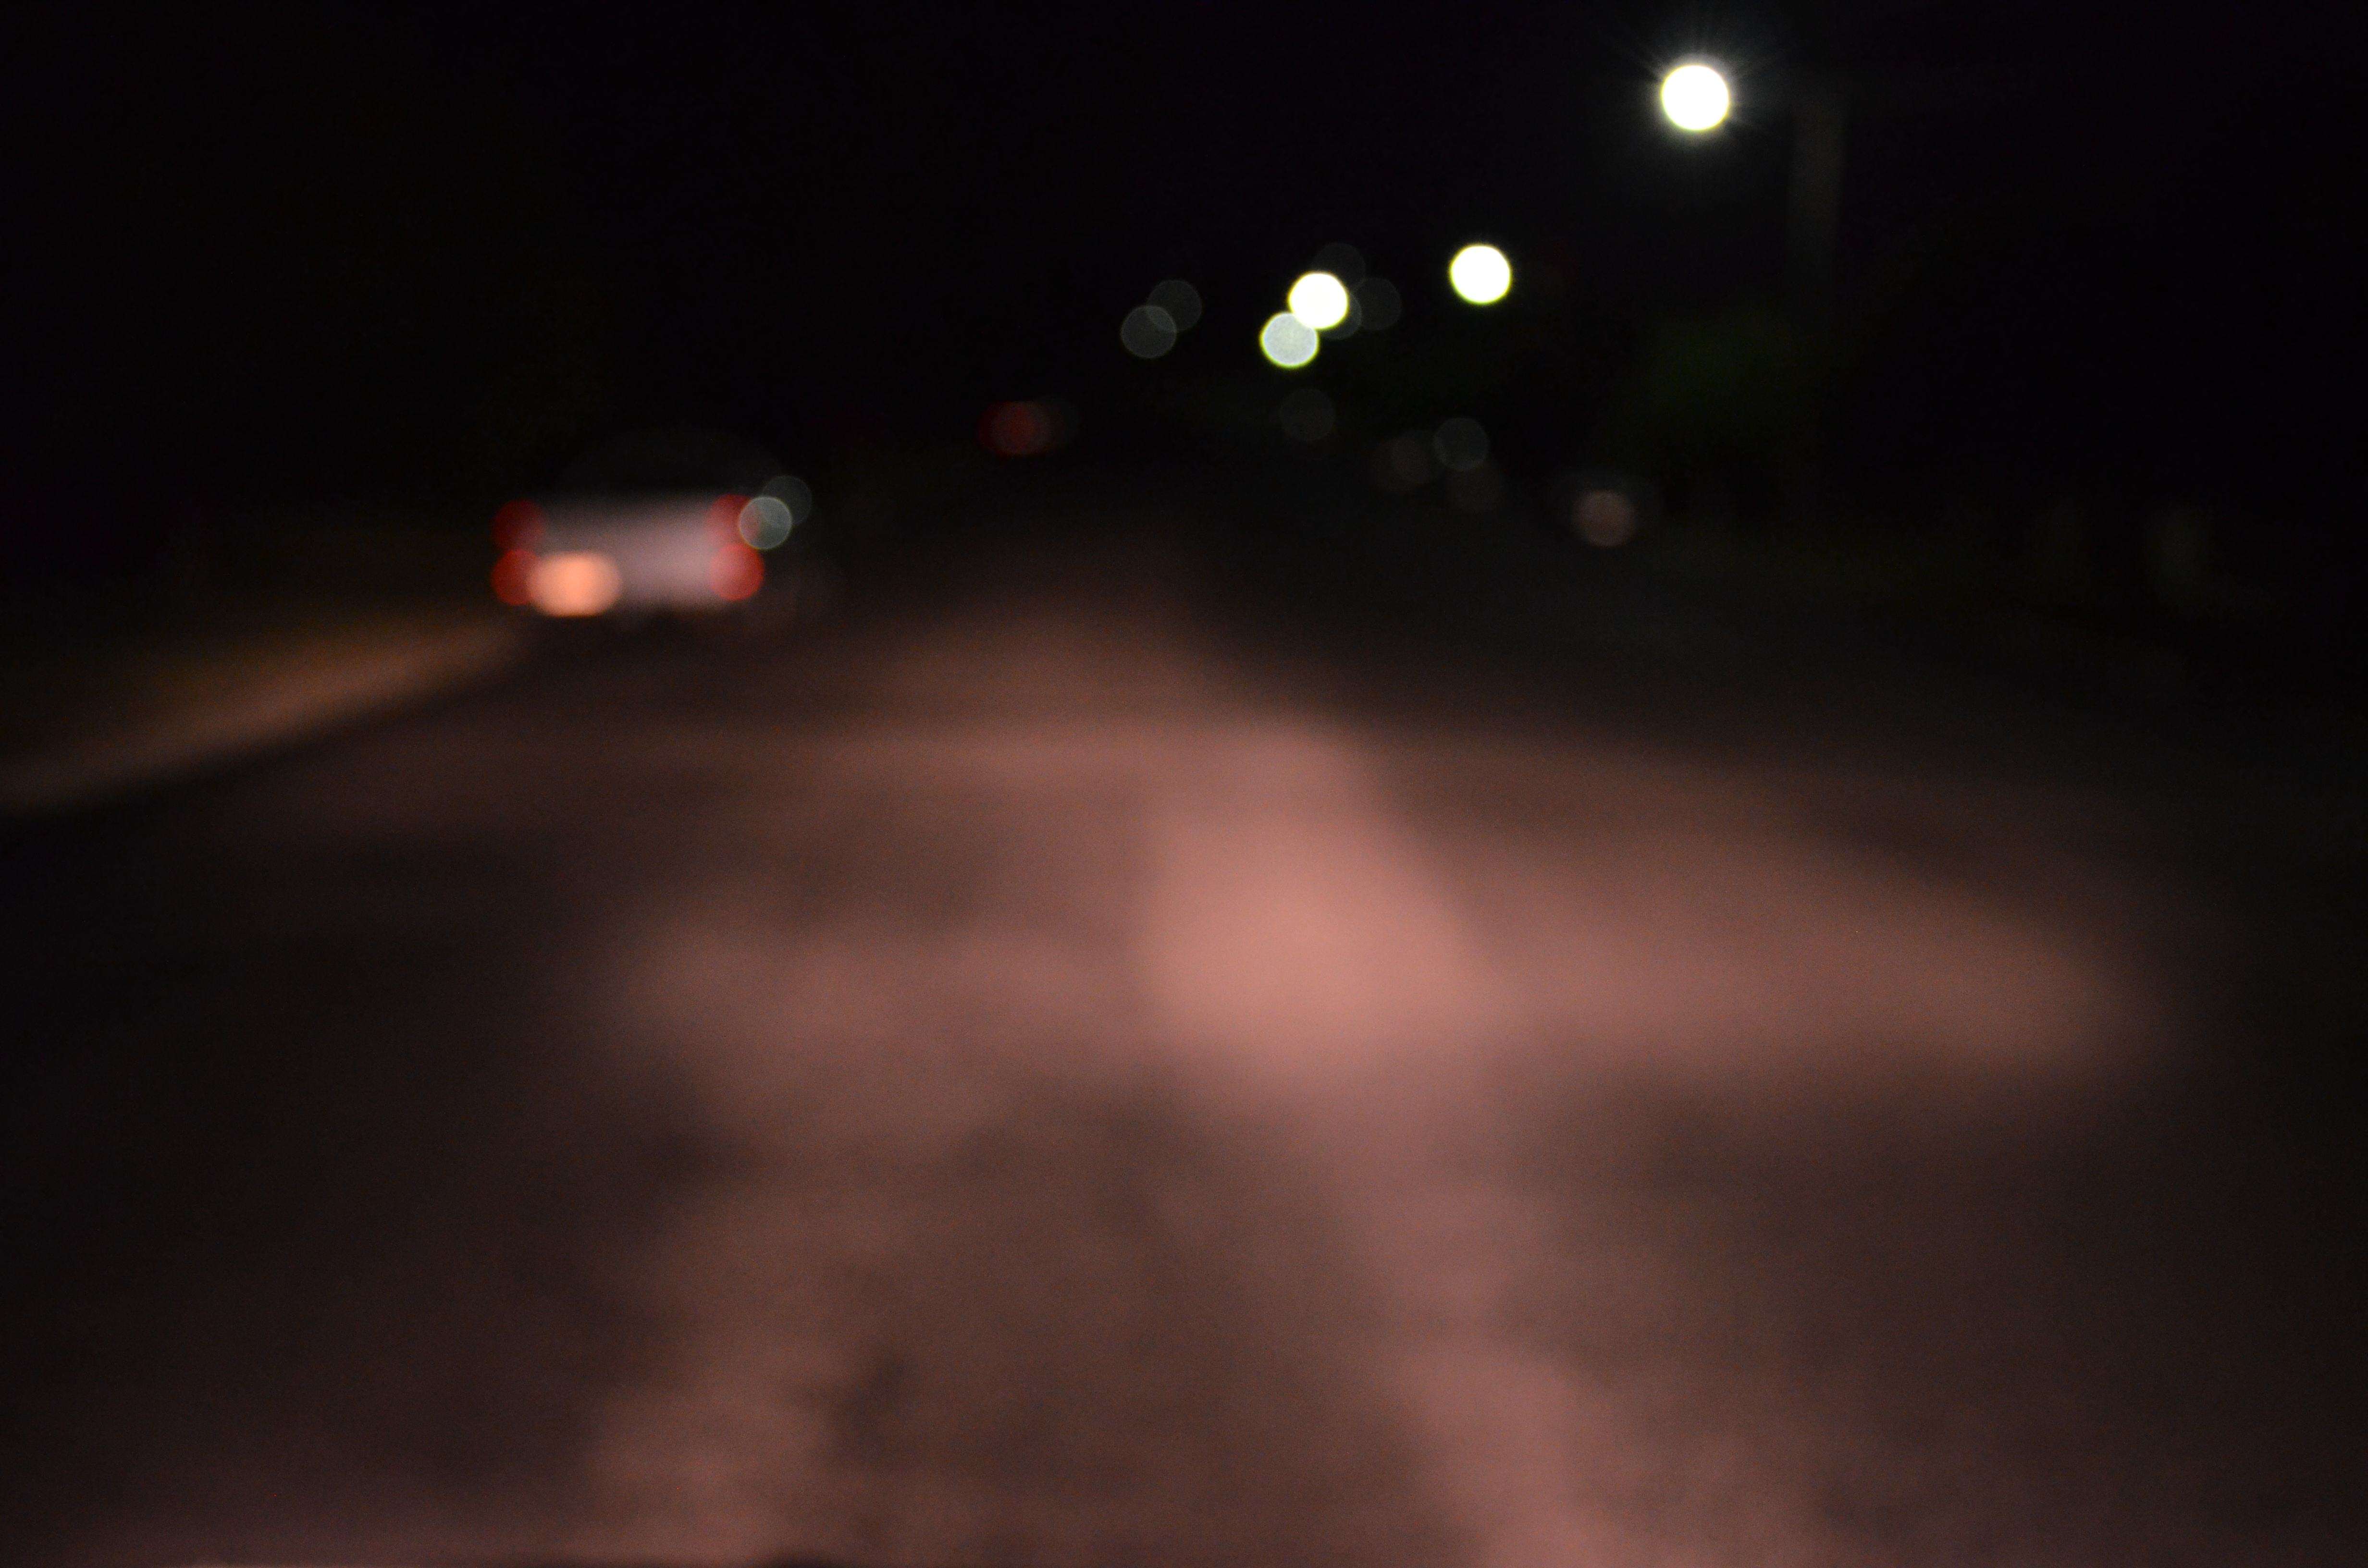
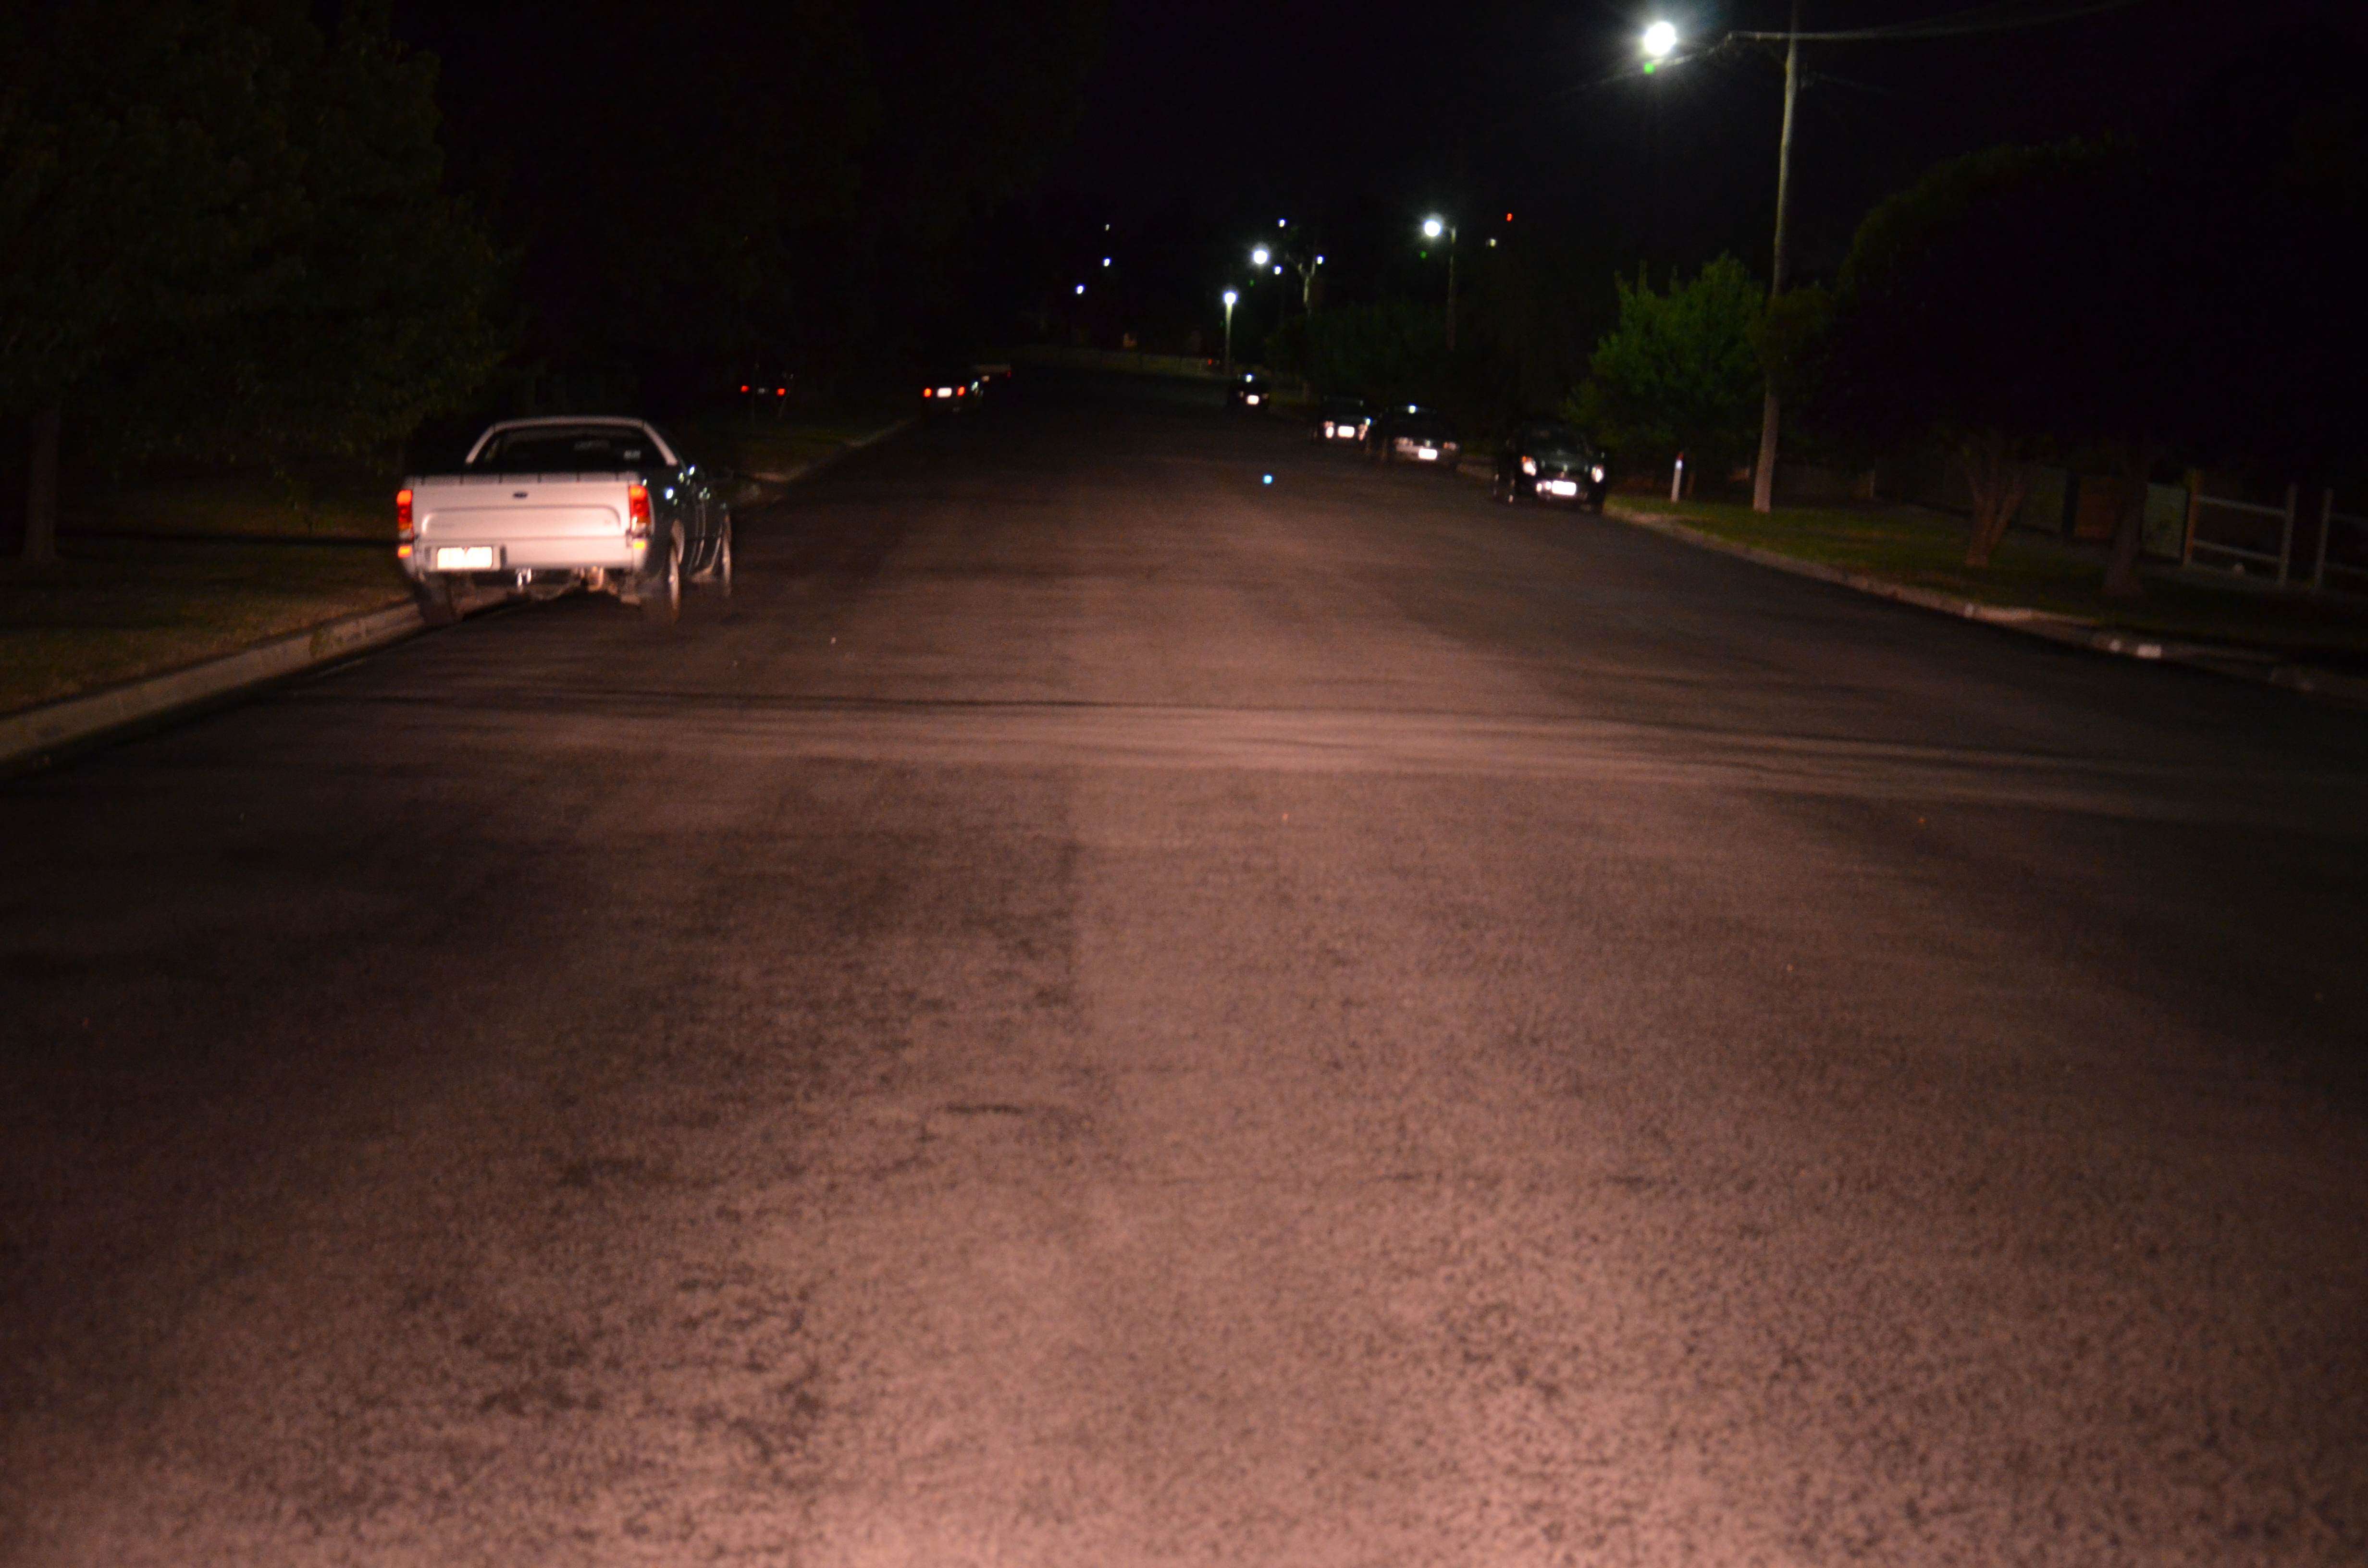
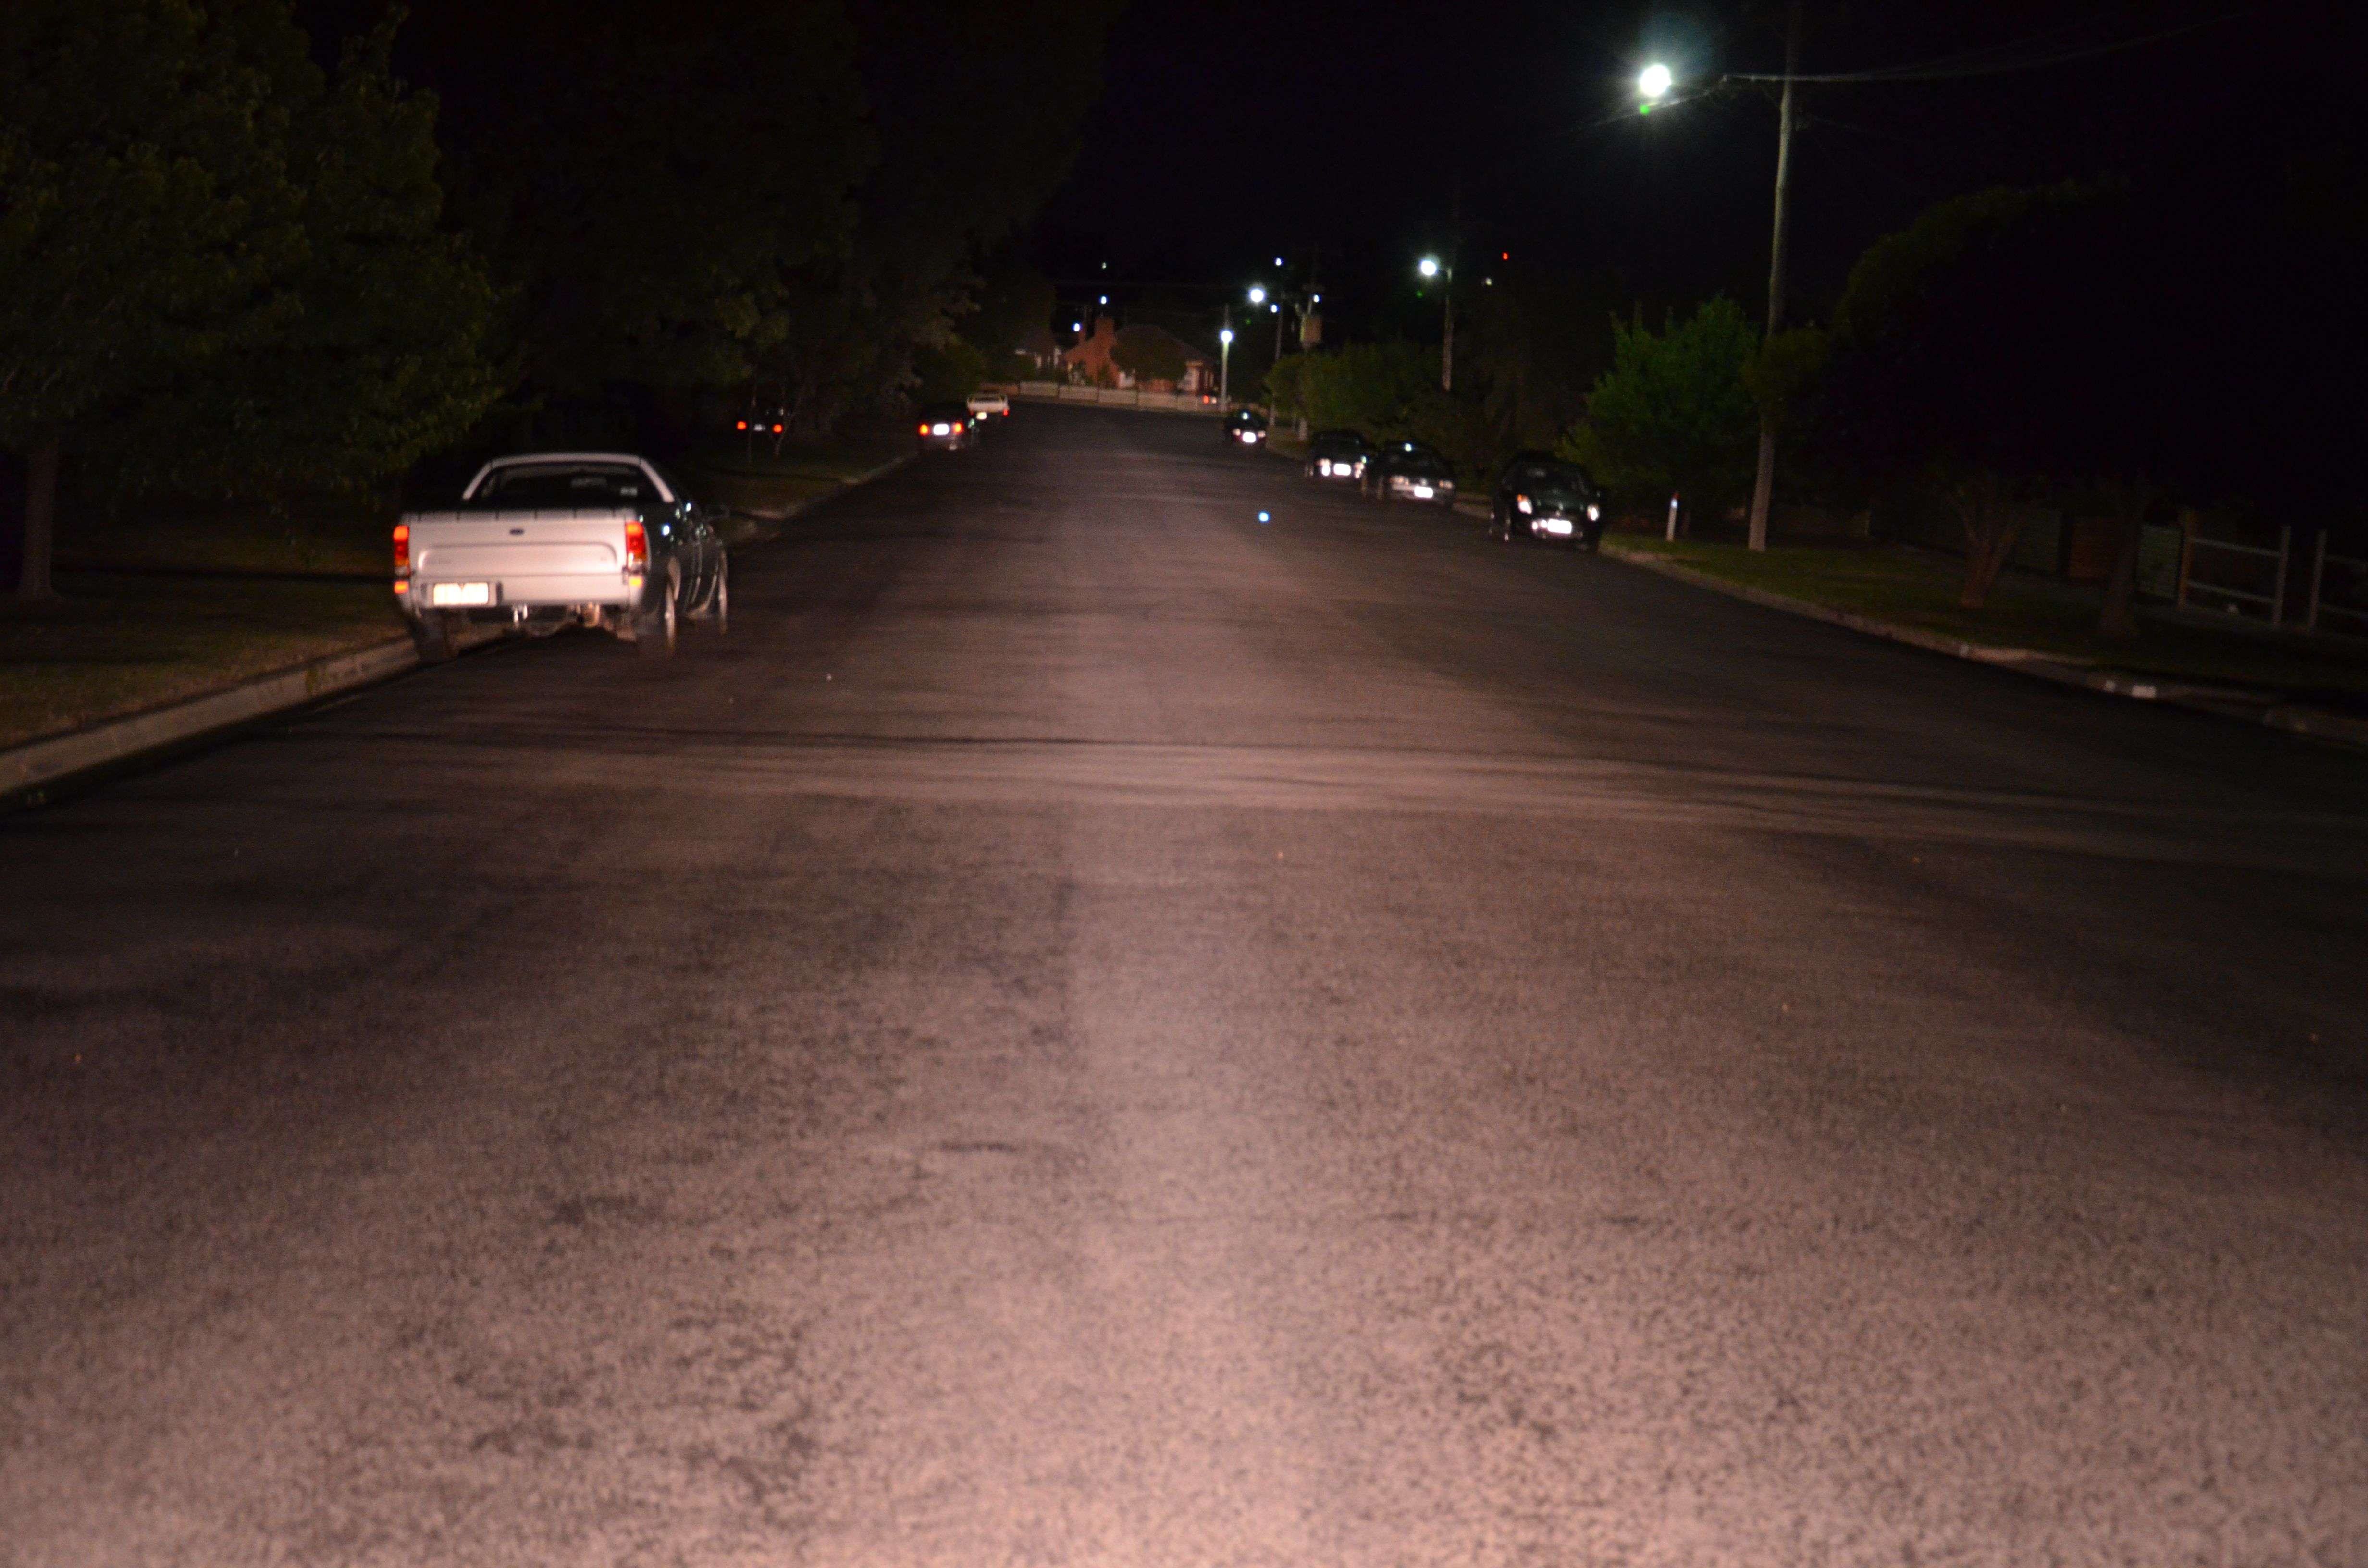
I must admit that I've really enjoyed cruising around in him with the roof glass out and the windows down
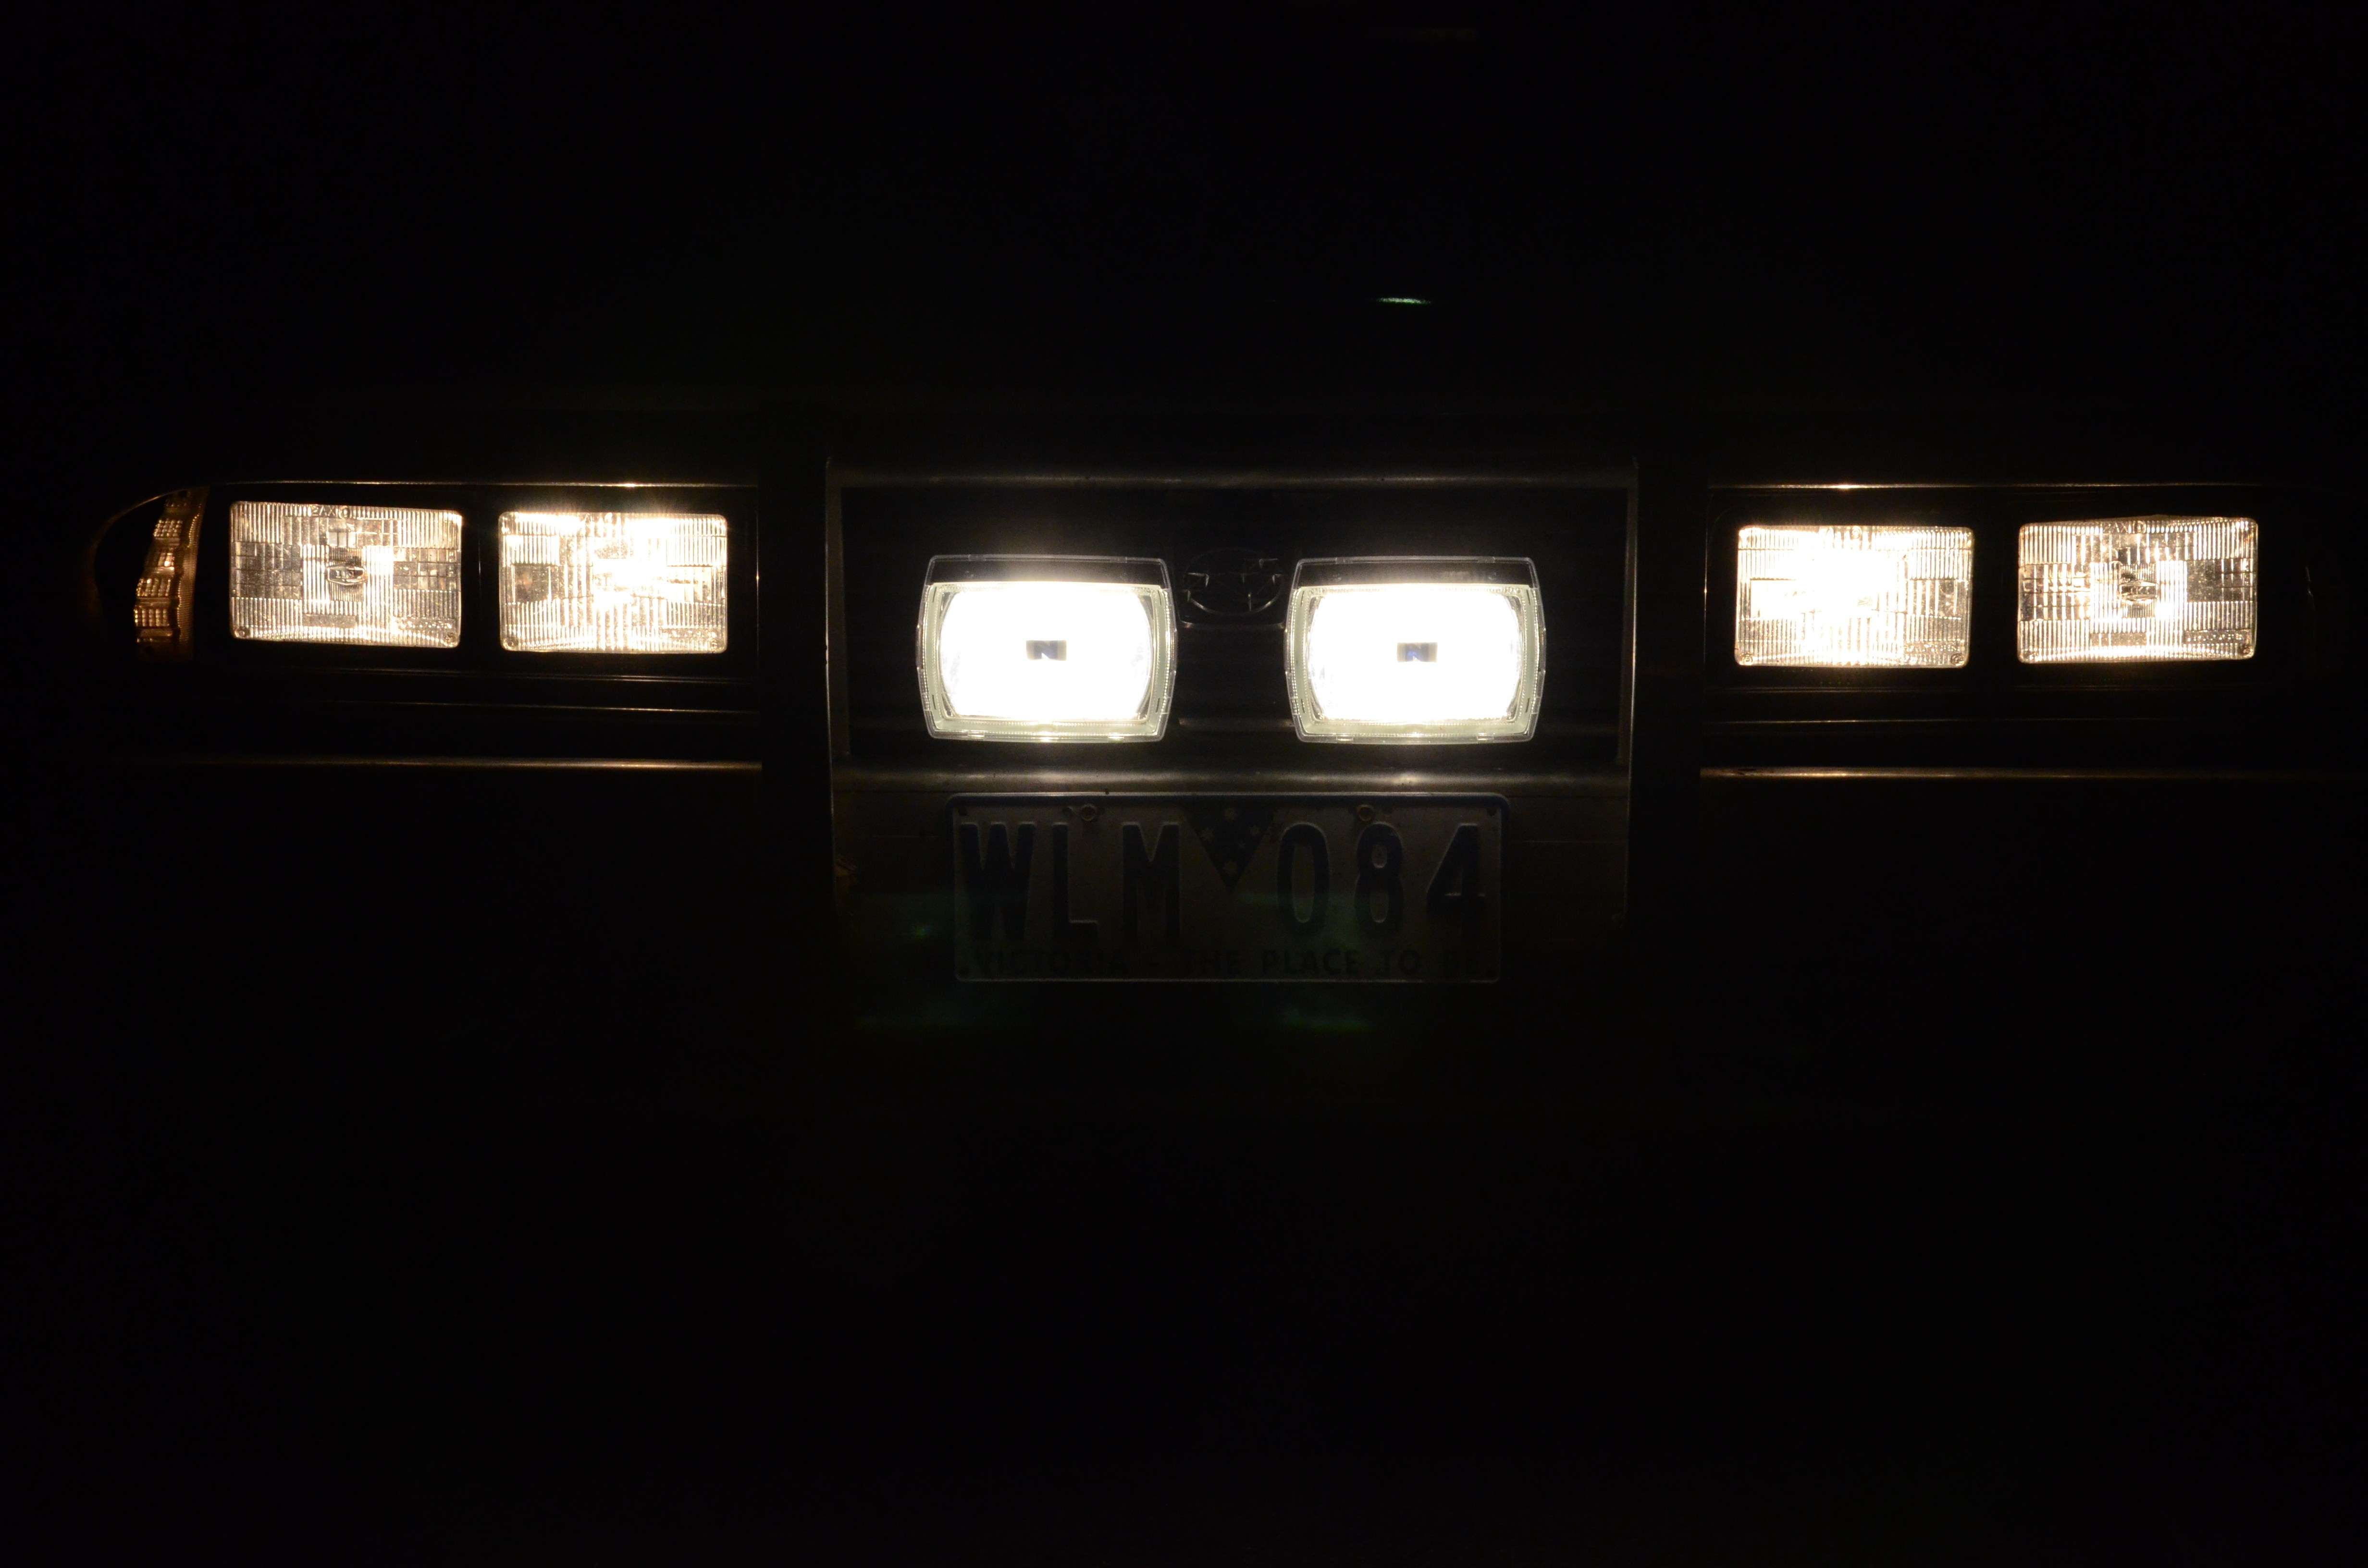
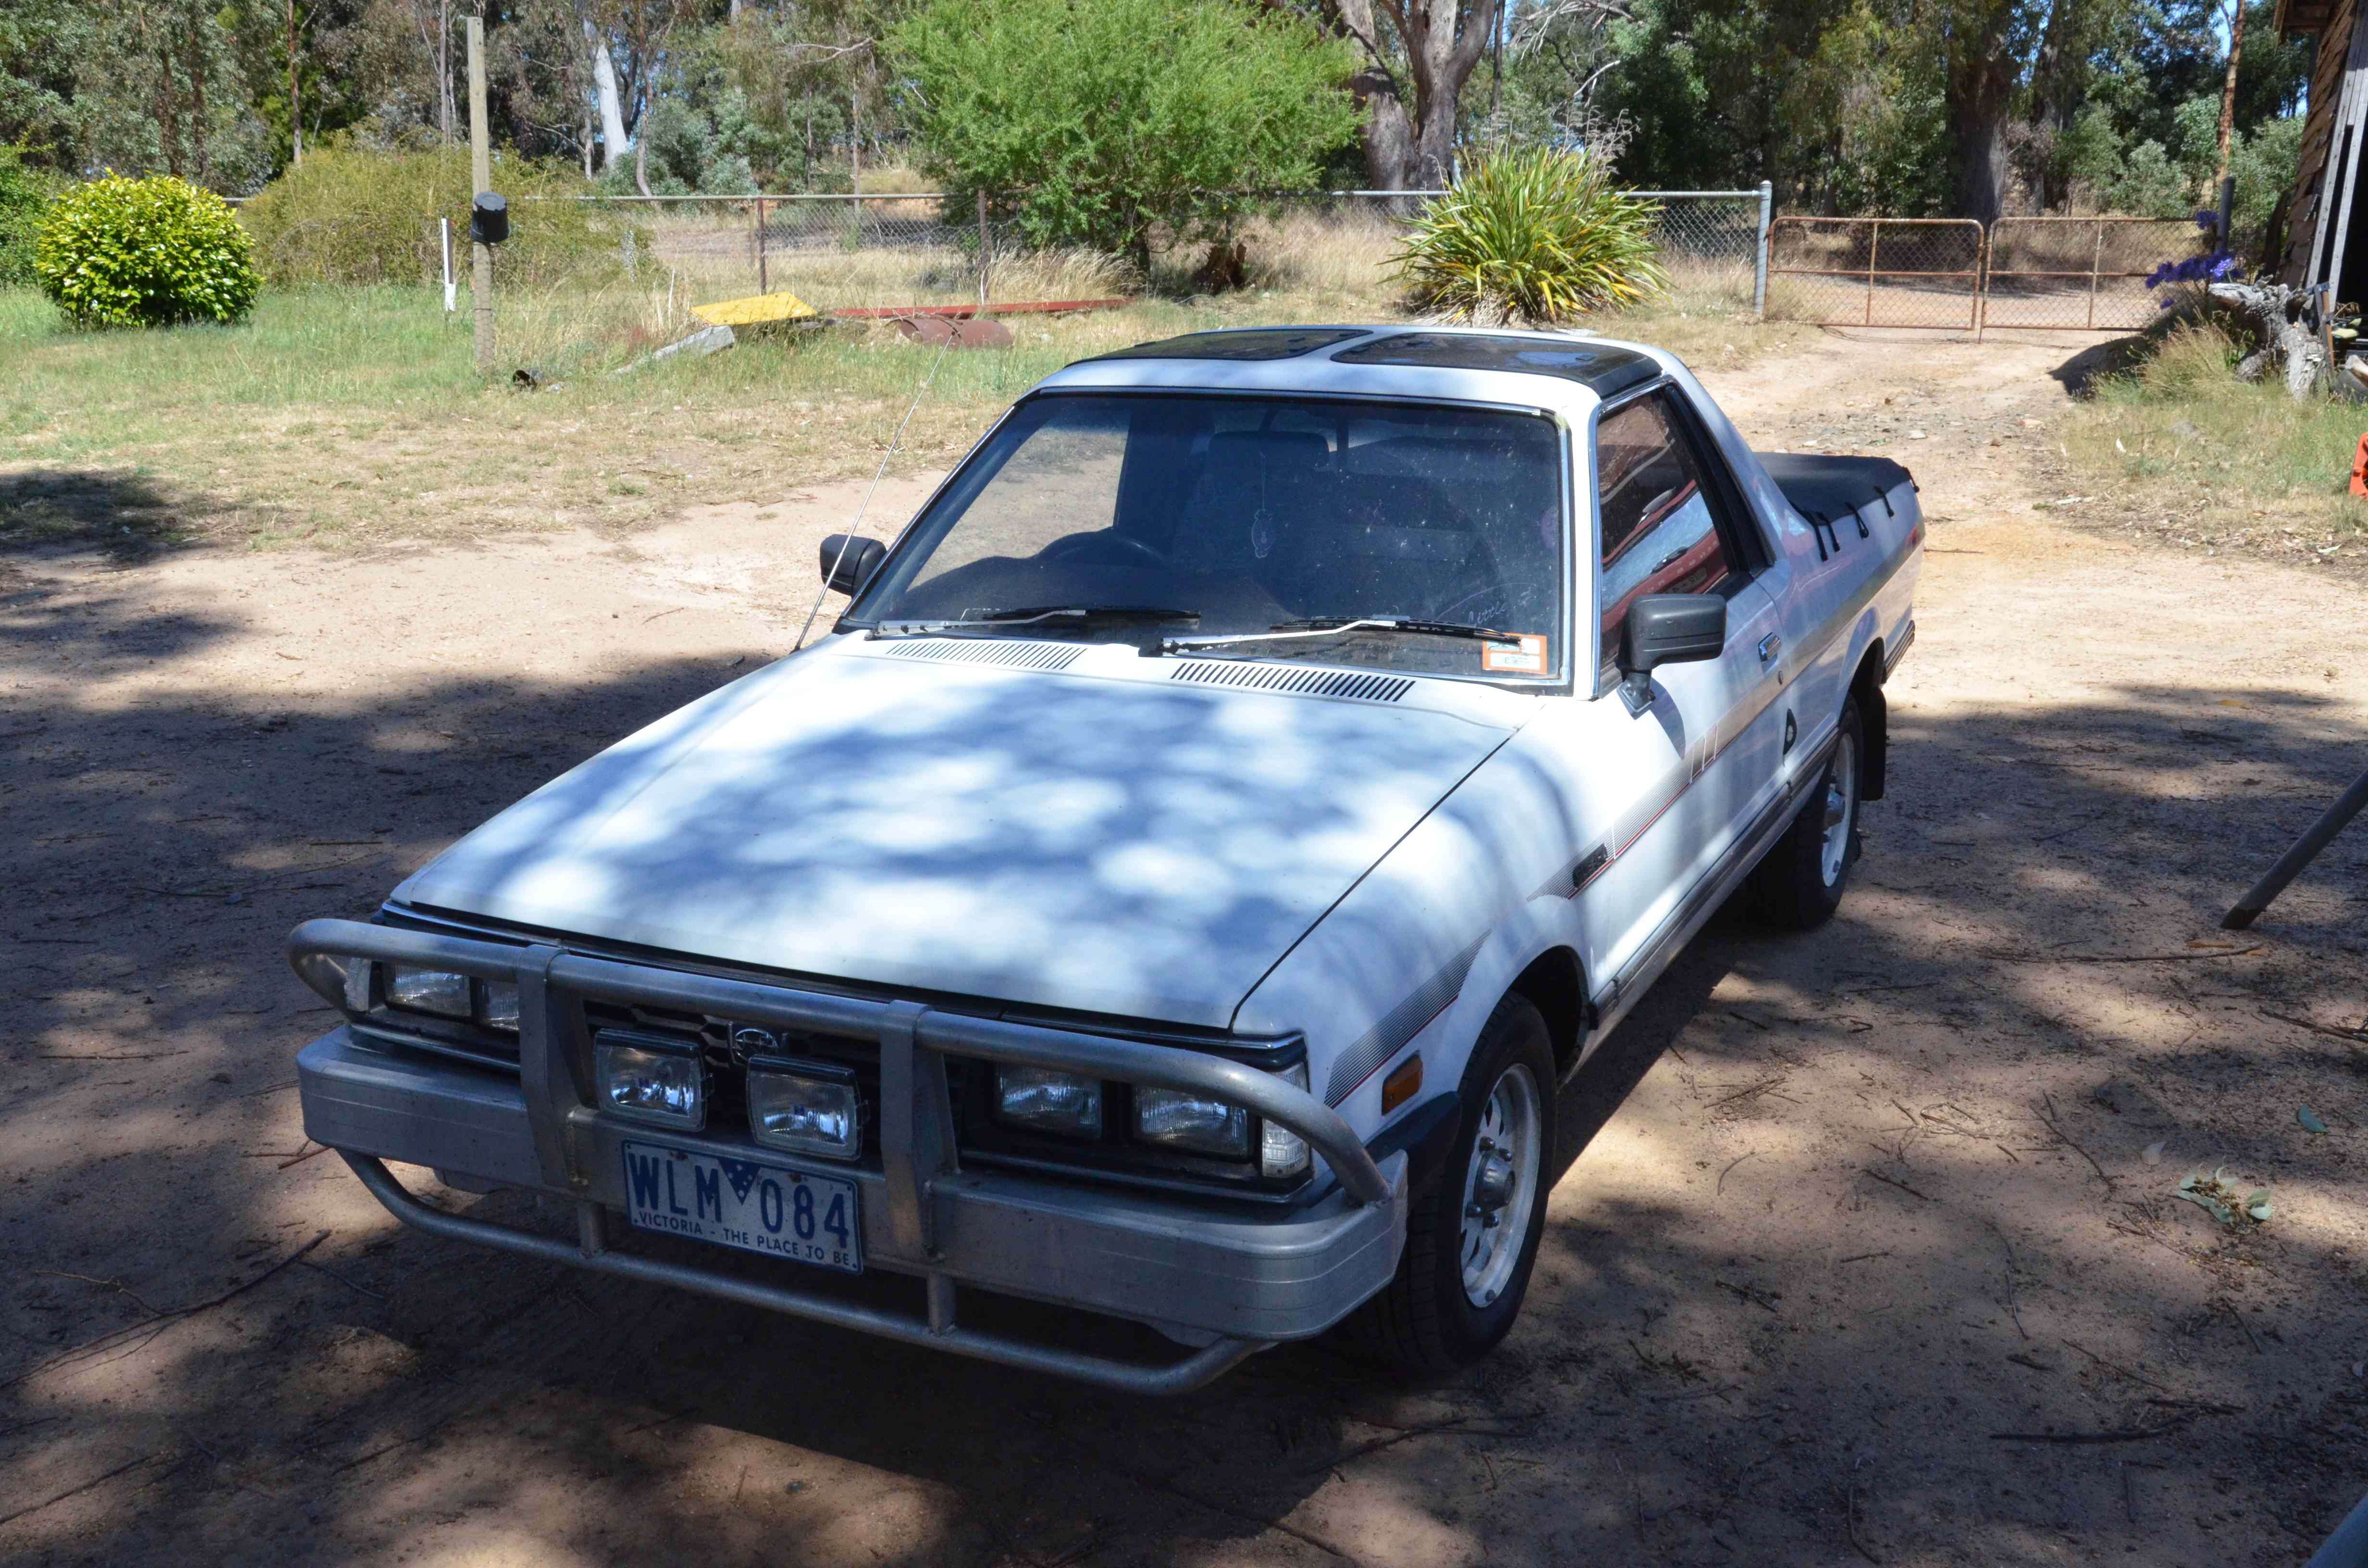
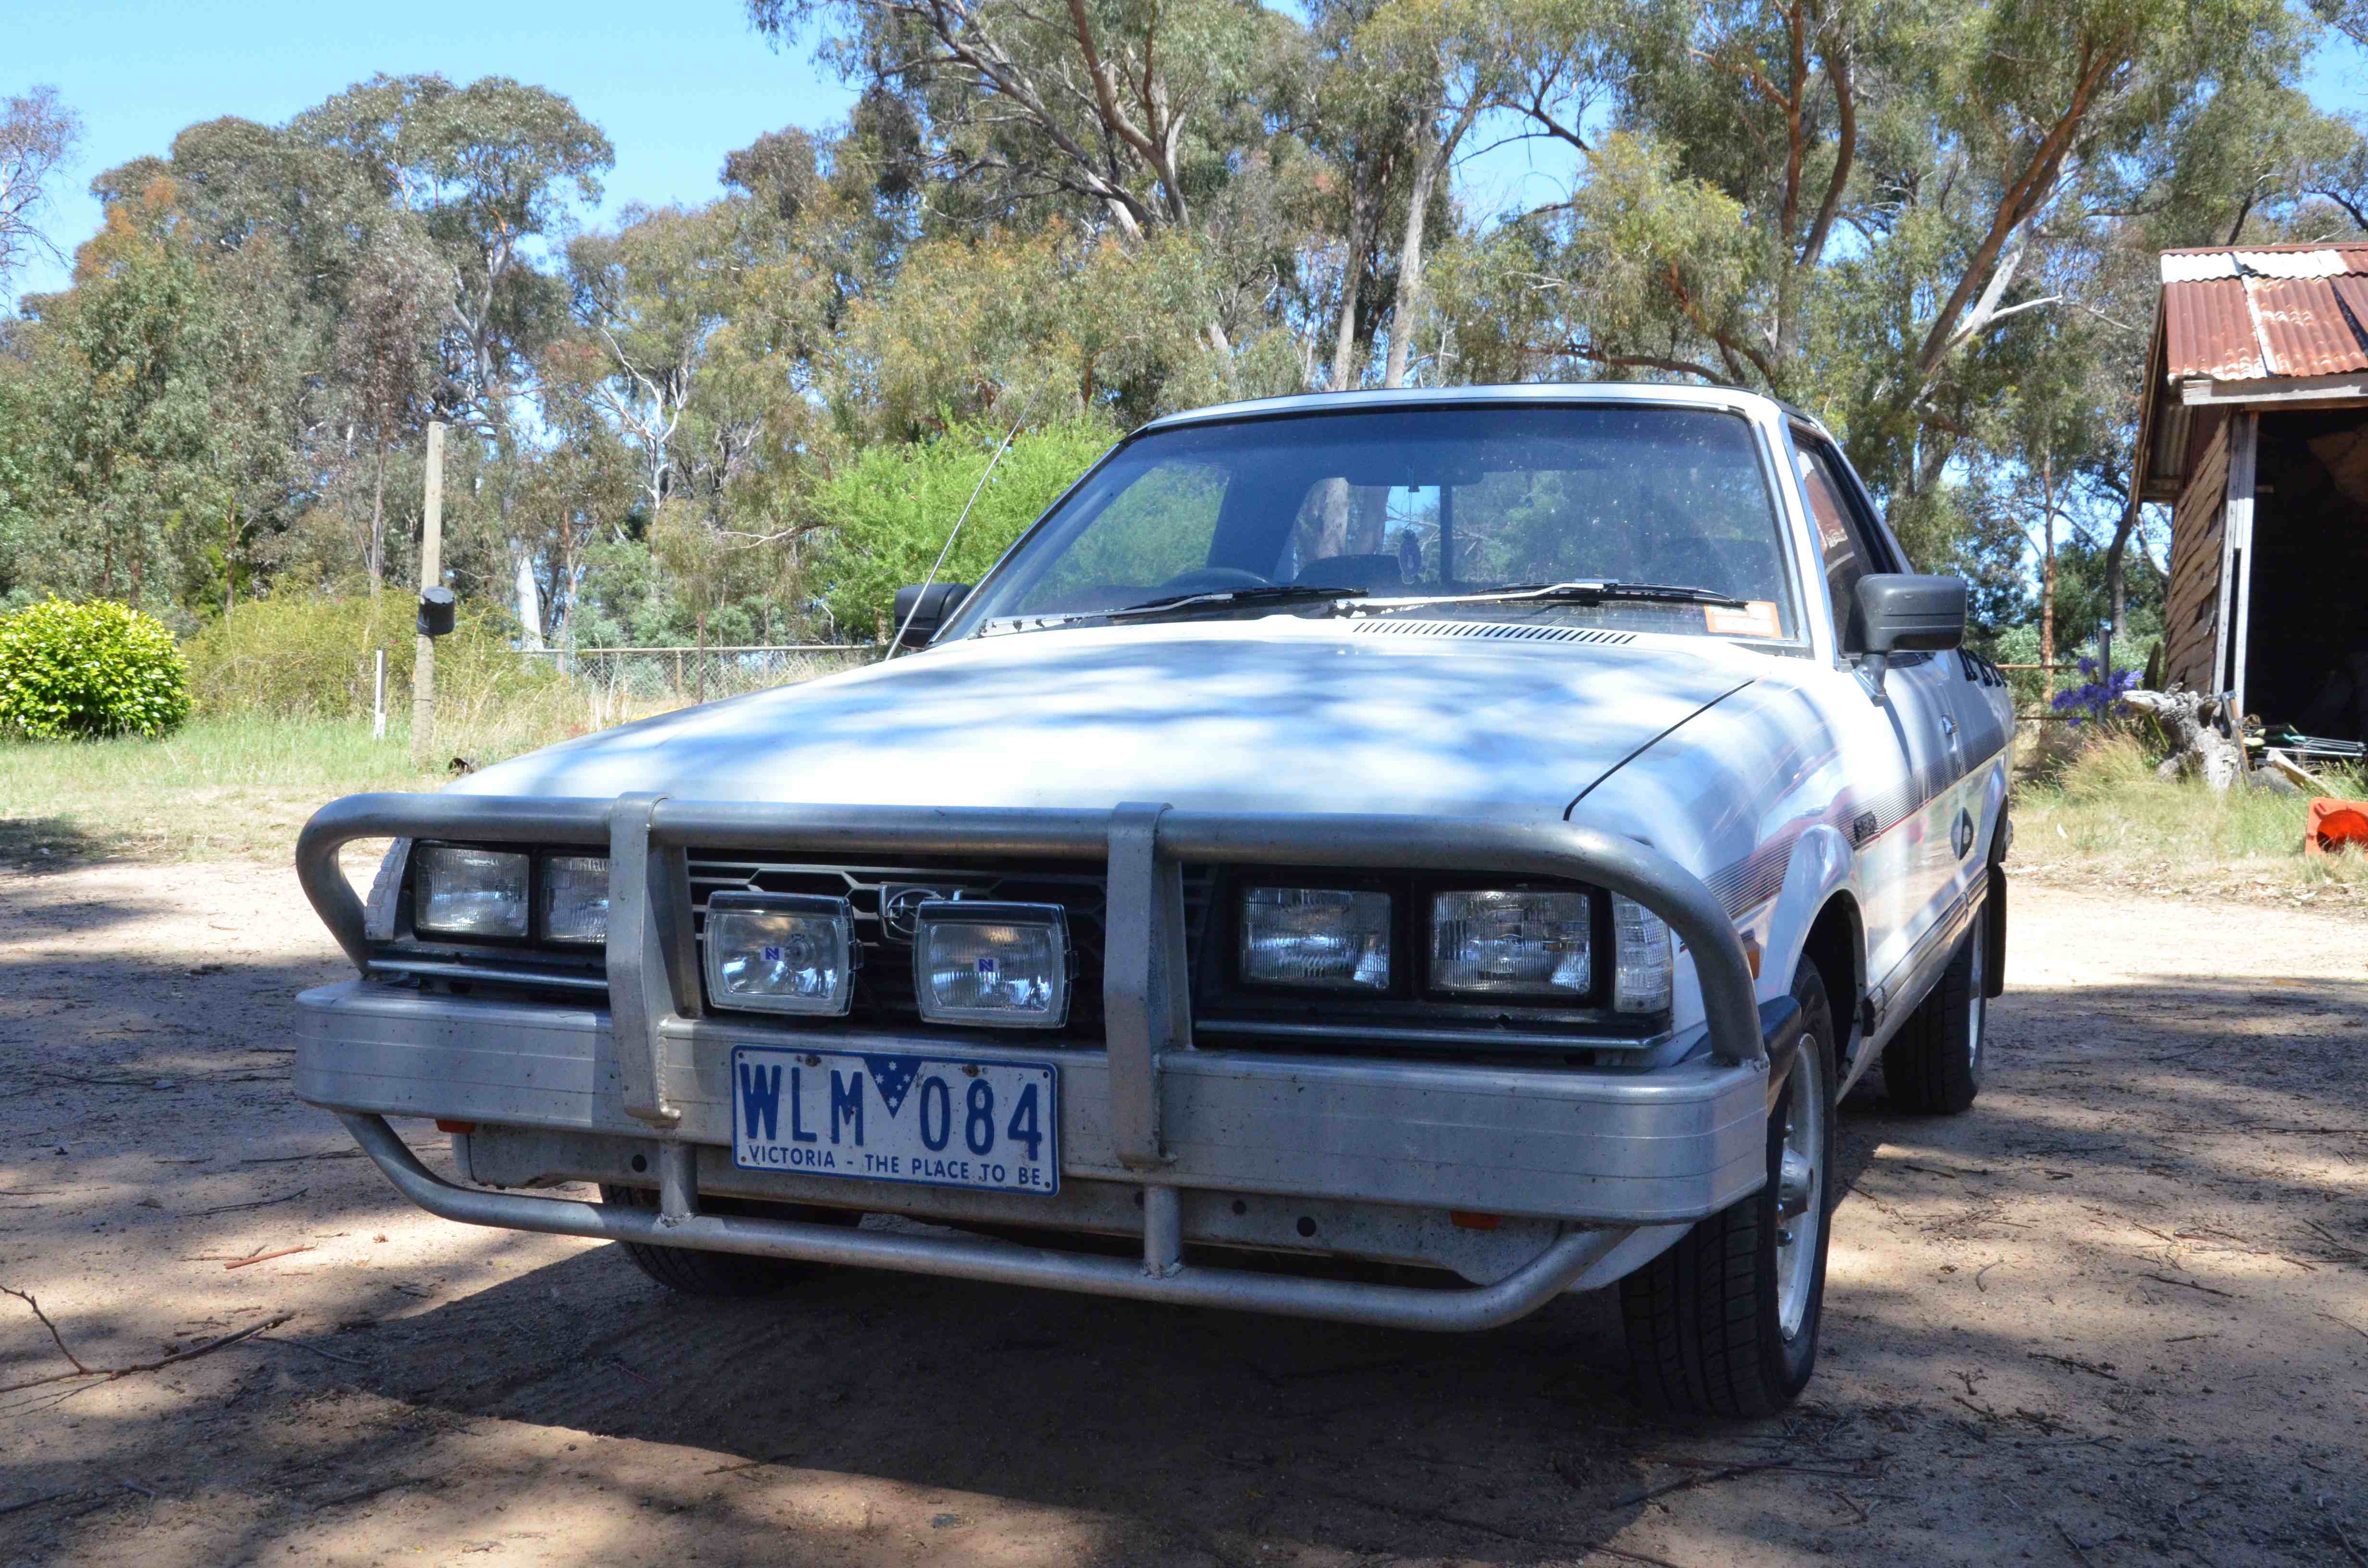
Gail doesn't know this yet, and I know that she doesn't read these pages so I'll let you in on one of her christmas pressies - Sunnie will be getting a set of driving lights to mount on the bull bar. Should go well and complete that front end.
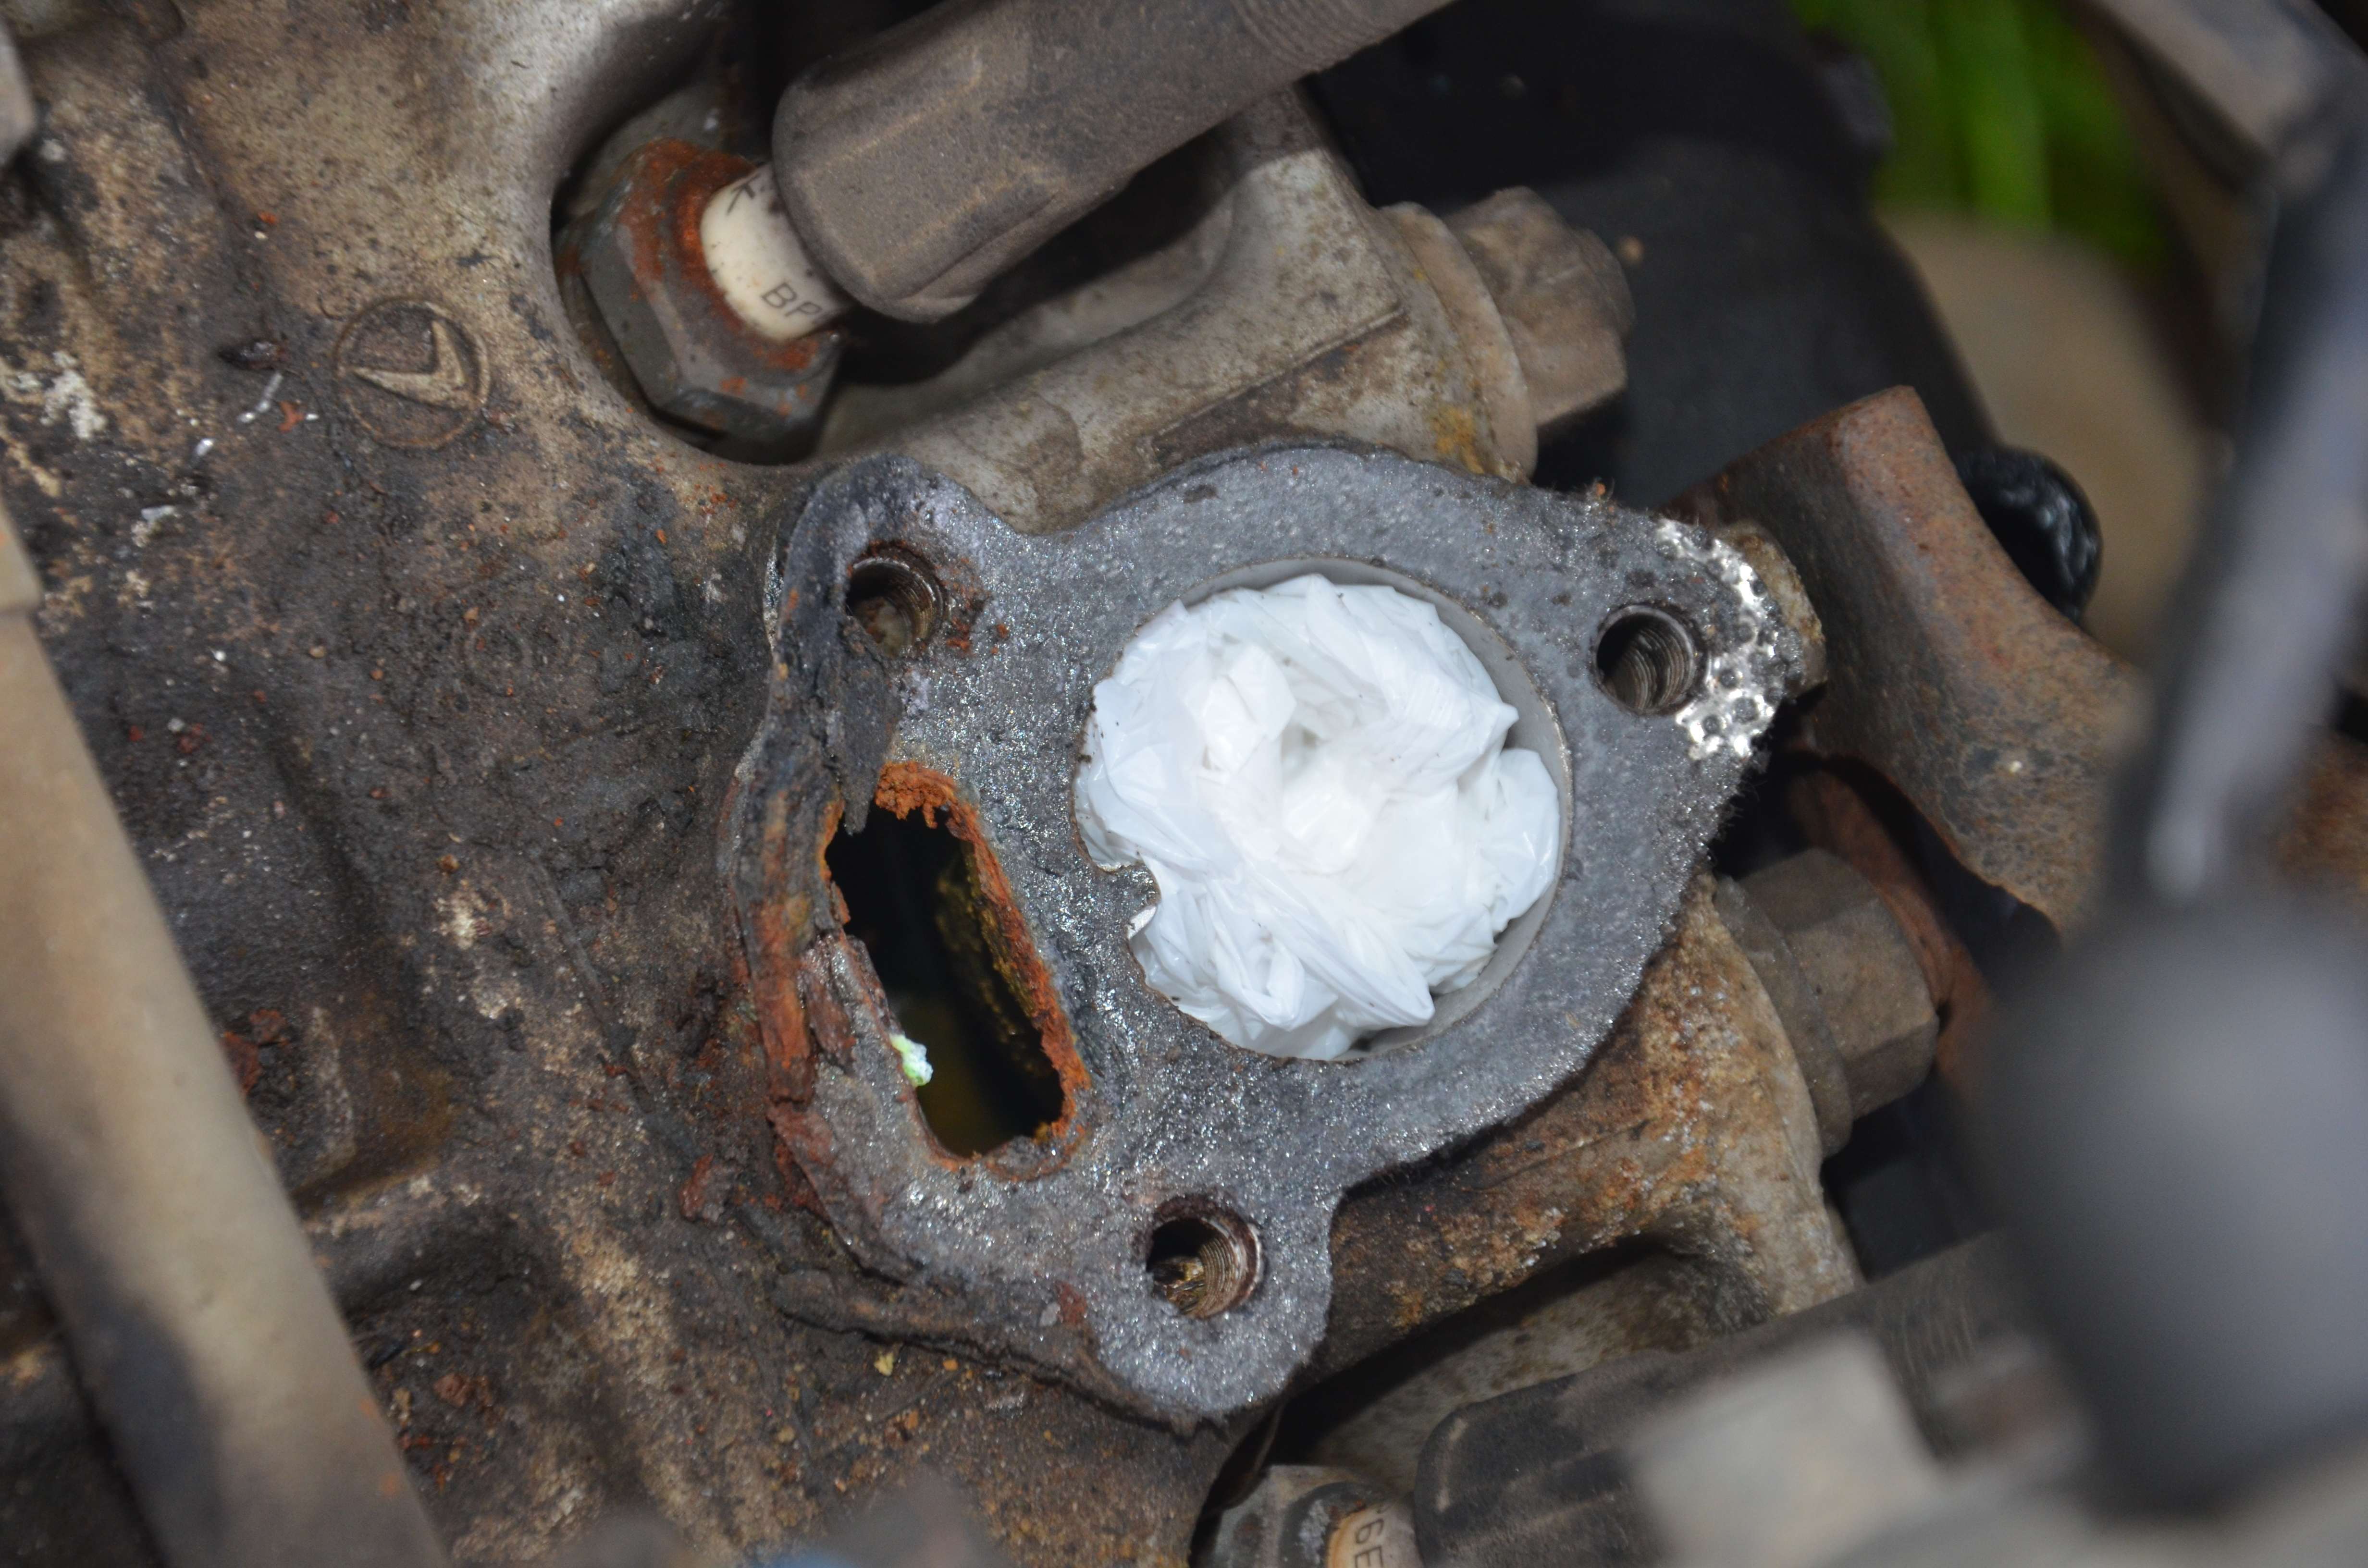
Oh, and on another downer - the power steering has developed a leak and there's a torn steering boot and CV boot. There also seems to be a small overheating problem, I'm hoping to swap the water pump over to solve this one as it's an unknown quantity at the moment, and I've got a leak in the oil pump to sort that's been there for sometime, I'm going to do something about it finally!
Other than that all's going pretty well on him - we're running 95ron fuel now to reduce pinging on warm days as he's set at 8 degrees before TDC which is where it should be. Going well so far and fuel economy has been going well.
I'll be updating with photos in the new year I hope!
Cheers
Bennie