Now comes the tricky bit ...
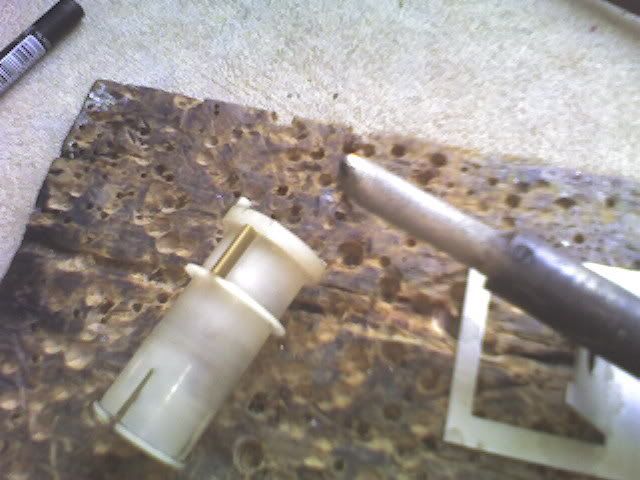
You need to get your trusty soldering iron ( bigger the better ) + basically get the iron up to the right temperature ( not too hot or every thing goes to shit ), locate your angle in the correct position, press down with flat side of the iron tip and let rip. ( If you not confident with the iron, get a bit of scrap plastic to practice on ) - Also helps if you have a third hand ...
 Add Tip: If you don't have a Soldering Iron, you can put the metal bits in a conventional oven & heat them up that way ...
Note:
Add Tip: If you don't have a Soldering Iron, you can put the metal bits in a conventional oven & heat them up that way ...
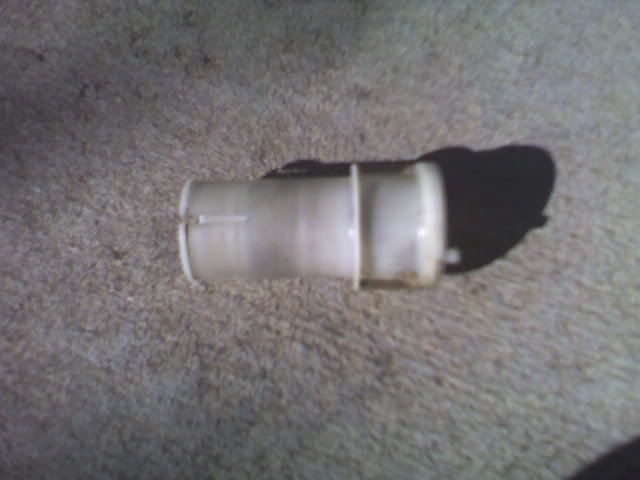
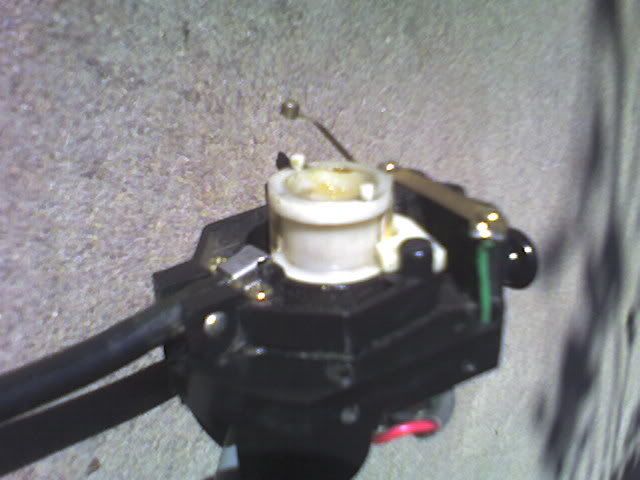
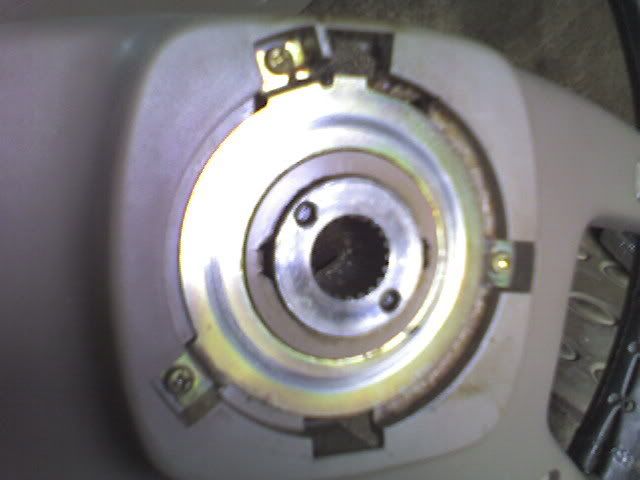
Note: the aim here is to get the top of new angle to sit exactly where the old one was so that the return engages correctly & does not foul.
It should end up looking something like this ...
 Note:
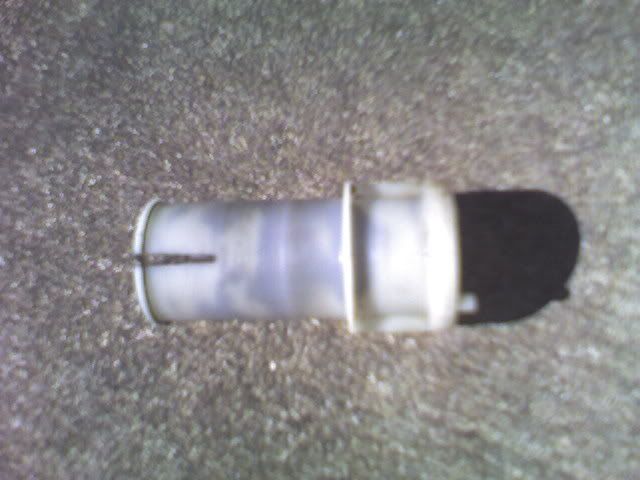
Note: For those game enough, I've shaped any molten plastic that ooz's out in the process with a wet finger to help retain the brass in place. Be prepared for this as the plastic takes a few seconds to re harden.
P.S. - There may also be a bit smoke & swearing if you stuff it up ( hence the practice bit ) ...
Add : ( courtesy of
auster )

An alternate that may be useful for those challenged by a soldering iron ...
 Tip :
Tip : just make sure its clean & free from grease before gluing ...


