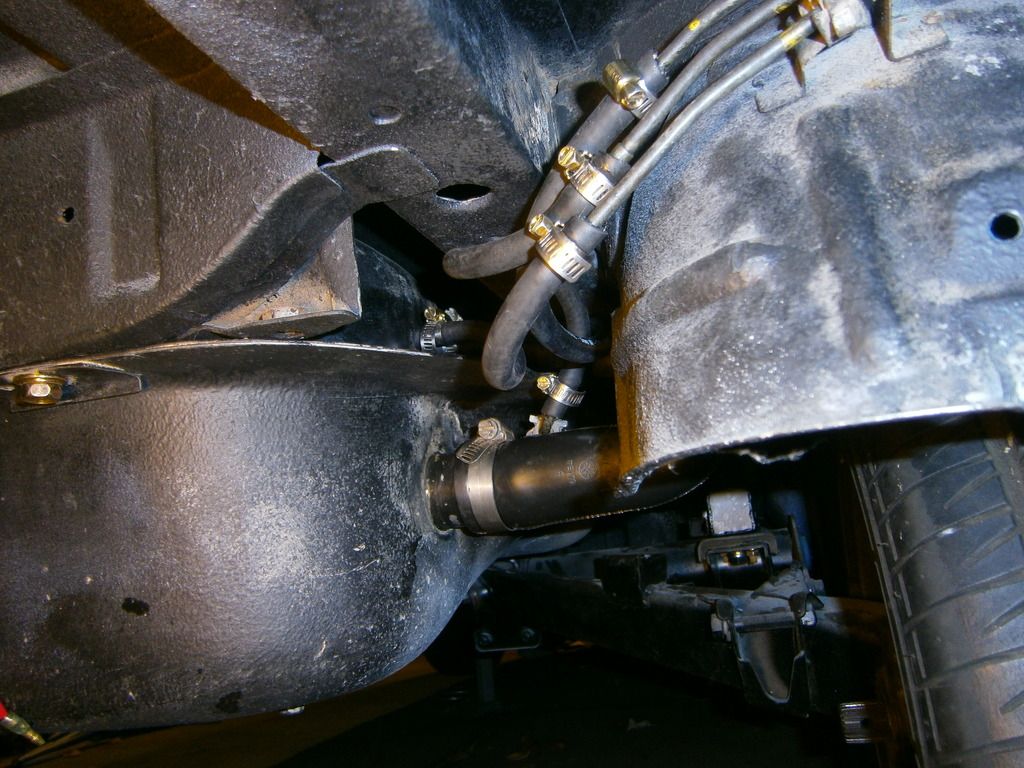
And the business end of the fuel tank...look at all those stainless hose clamps!


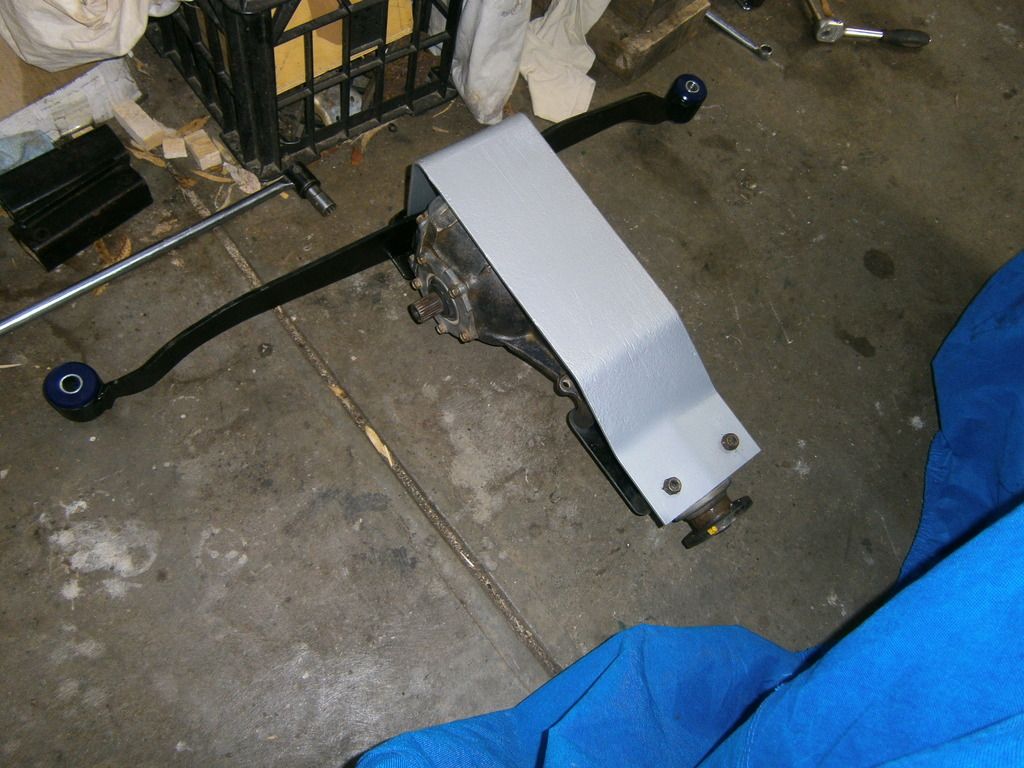
One pack = one bush and tube. You need one pack for each end, and another identical for the pinion mount in the middlesteptoe wrote:thanks for including the moustachio bar bush numbers - one pack do the car i suppose ?
Really cannot see how sexy new bushes would be better than cruddy old ones this far back from the performance end?? Maybe they work in polarised harmony with the rest of the new bushes ? The right colour anyway !!


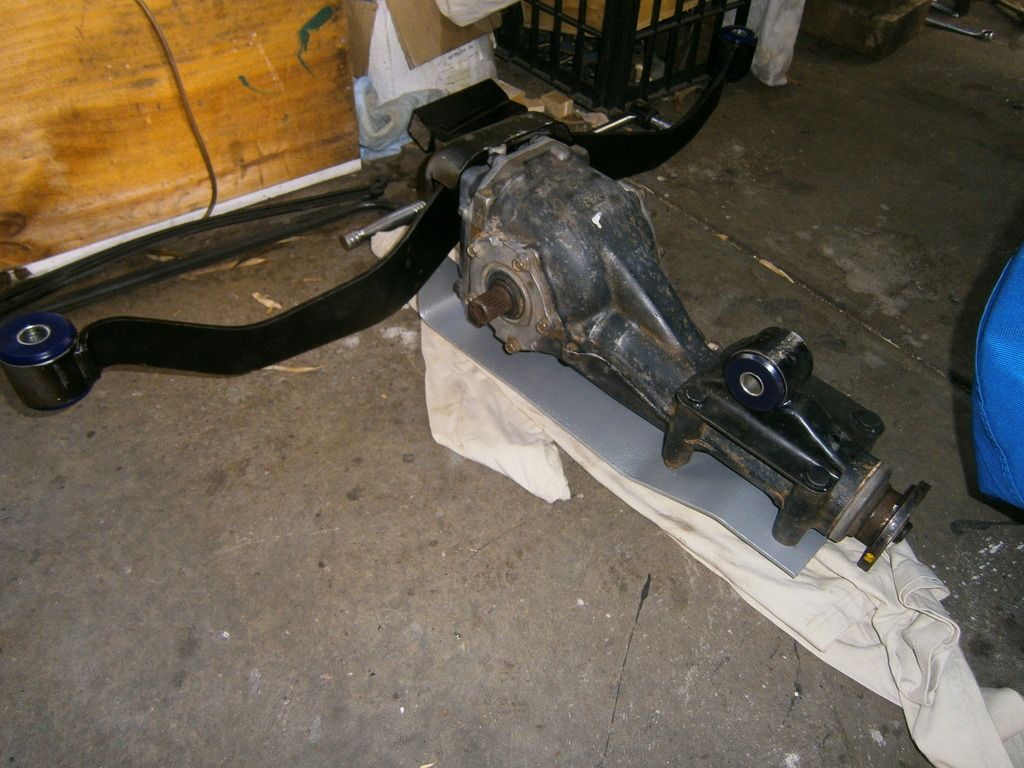
So you are right!El_Freddo wrote:You need to turn that "pinion" diff bush around, you've got it backwards
I'm jealous about that rear end, it'll be nice and tight - yet you don't have AWD to make use of it all the time
I really need to do this to the rear of Ruby Scoo! Were the bushes expensive?
Cheers
Bennie

Yeah, not just ANY EFI model - these boxes came in the RXII coupes and in single range in the AWD Vortexes. The RXII didn't come to Oz, and the AWD Vortex is hard to find in the yards! Further to this you have to get a box with a good centre diff. My first purchase was a dud which now basically makes that box redundant unless I can get a new housing machined up - I don't like my chances there.Silverbullet wrote:I'm always on the lookout for an AWD D/R box/diff from an L series as I assume they have all the same dimensions/mountings as the standard g/box? Although...they probably came from EFI only vehicles so would have a different CV spline count.


They are bolt together you can even use the EA82 flywheel pressure plate and clutch. the only real problem can be the throw out on the starter motor, which is solved by using a 3-4mm spacer.Nubaru wrote: Sort of losing track of this project - EA81 and l series 5 speed ? How you going to make these two work as they are not just a bolt together pair are they ?
I did it. http://offroadingsubarus.com/83-subaru- ... onversion/Nubaru wrote:nice presentation and proof of no need to cut L series components to fit in - keep up the good work. May I ask when you expect all this work will be up and going?
Sort of losing track of this project - EA81 and l series 5 speed ? How you going to make these two work as they are not just a bolt together pair are they ?
Christmas last year...looking good for Christmas this yearNubaru wrote:nice presentation and proof of no need to cut L series components to fit in - keep up the good work. May I ask when you expect all this work will be up and going?


